Use the client portal
Overview
The client portal lets your clients manage their translation projects with Smartcat. In the portal, clients create an account, add files, choose languages and services, request a quote, track project progress, download files, and pay invoices.
Access the portal
When your clients reach the portal, they see either a custom look (see the example below) if you have a subscription, or a generic Smartcat portal page.
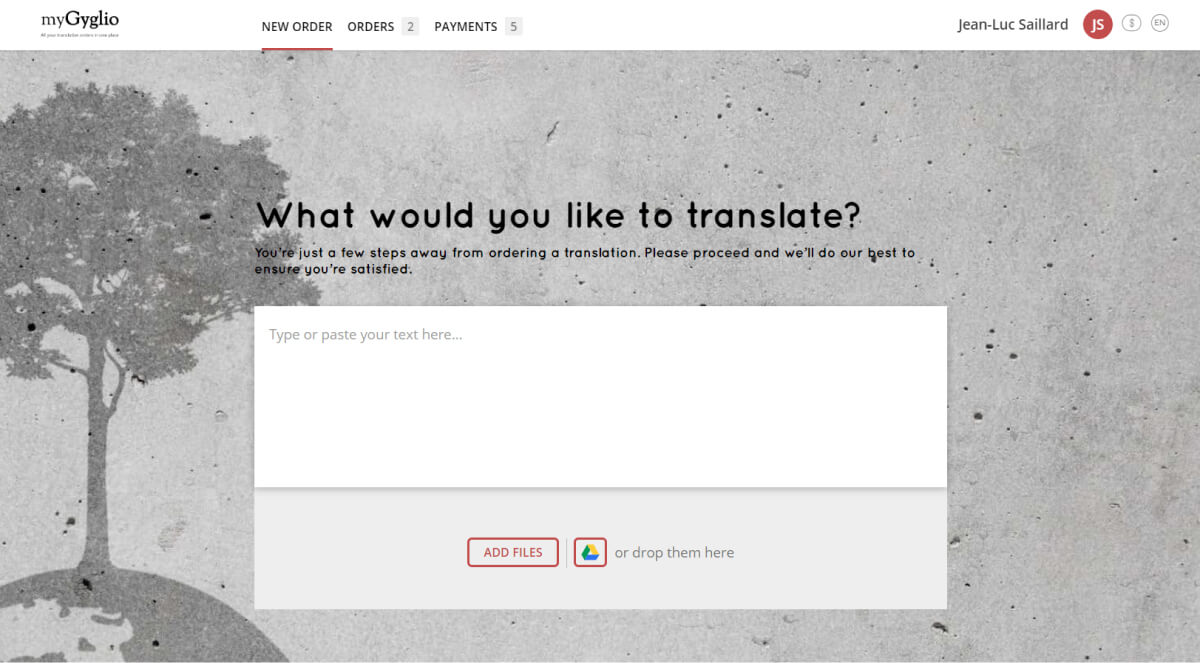
The client can log in if they have an existing portal account, or create an account if they have never used the portal before, using the Log In or Create an Account options respectively. The Create an Account dialog asks for contact information that is stored in your account in the Client management section.
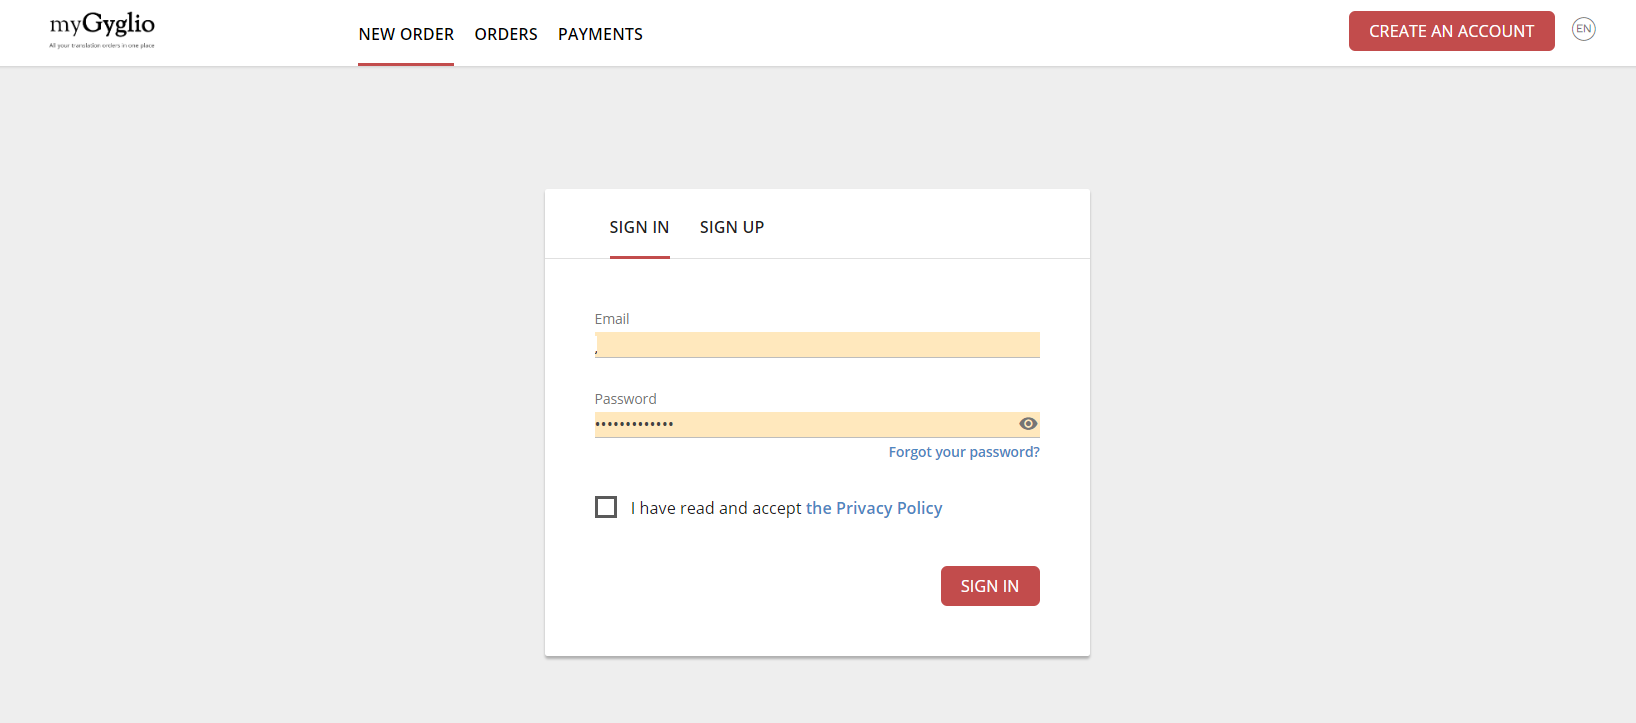
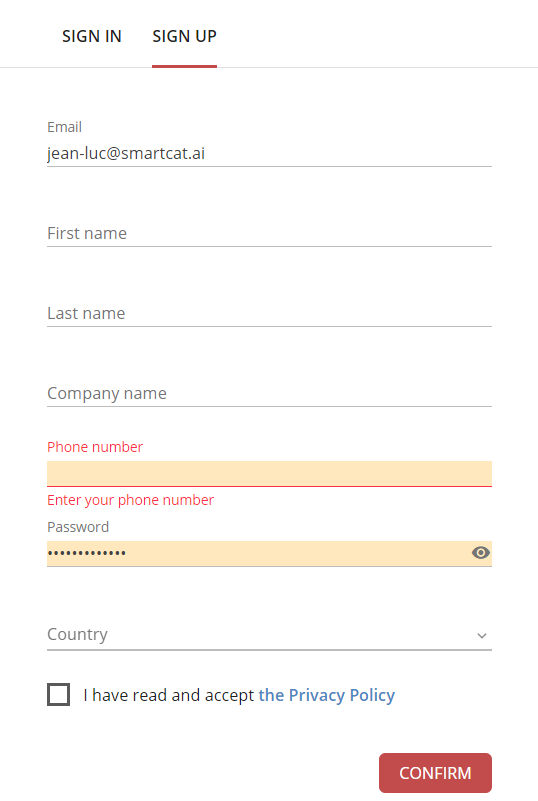
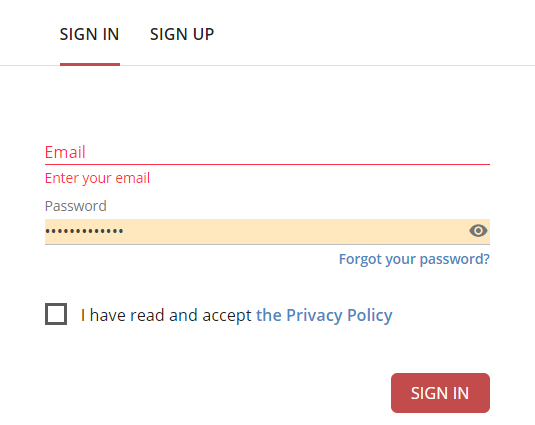
Once an account is created, the client can sign in.
Add files
The client adds text or files to be translated by clicking Add Files or by dragging and dropping files.
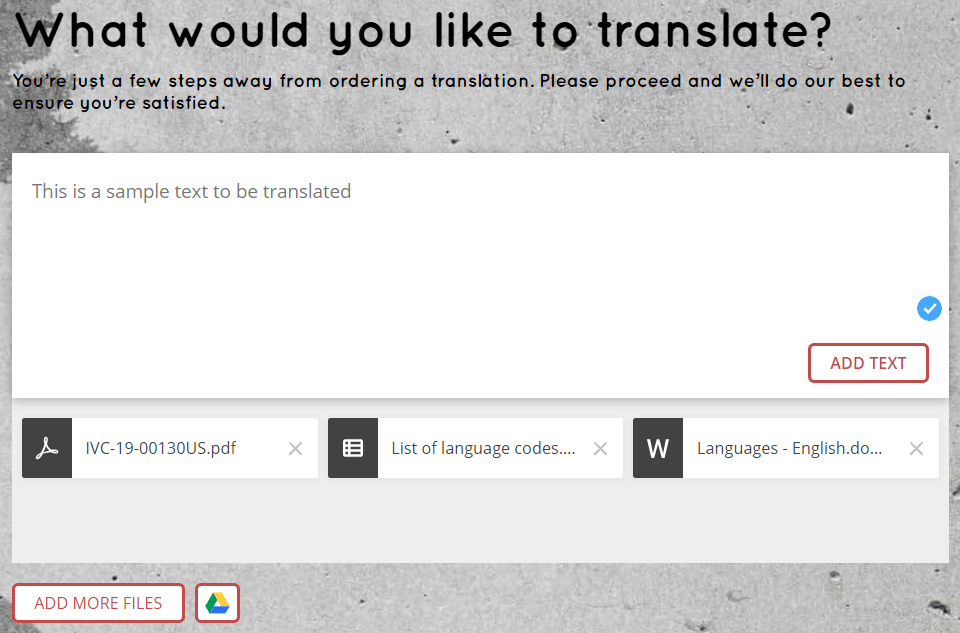
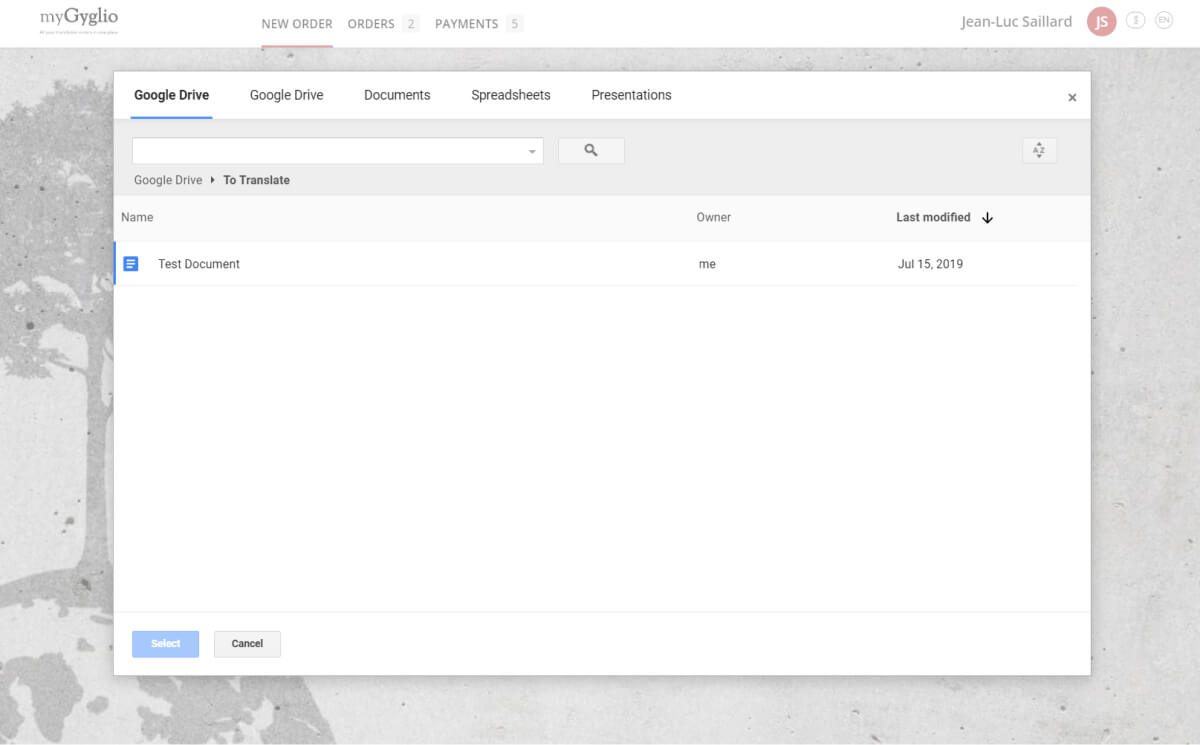
The client can also add Google Suite files using the G Suite logo button. The portal asks the client to log in to their Google account, and they can then select documents from their folders.
Choose languages and services
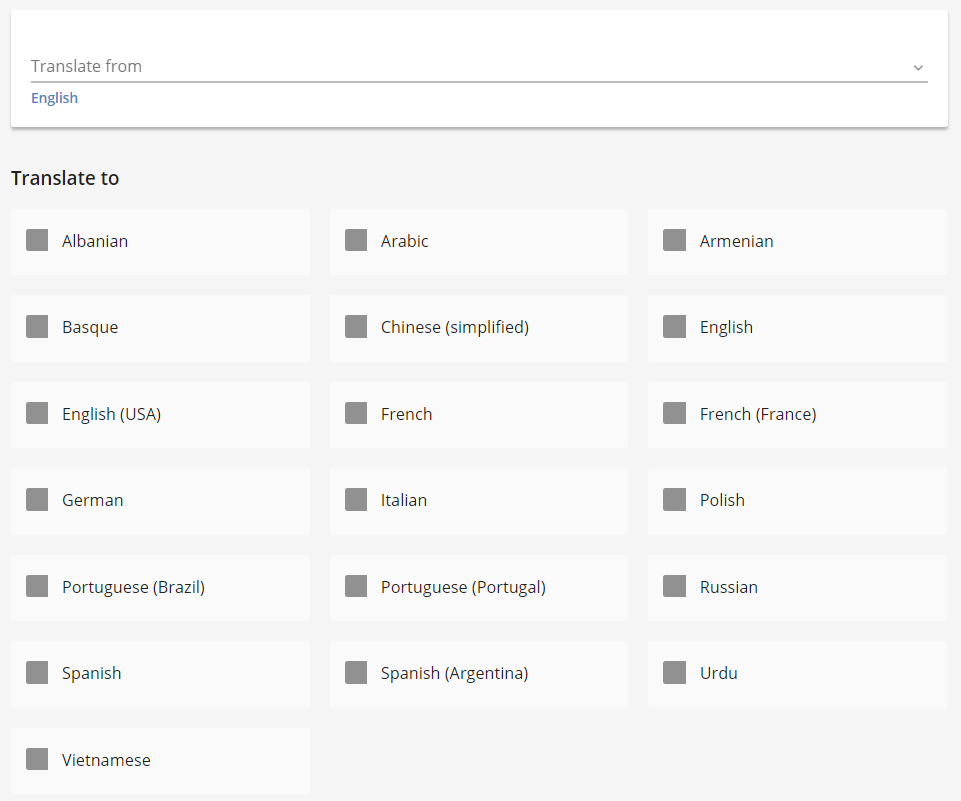
The client chooses languages for these files on the same page.
The client then chooses the services related to these languages.
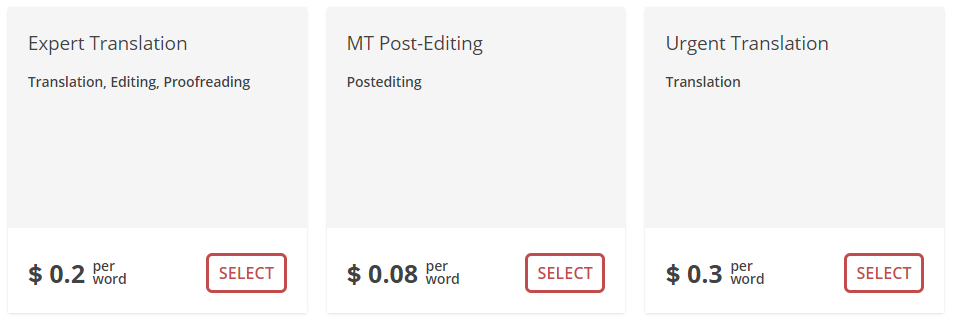
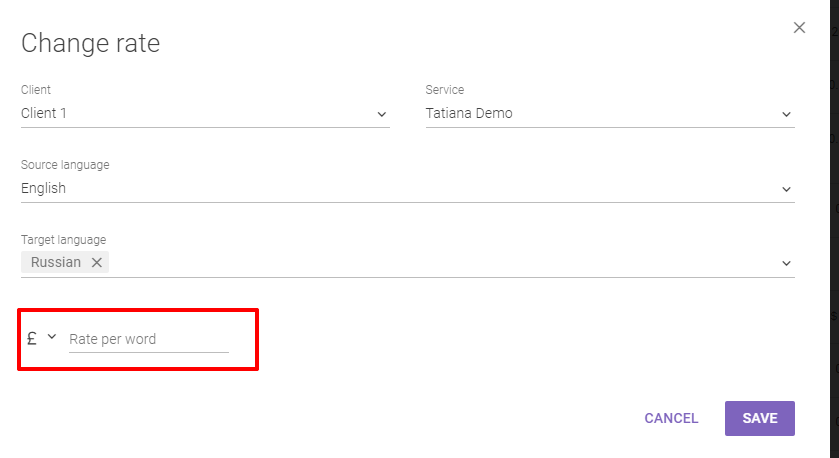
📌 The languages, services, and prices all reflect the services added to the corporate profile of the account. If you want your clients to see all the services you provide, fill out the services section of your profile thoroughly. The same prices apply to all clients unless you set otherwise in the Custom rates tab.
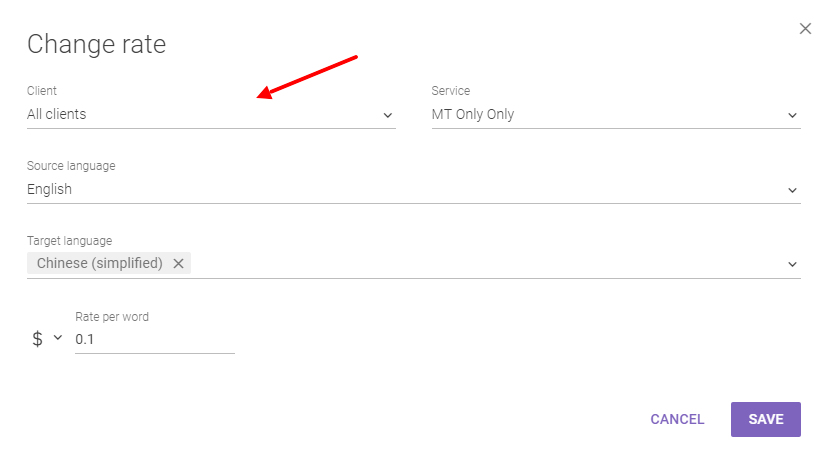
💡 You can set a rate per word as 0, or leave it unset, if you want a service to be free for a particular client.
Get a quote
Once files, languages, and services are selected and the client clicks Get a Quote, the client can set a unique project name, select a Translation Memory (TM) from the ones associated with the client account, and save the information by clicking Add Details. Clicking Skip this Part accepts the default settings.
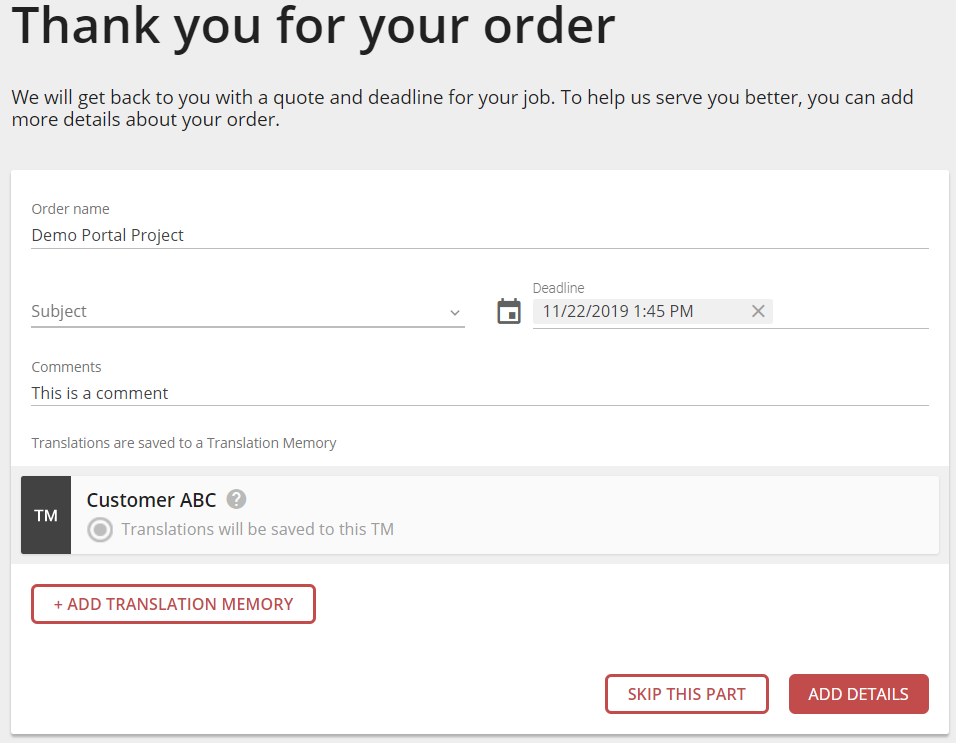
The project is added to the list of projects in the Orders tab, and your project managers receive a notification that a new project was created from the portal. Using the services information and the project statistics, Smartcat calculates an estimate that is displayed on the portal.

The client now has a project and an estimate ready for review.
Review and approve the estimate
The project manager in Smartcat can see the project, the estimate, and the approval status on the project page.
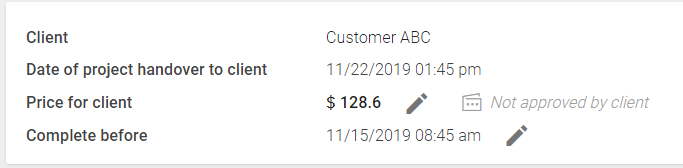
The project manager can accept the estimate provided by Smartcat or edit it to add other tasks performed outside the system, such as DTP. If the project manager edits the field, a new dialog is displayed where they can change the cost and currency and upload a document to support the quote.
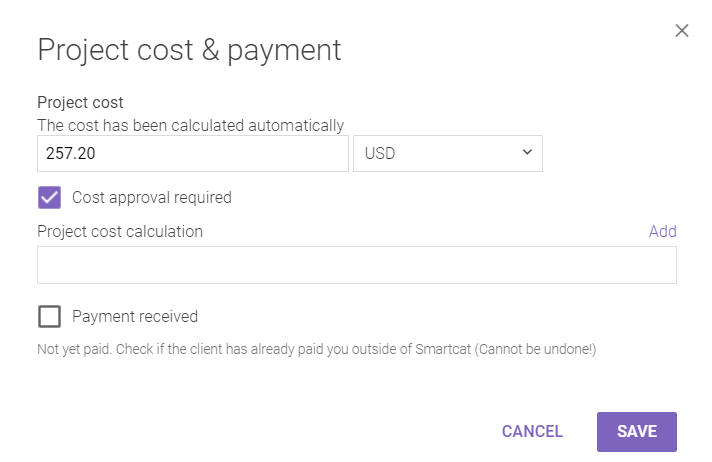
The client can download the support file from the portal before proceeding with approval.
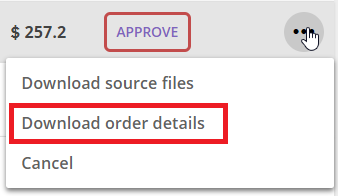
If the Cost approval required option is checked, the client must approve the project before it can start.

After approval, the status changes to In progress, and tasks can be assigned in Smartcat.
Track progress and download files
The client can track progress while the translation is ongoing.

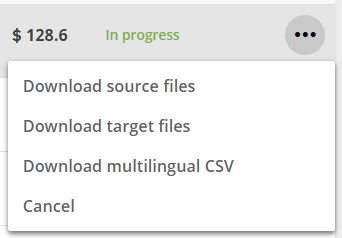
Even before the project is completed, the client can download the source and target files. The client can also download a multilingual CSV file for review purposes.
Make a payment
The project is displayed in the Payments tab of the portal.
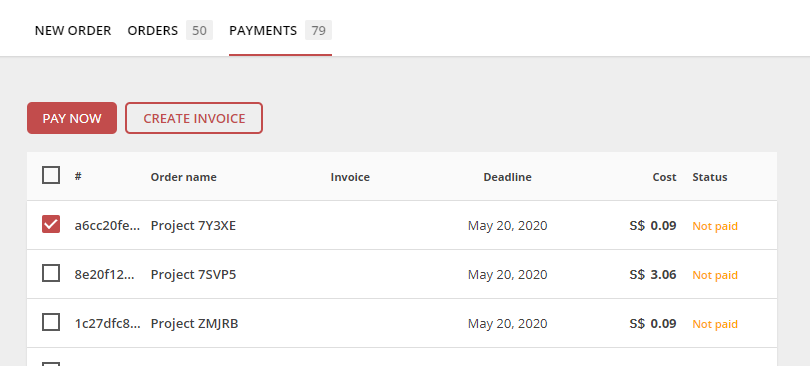
Once payment is received or marked as paid, the status changes to Paid. The client can pay an invoice with a bank card or PayPal using the Pay Now button, or by downloading the invoice and using the payment details within.
FAQs
Do I need a paid subscription to use the Client Portal at all?
No — the Client Portal itself (in its generic, non-branded form) is available without a paid subscription; a paid subscription is only required to customize the portal's branding.
How does a client know how much a project will cost before approving it?
After uploading files and selecting languages/services, the client receives a Smartcat-calculated cost estimate based on the corporate profile's rates or any custom rates that apply to them.
Can a project manager change the estimate the client sees?
Yes — the project manager can accept or edit the estimate, add external tasks like DTP, upload supporting documents, and adjust the cost or currency before the client's approval step (if "Cost approval required" is enabled).
How does a client pay for a completed project through the portal?
Via the Payments tab, where they can pay by bank card or PayPal using the "Pay Now" button, or download the invoice — the project status updates to "Paid" once payment is received.
Can clients upload files directly from Google Drive?
Yes, in addition to standard drag-and-drop upload, clients can connect Google Suite documents through the portal.
Want to learn more?
See how Smartcat can transform your localization workflow.
Still need help?
Our support team responds within one business day.