Use the Smartcat Subtitle Editor to translate, edit, and export subtitles
Overview
The Smartcat Subtitle Editor lets you translate, edit, and fine-tune subtitles directly within your projects. Whether you are a freelancer, an LSP, or an organization, this guide walks you through how to use the Subtitle Editor.
Explore this interactive demo to learn how to use the Smartcat Subtitle Editor.
Accessing the Subtitle Editor
You can open the Subtitle Editor from different areas of your workspace, depending on your role and workflow.
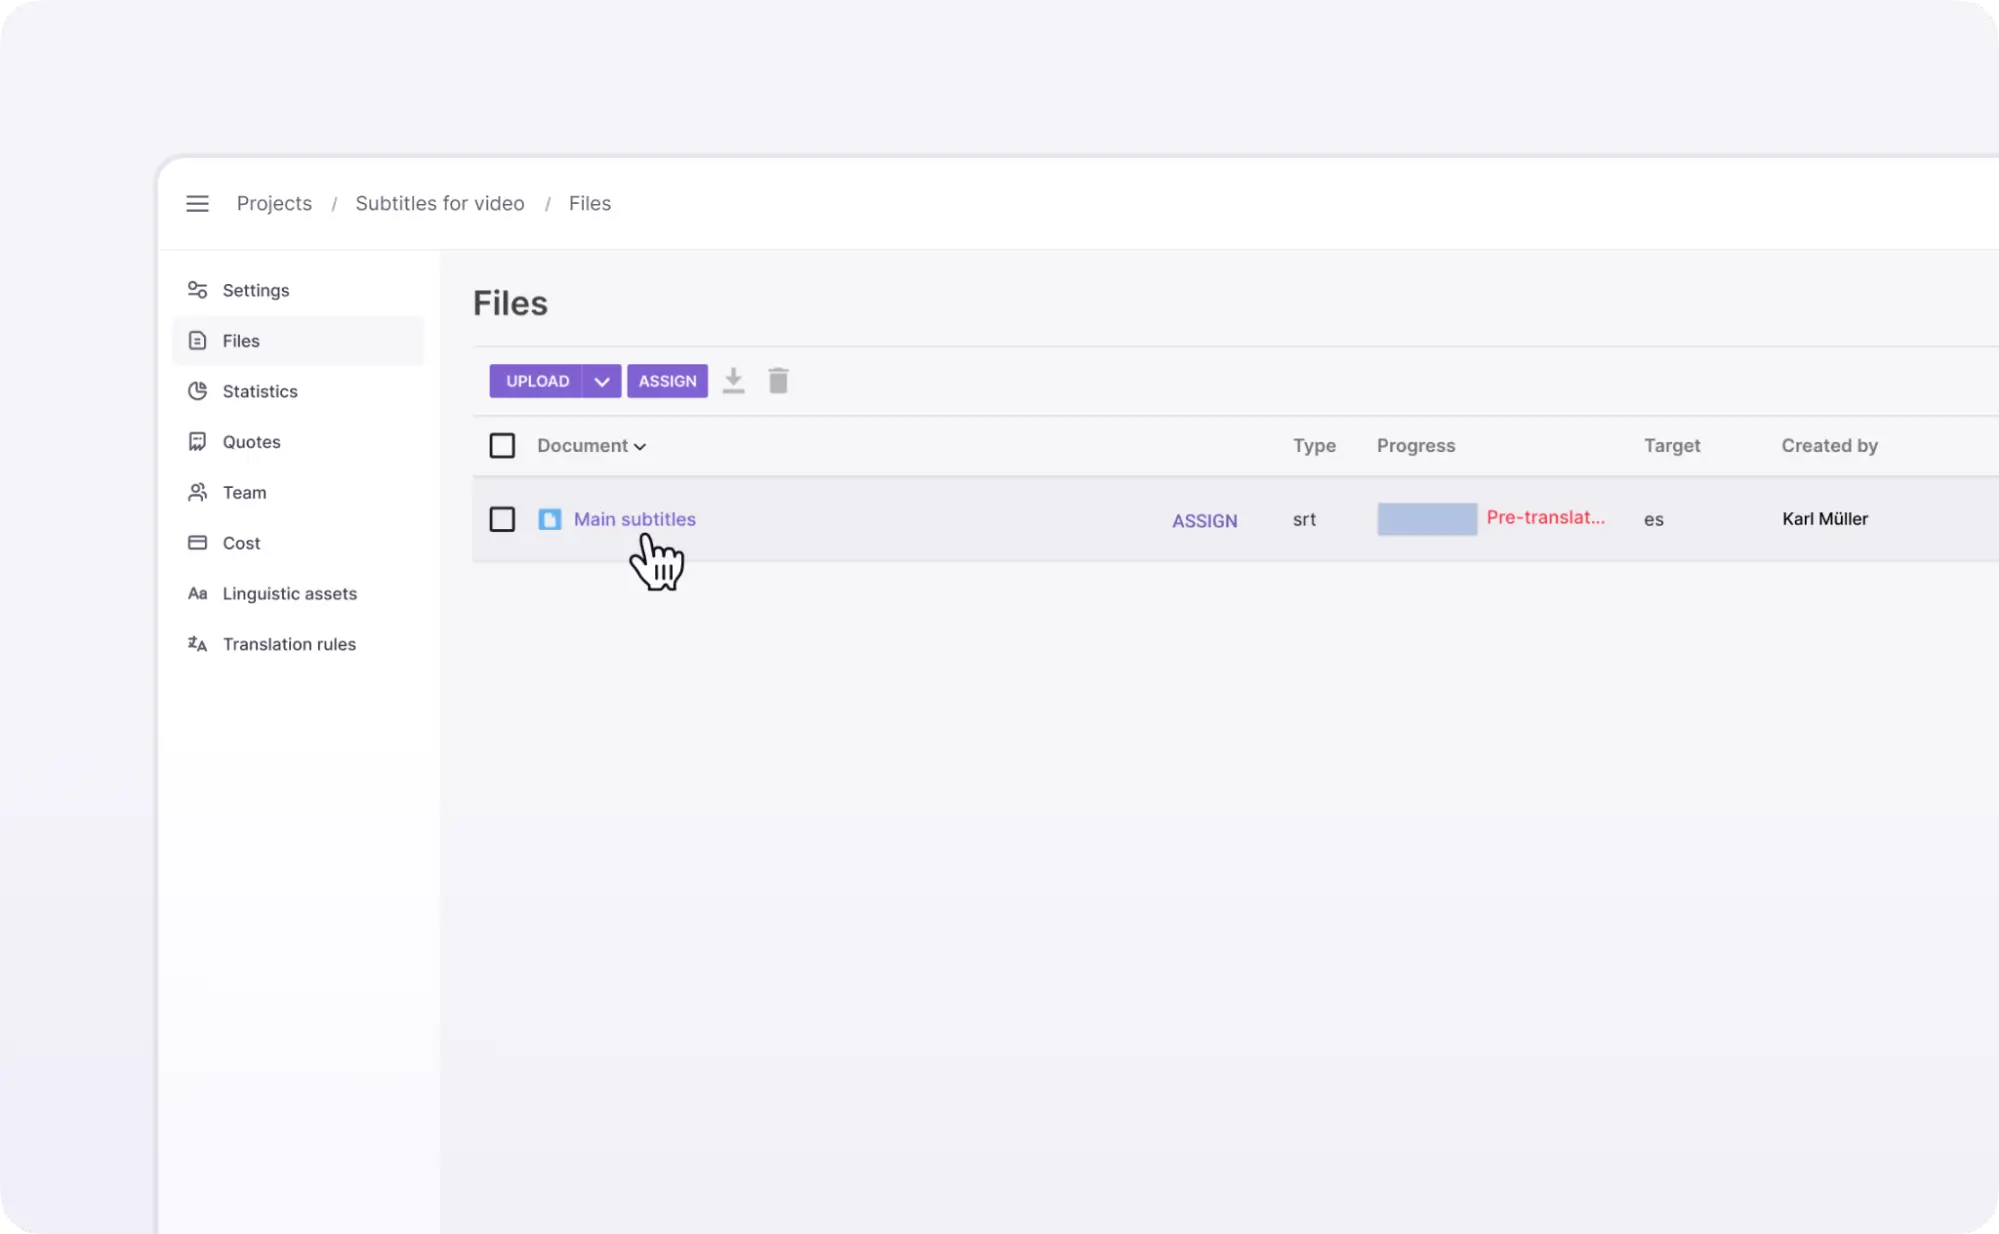
- Organizations and LSPs
- Access subtitle files from the Files, Tasks, or Overview pages in your project. Click the subtitle file you want to work on to open it in the editor
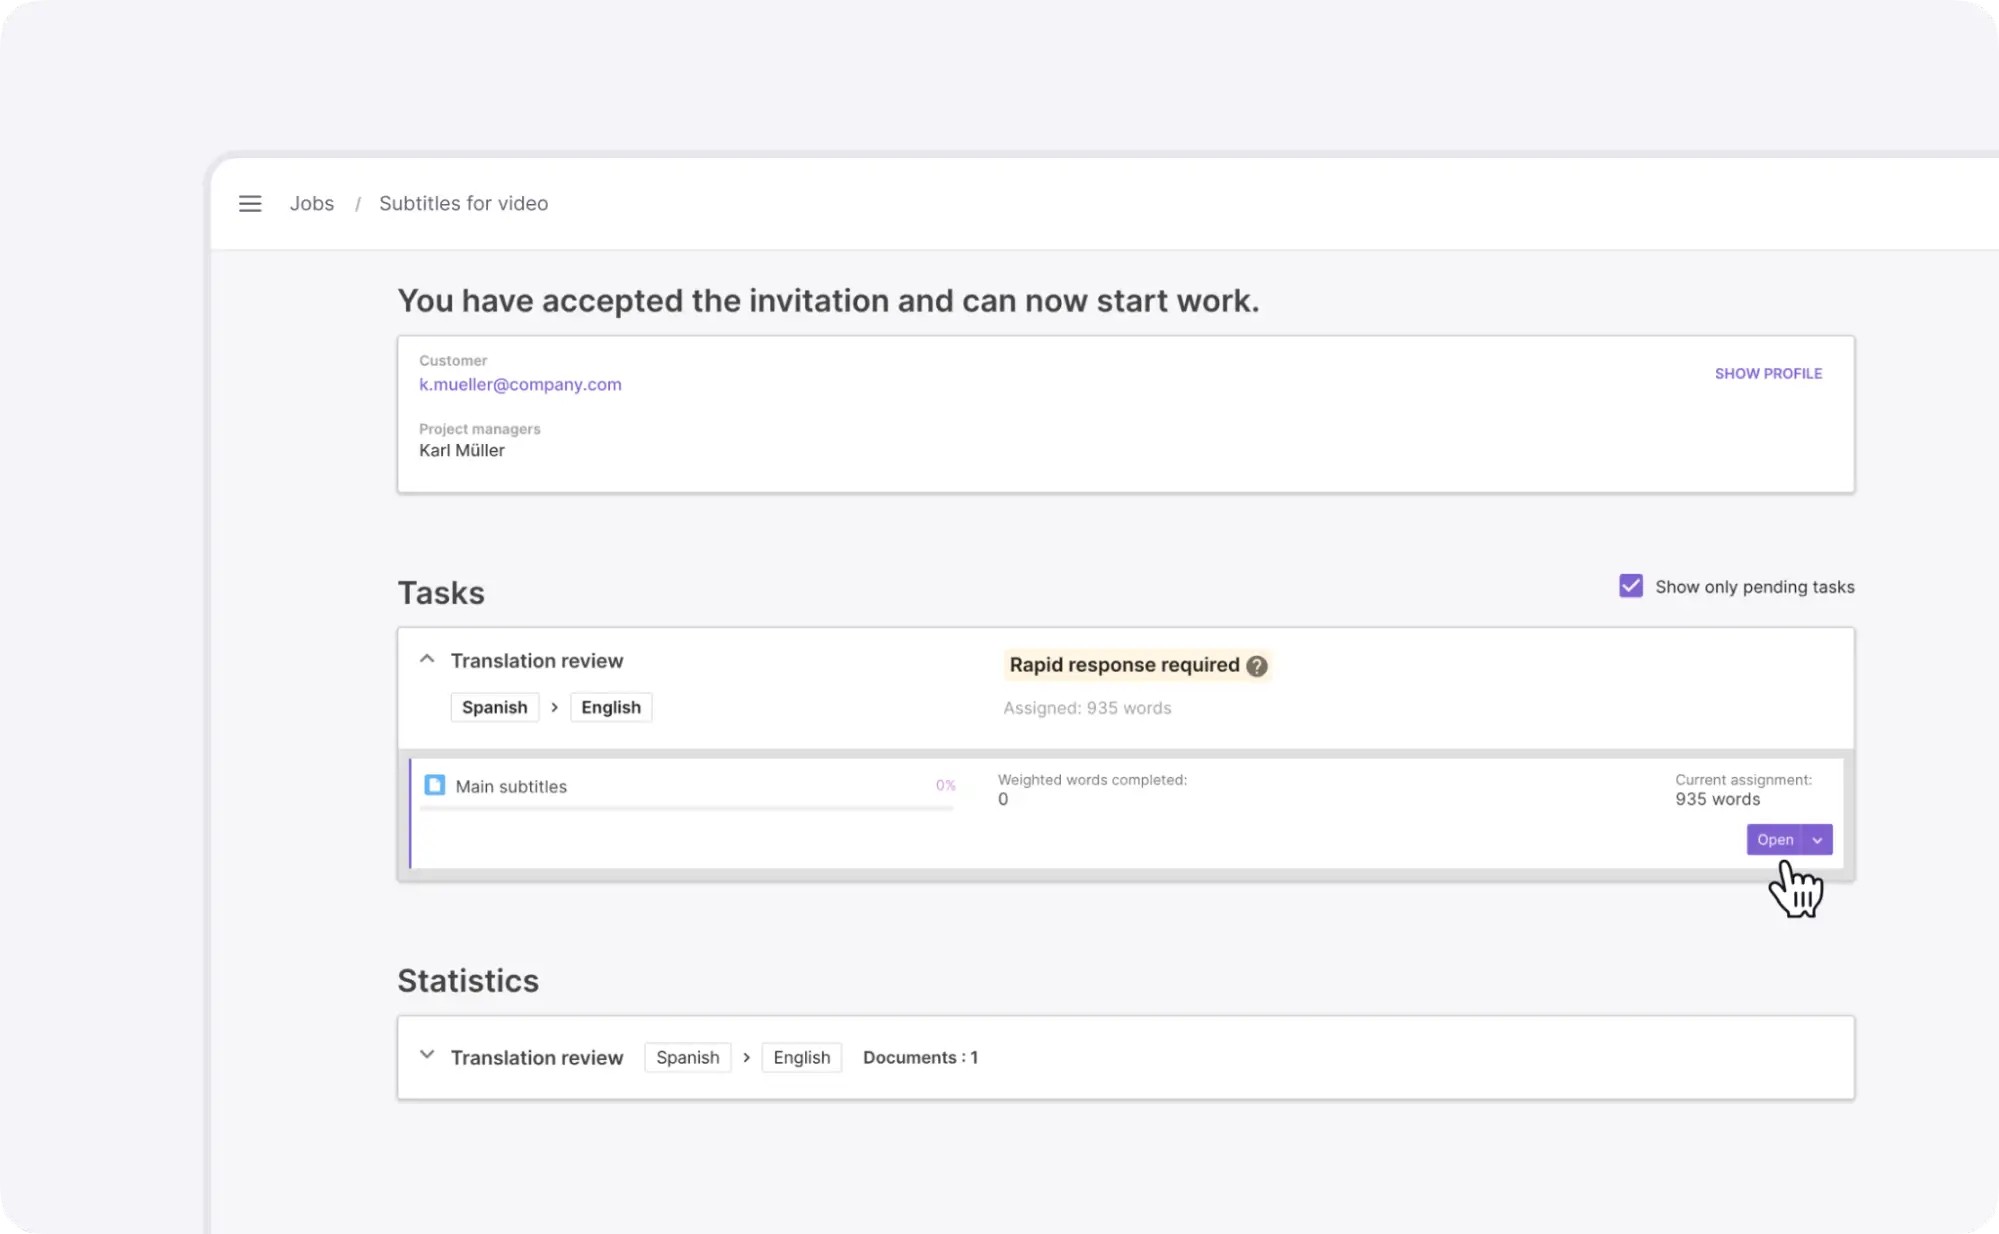
- Freelancers
- Open the subtitle file by accessing the details of the incoming task
Subtitle Editor layout
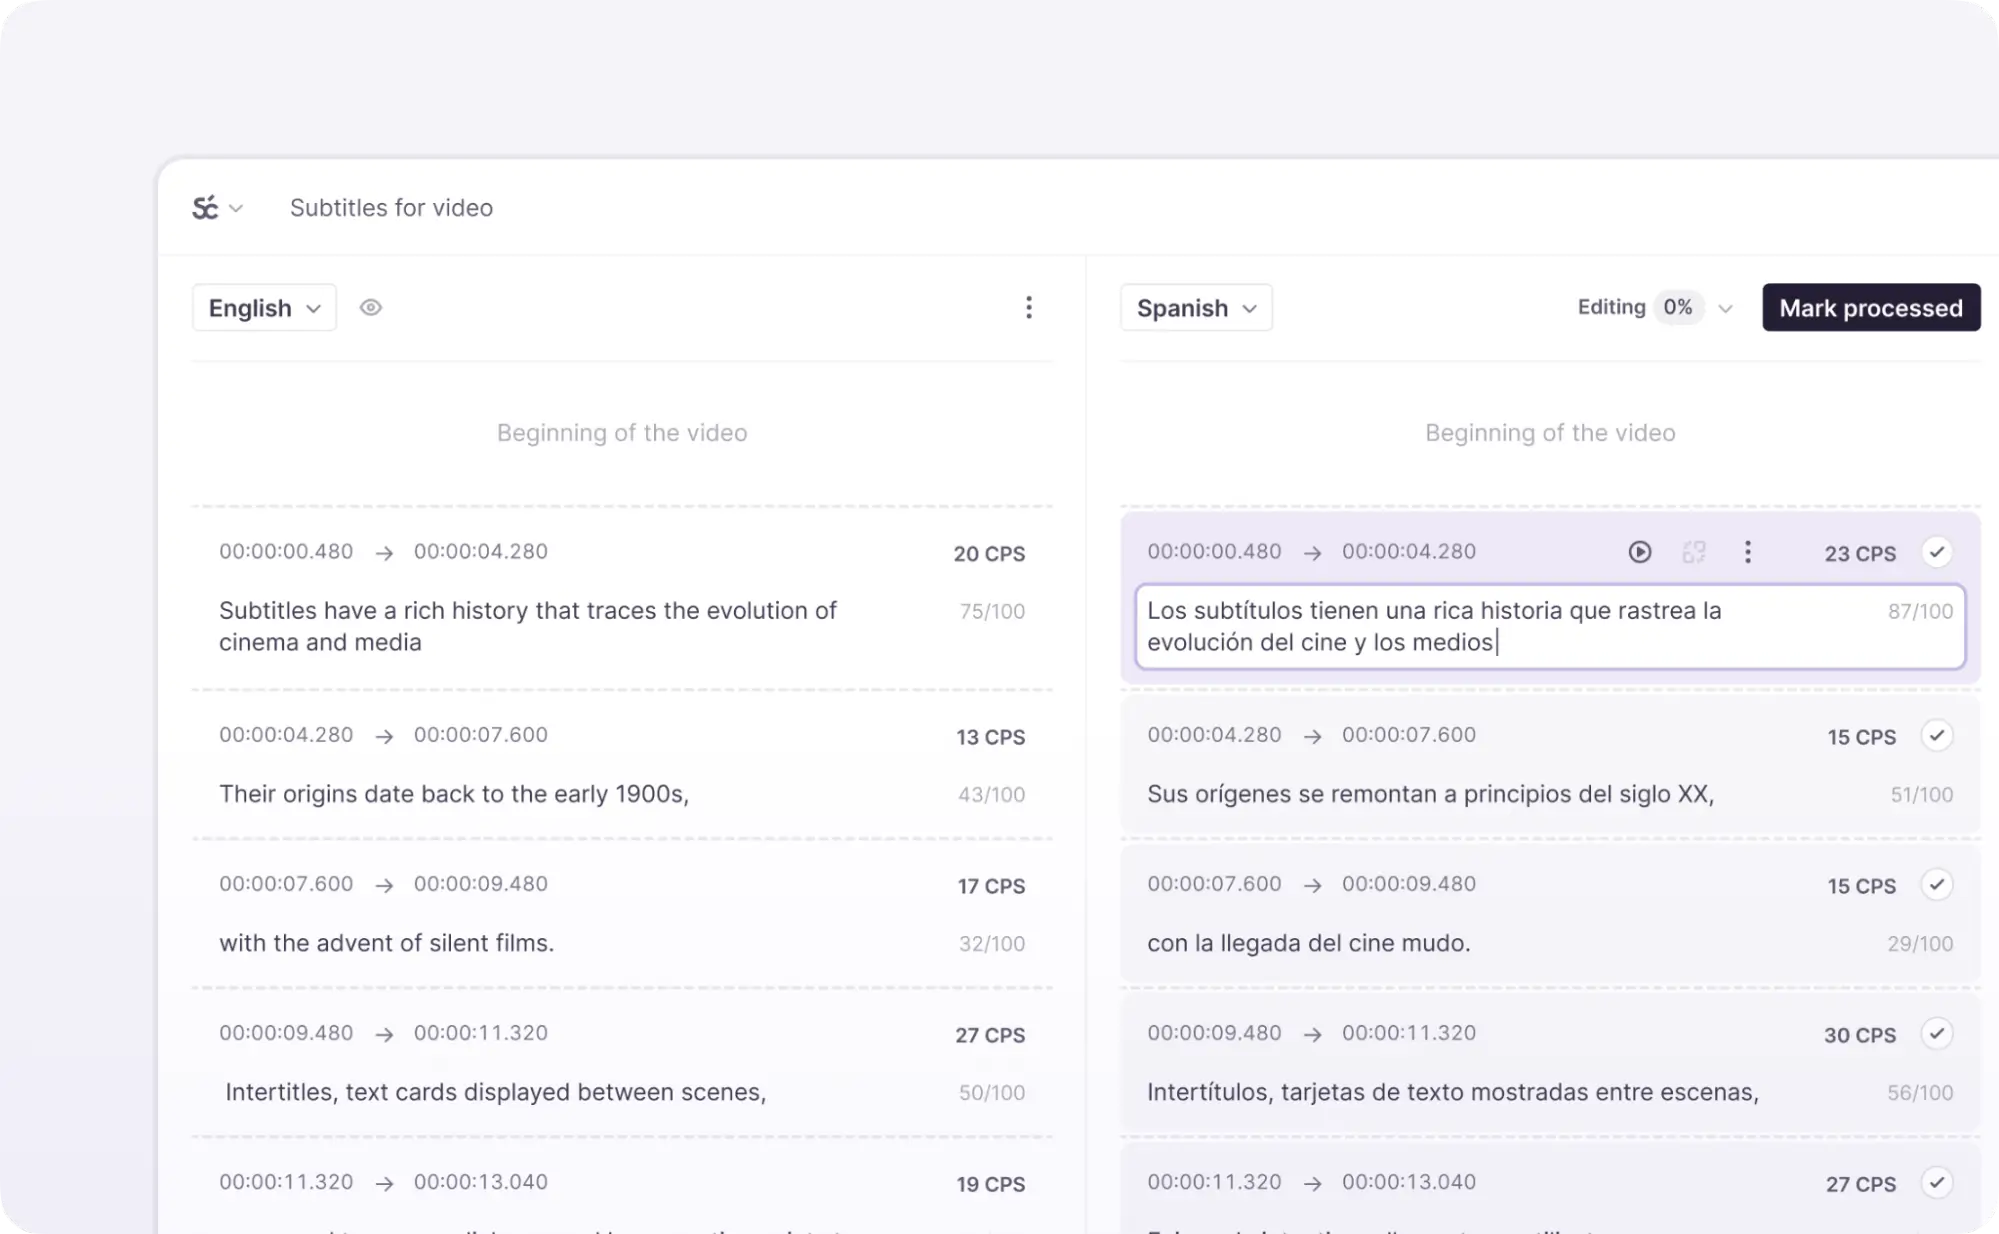
The Subtitle Editor shows both languages in two parallel columns: the source text on the left and the corresponding translation on the right, displayed in so-called "cues".
In the Subtitle Editor, text is divided into cues with specified durations rather than full sentences. This approach optimizes subtitles for readability, synchronization, and audience engagement.
📌 The source text is non-editable and serves as a reference for creating accurate translations.
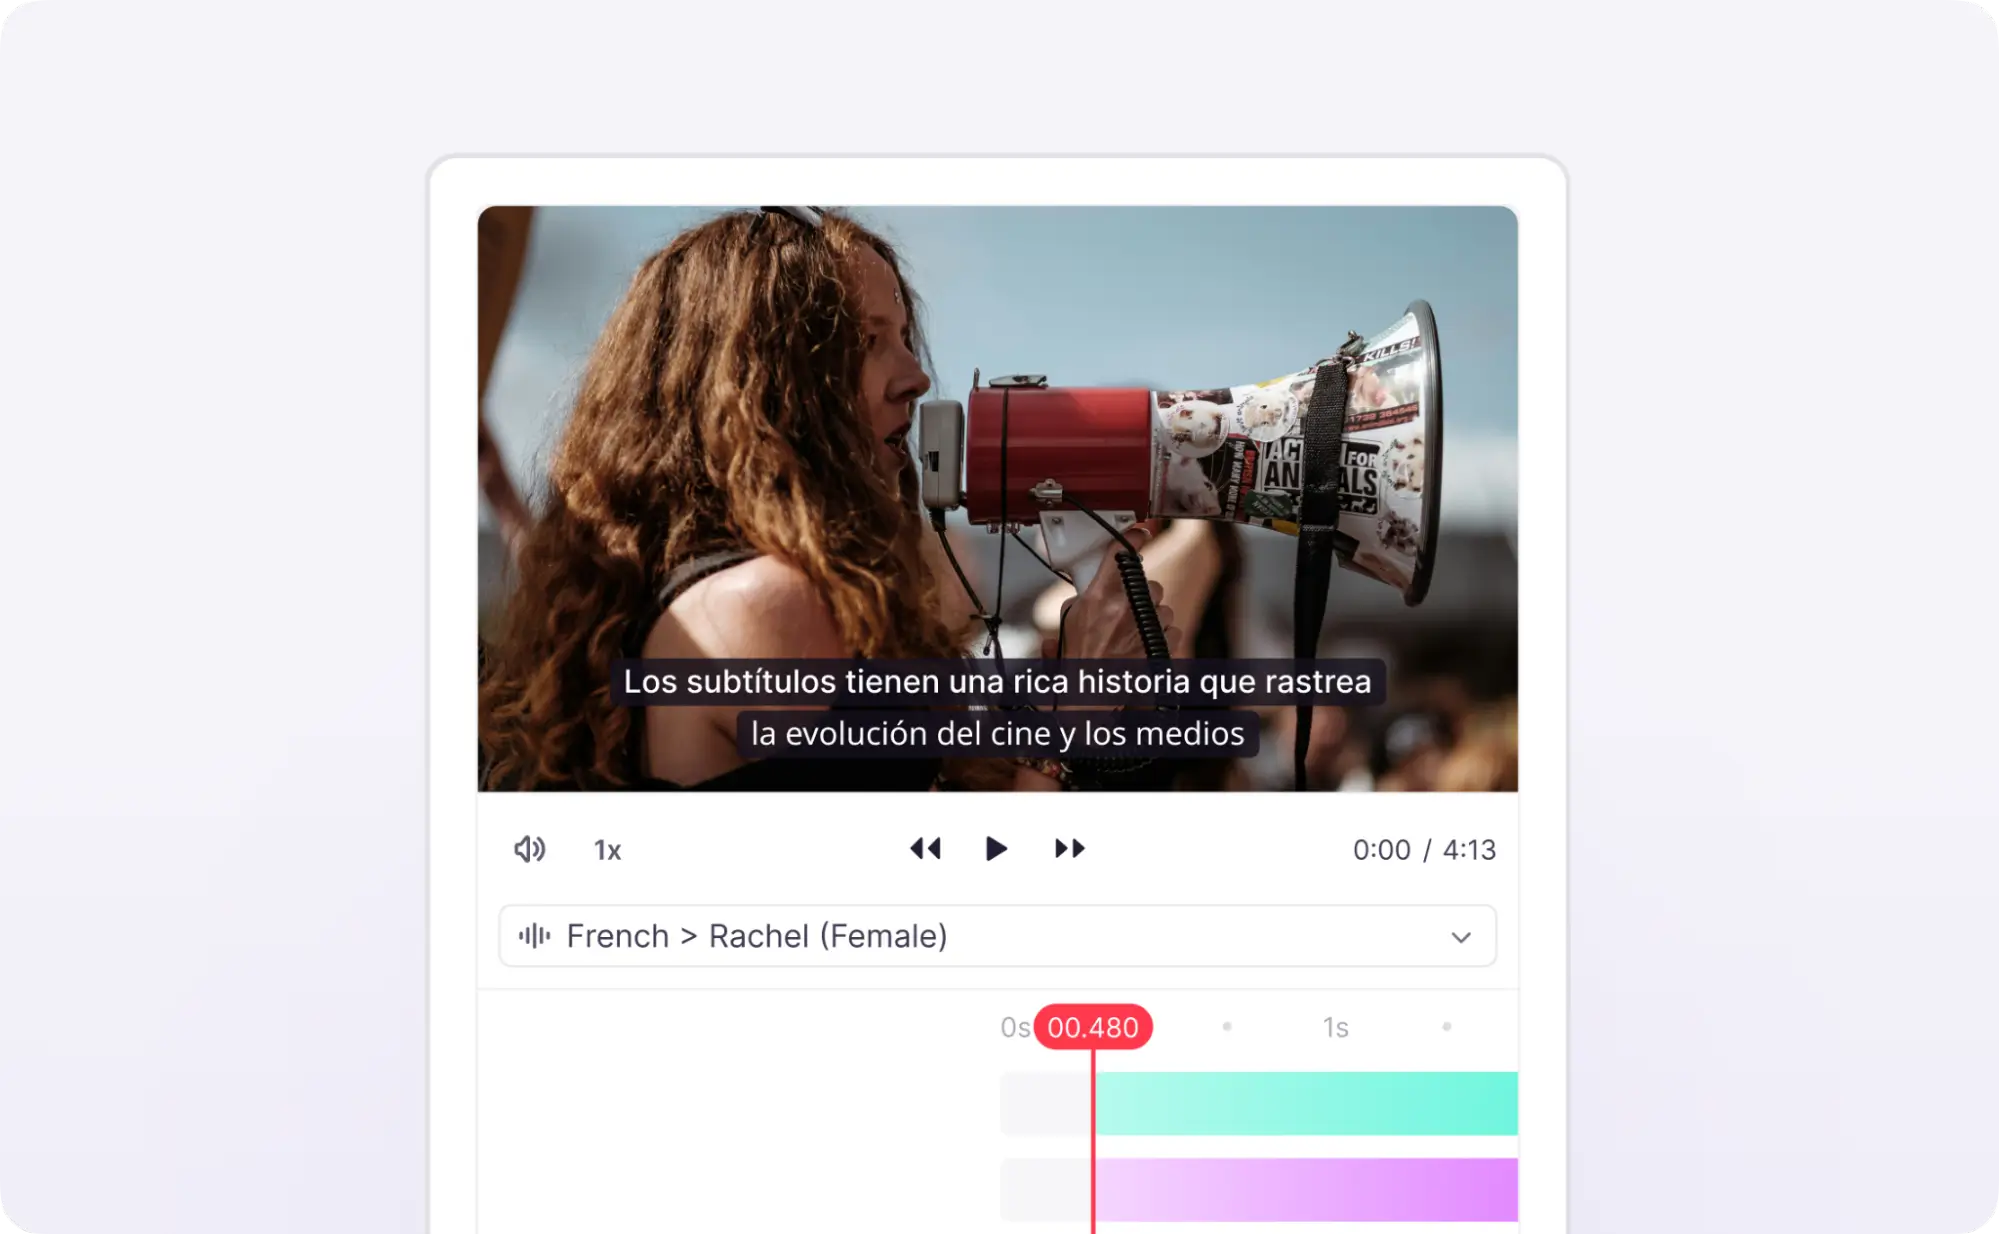
On the far right, you will find the preview area and the timeline panel. The timeline panel shows how subtitles are distributed over time, providing a clear visual representation of their placement and duration.
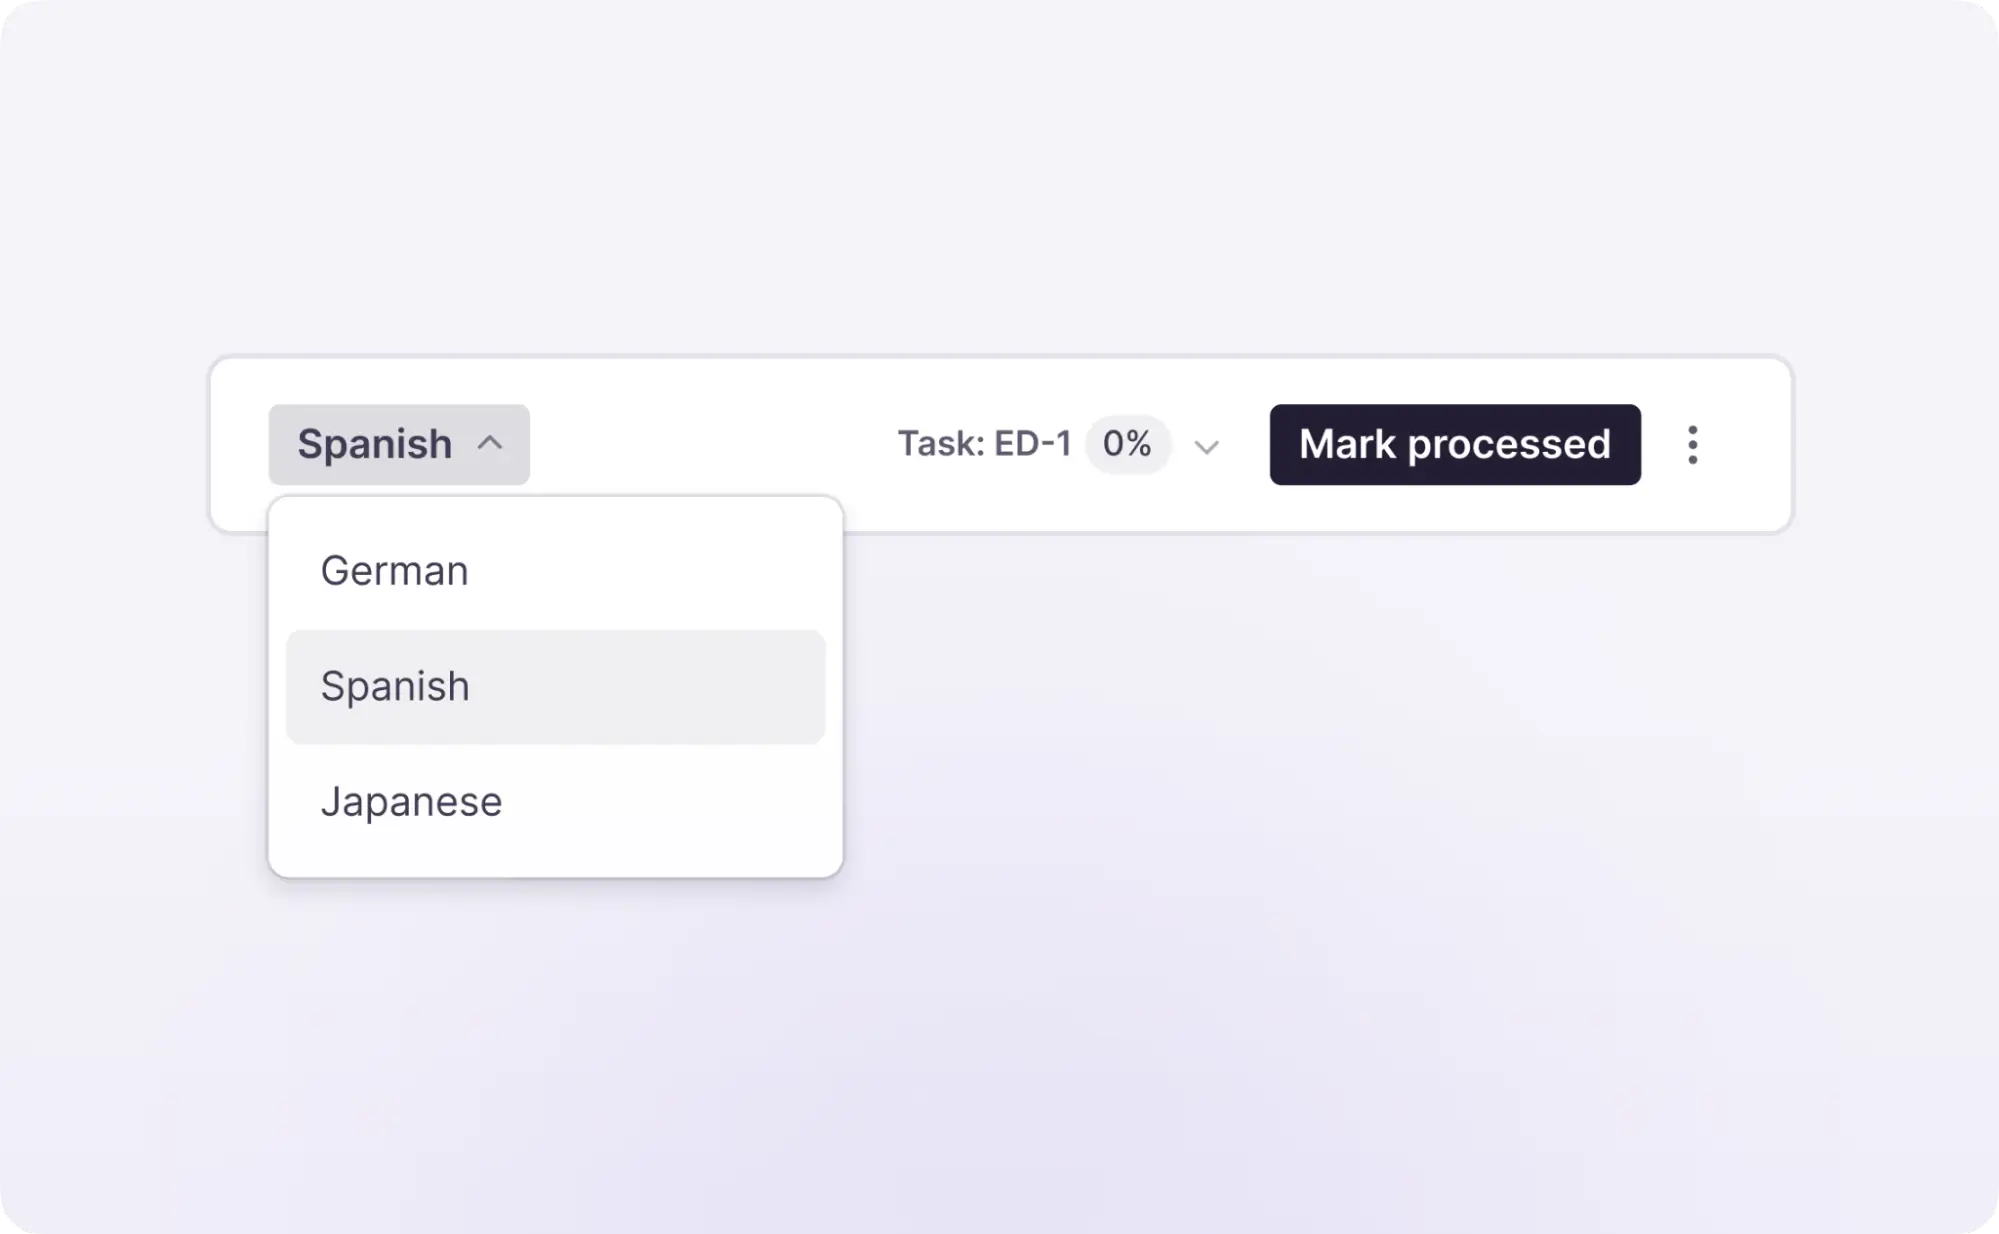
For organizations: to manage multiple target languages, click the Language selector and switch between versions.
The preview area lets you see how subtitles align with the video, while the timeline panel shows how subtitles are distributed over time, providing a clear visual representation of their placement and duration.
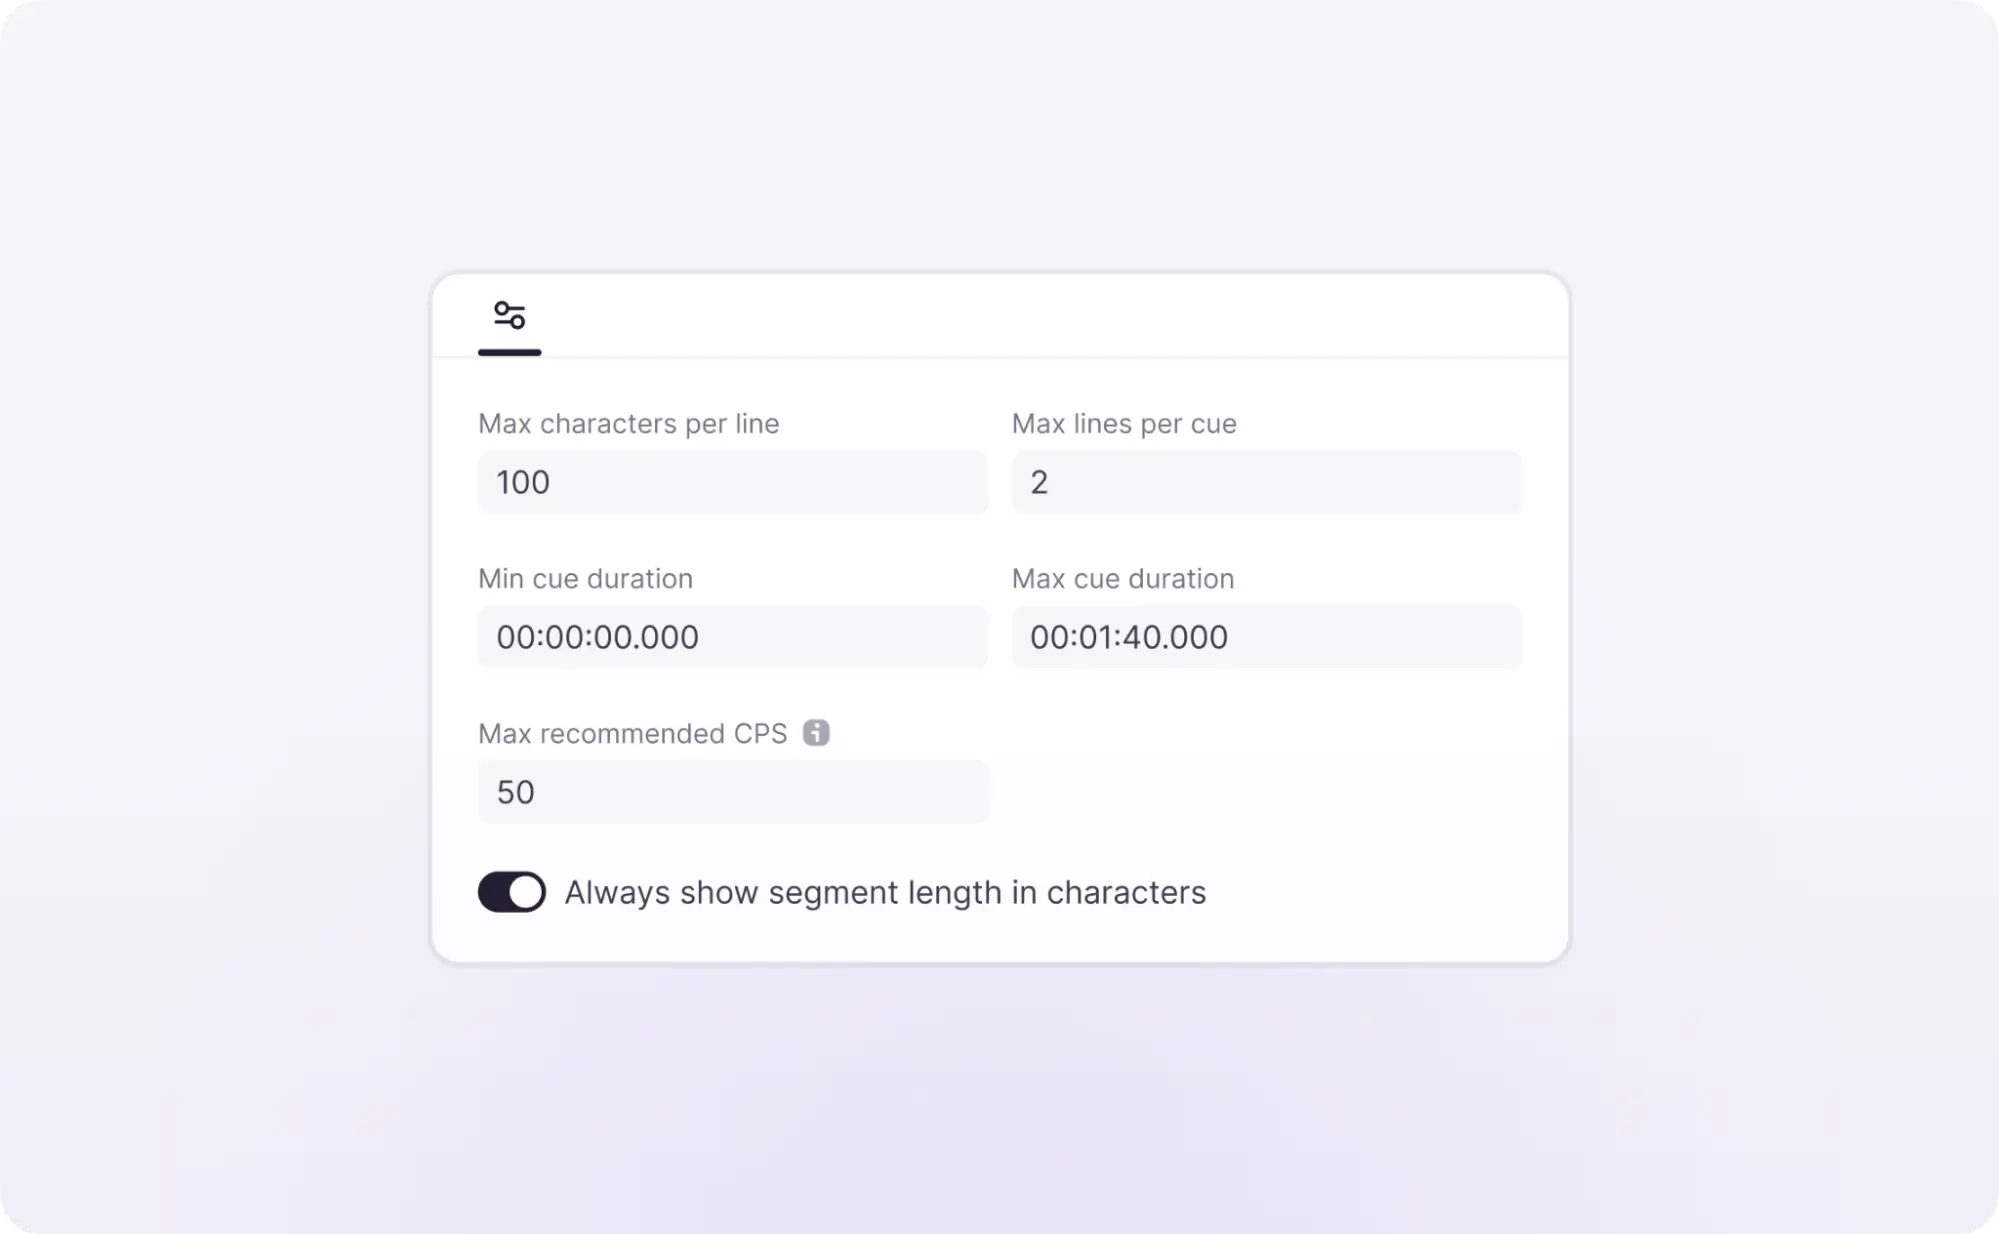
Below the preview area is the Settings section, where you can configure parameters such as CPS (characters per second) limits, ensuring consistent quality across the subtitle file.
📌 These settings are applied locally at your user level.
How to work with cues in the Subtitle Editor
All your work takes place on the right side of the editor. Here you can add, edit, and review translations. To make edits in a cue, click its text and apply the necessary changes.
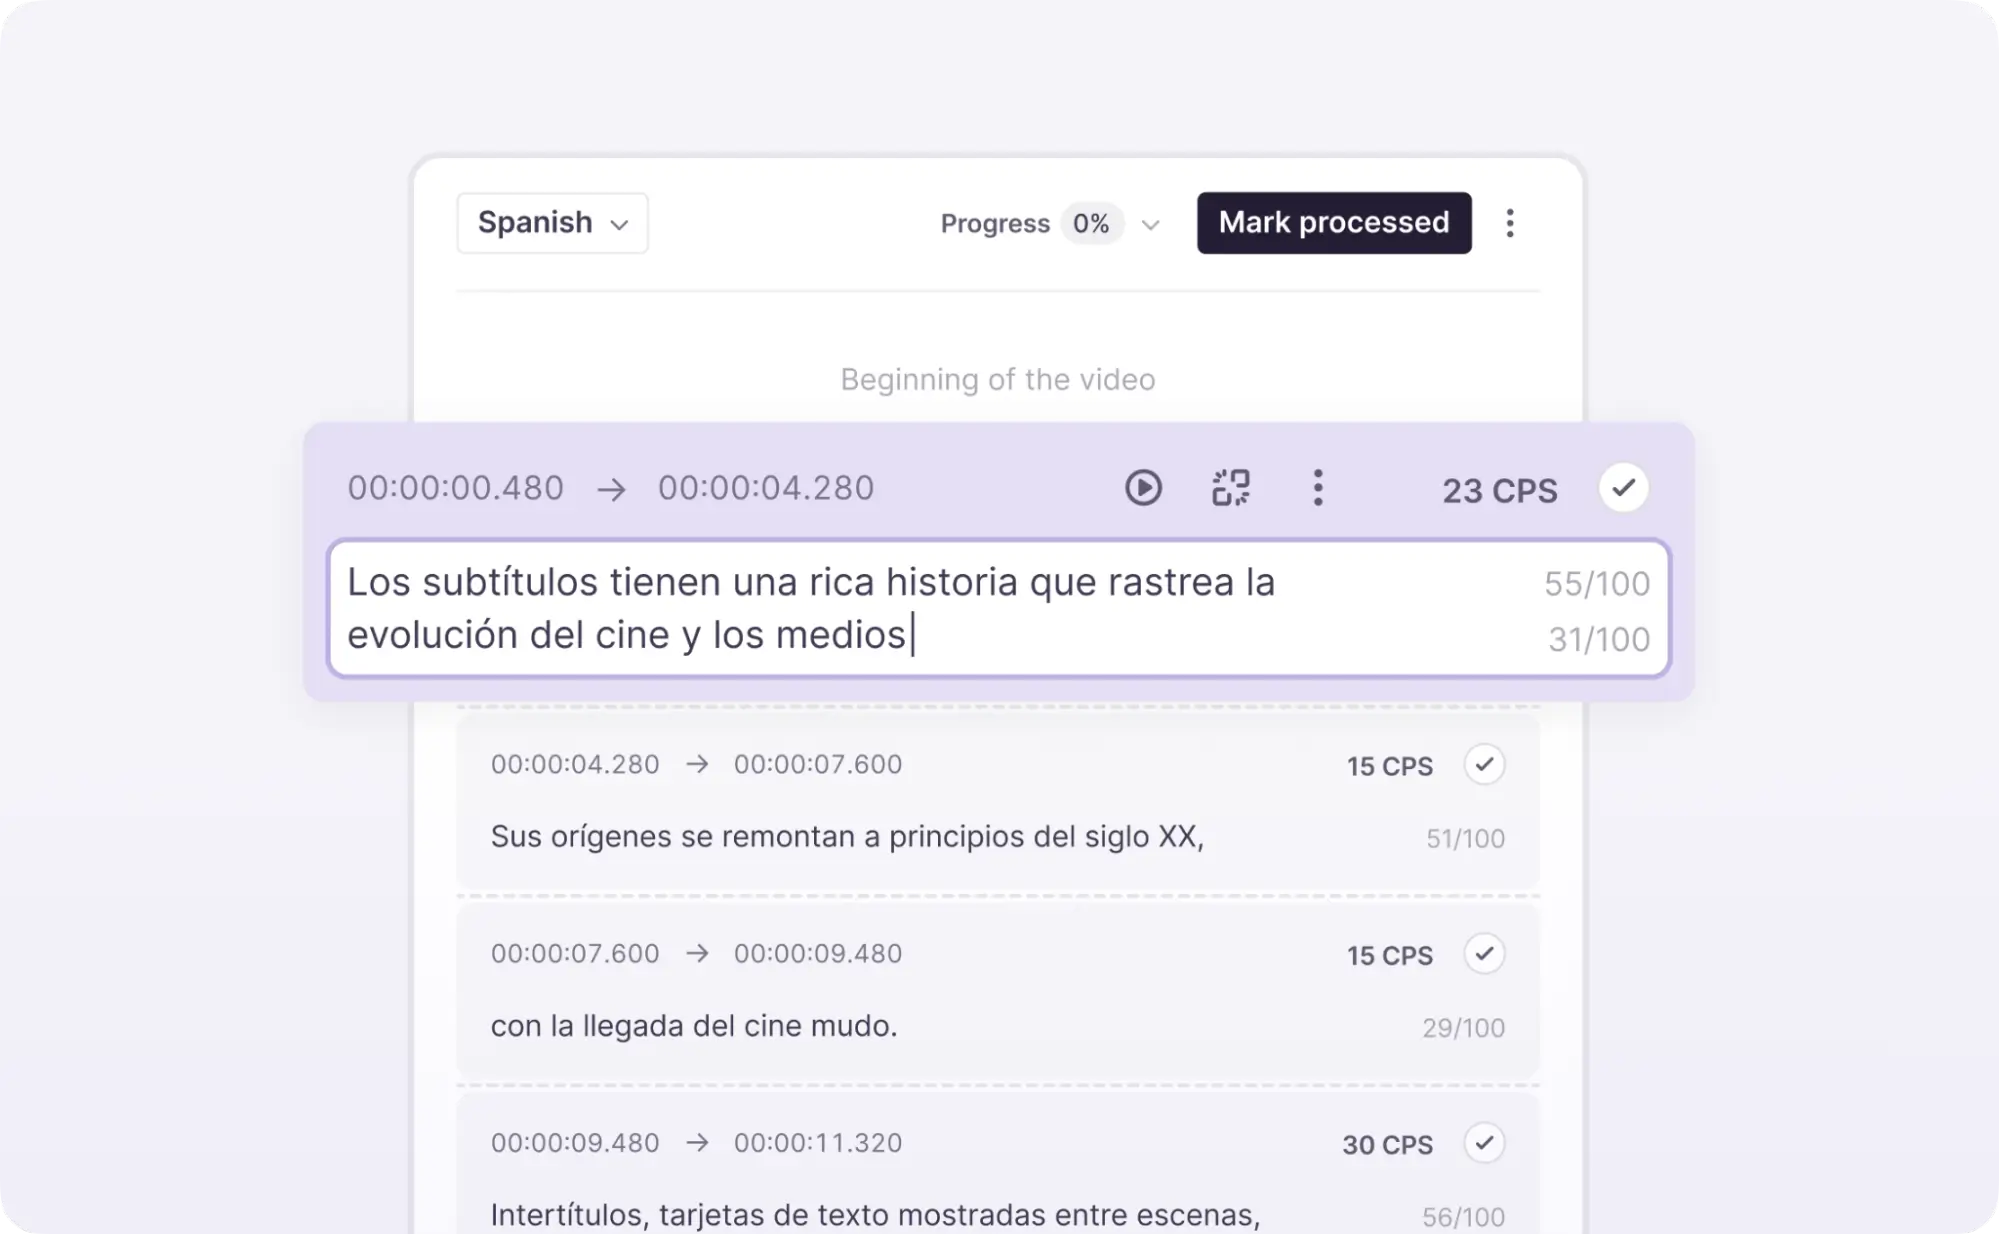
If the subtitles are not aligned with the video, you can adjust their start and end times to control their duration. Each cue has a CPS (characters per second) value, which indicates whether the reading speed is too high and whether the subtitles may not match the timing and need to be modified. You can change the CPS limit value in the Settings tab.
If you think a multi-line cue should be split into separate cues, click the Split by lines button, and it divides the cue into the exact number of lines you have. To create multiple lines within a cue, press Enter.
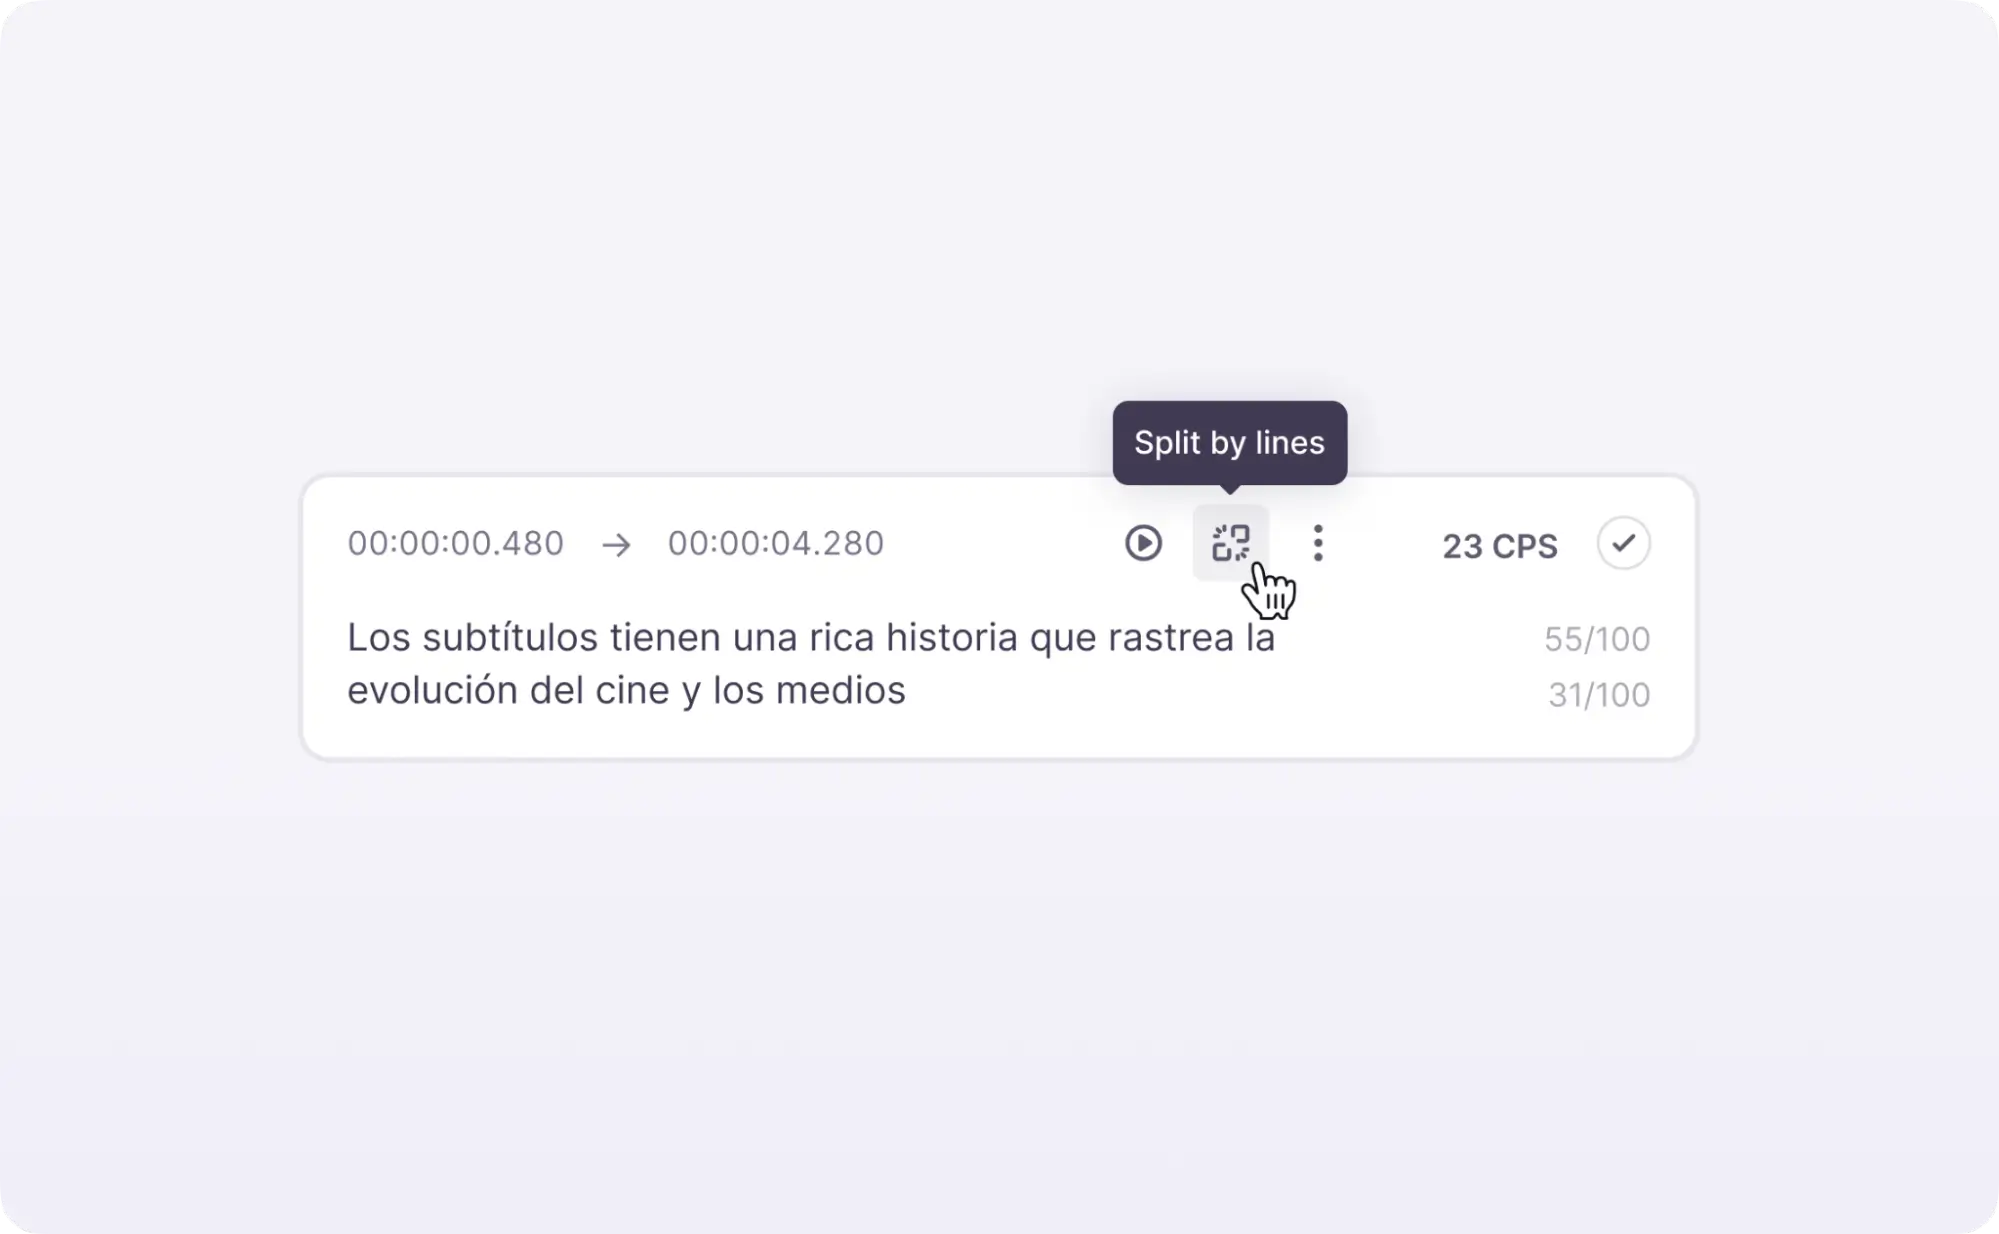
To split a multi-line cue, click the Split by lines button. Press Enter to create multiple lines within a cue.
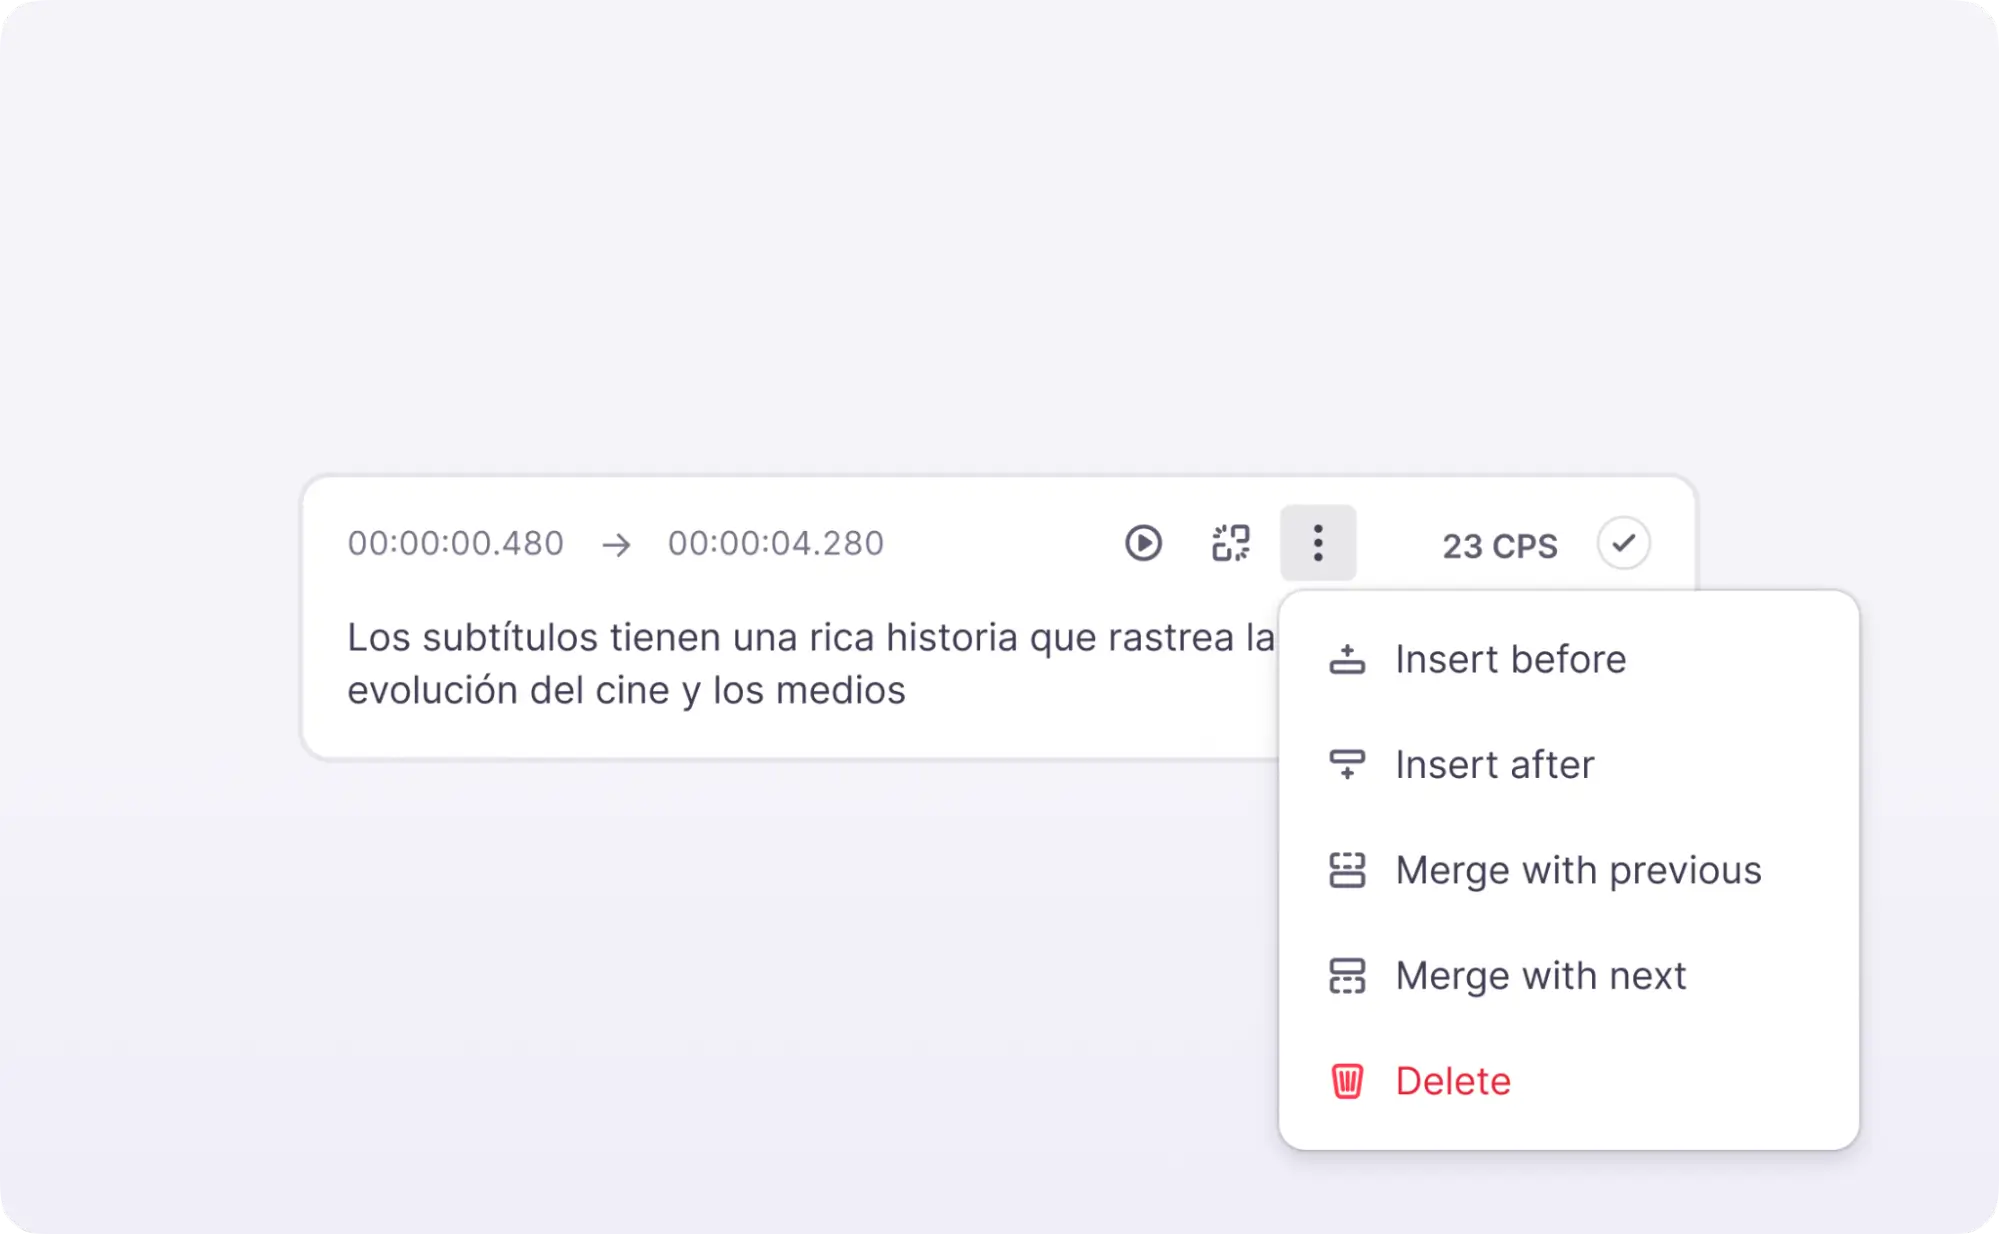
Need to merge cues, delete existing ones, or add new ones? Click the Dots button and select the desired option from the dropdown menu.
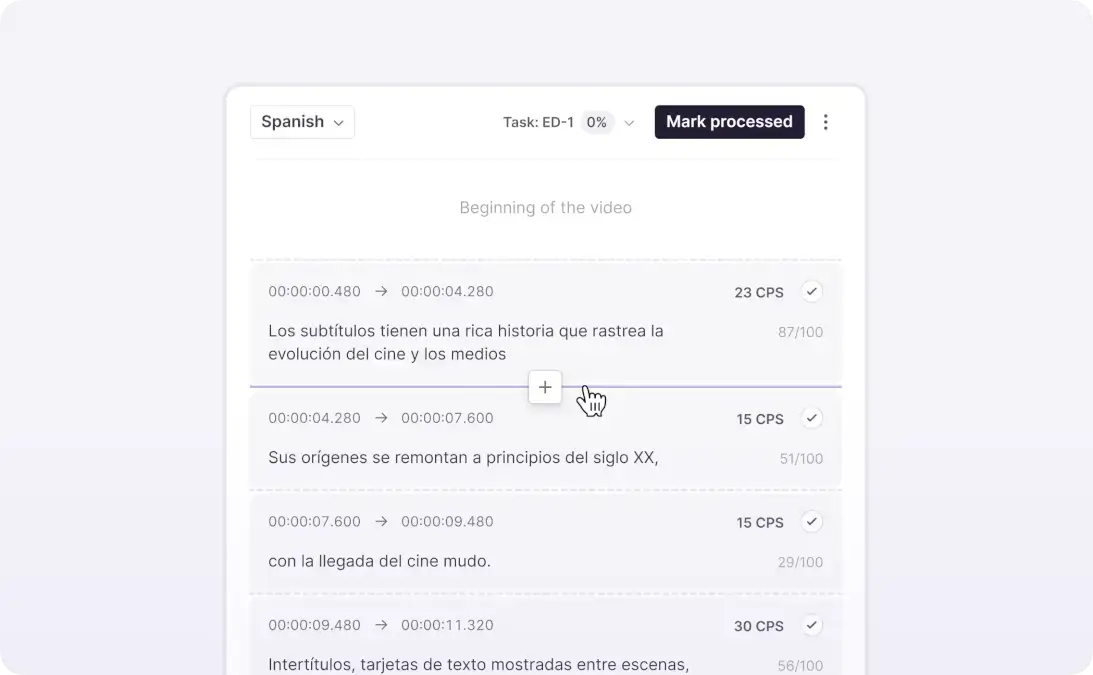
For a faster experience, hover over a border and click the Insert cue button.
Track your progress
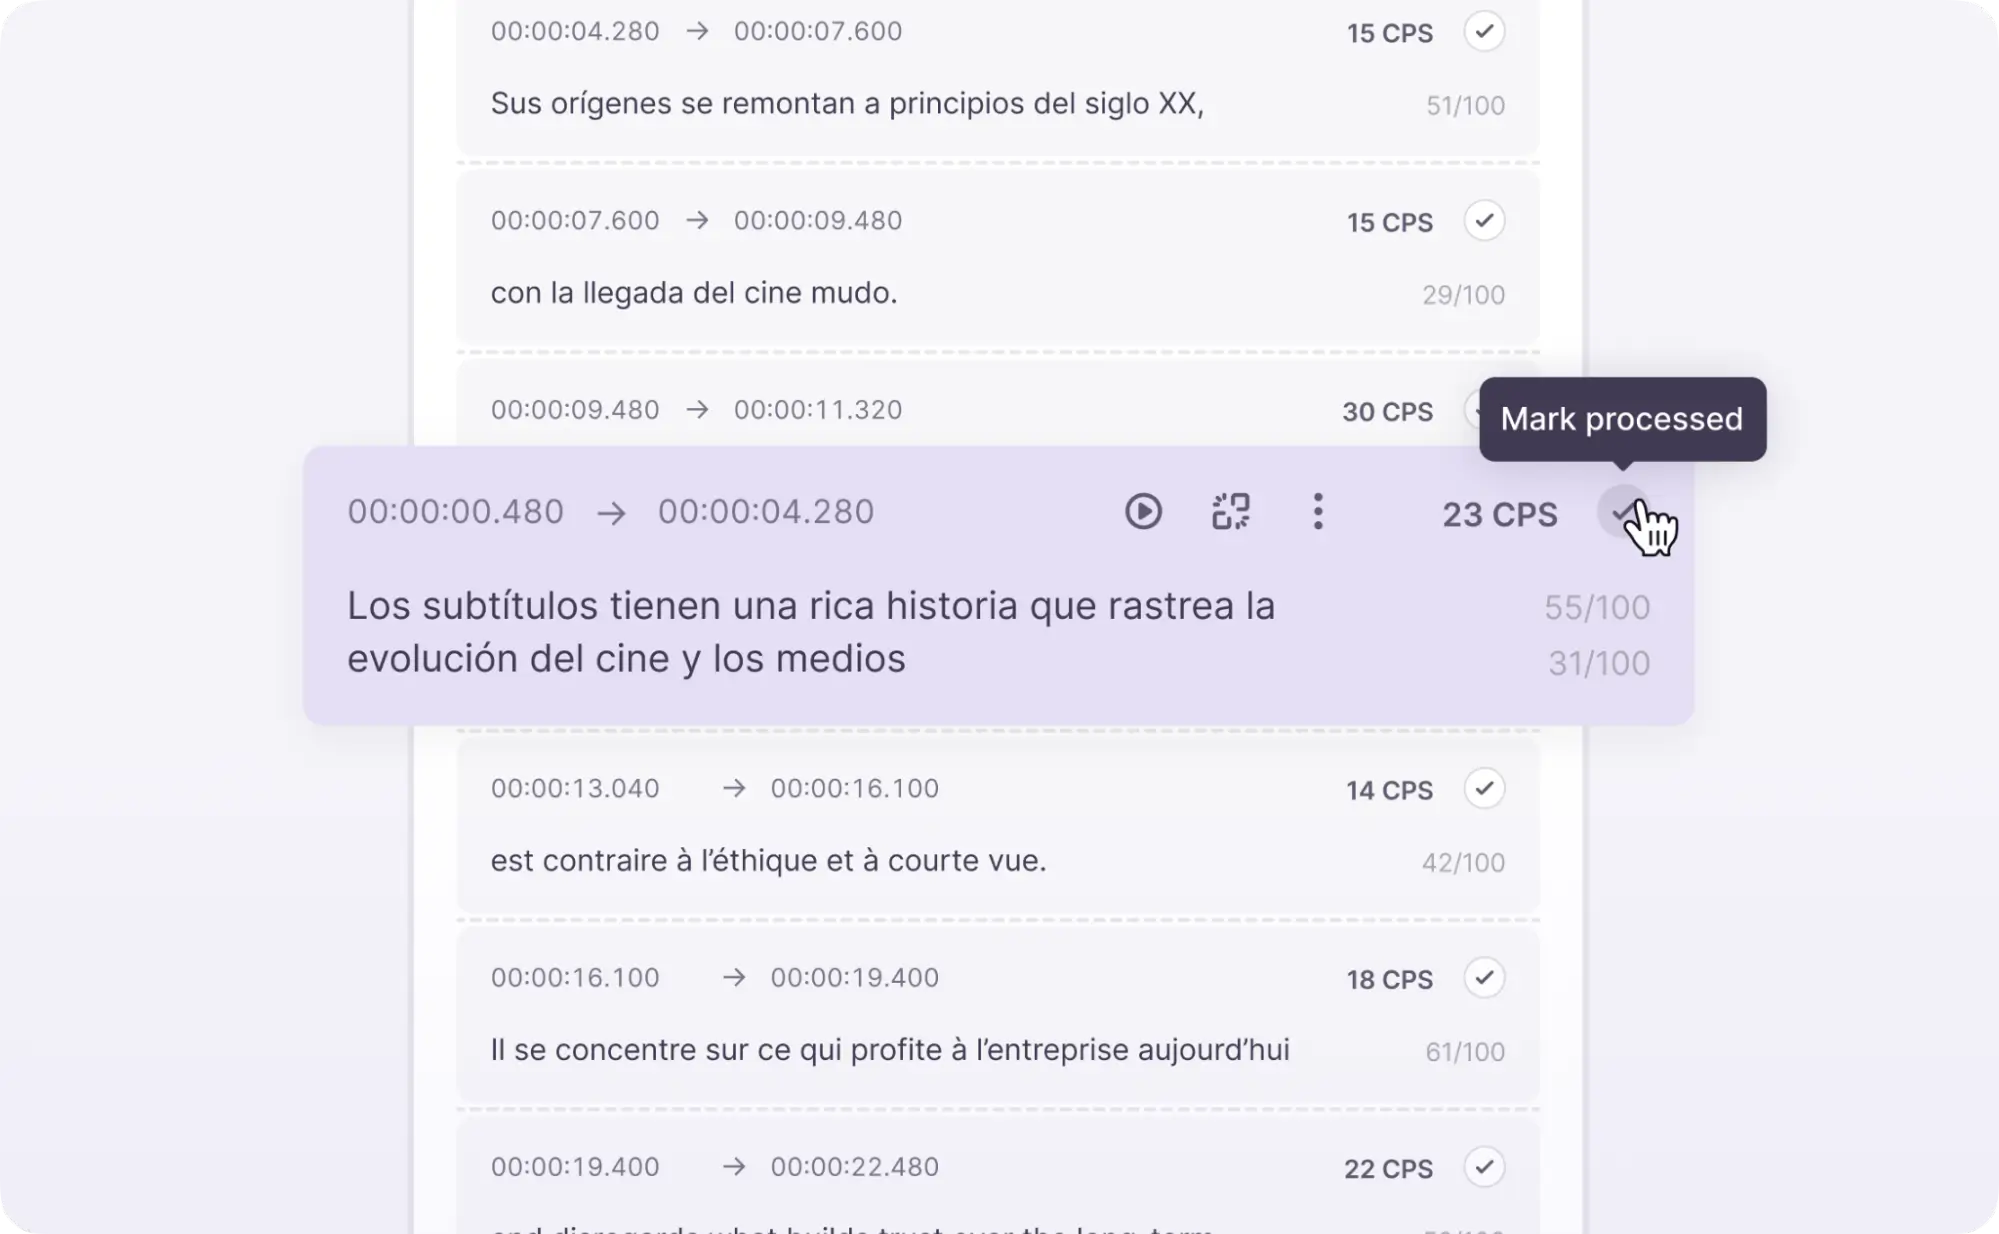
When you are satisfied with a cue translation, mark it as processed. You can continue editing the cue if you spot areas for improvement, right up until you click the Mark Processed file button in the control bar.
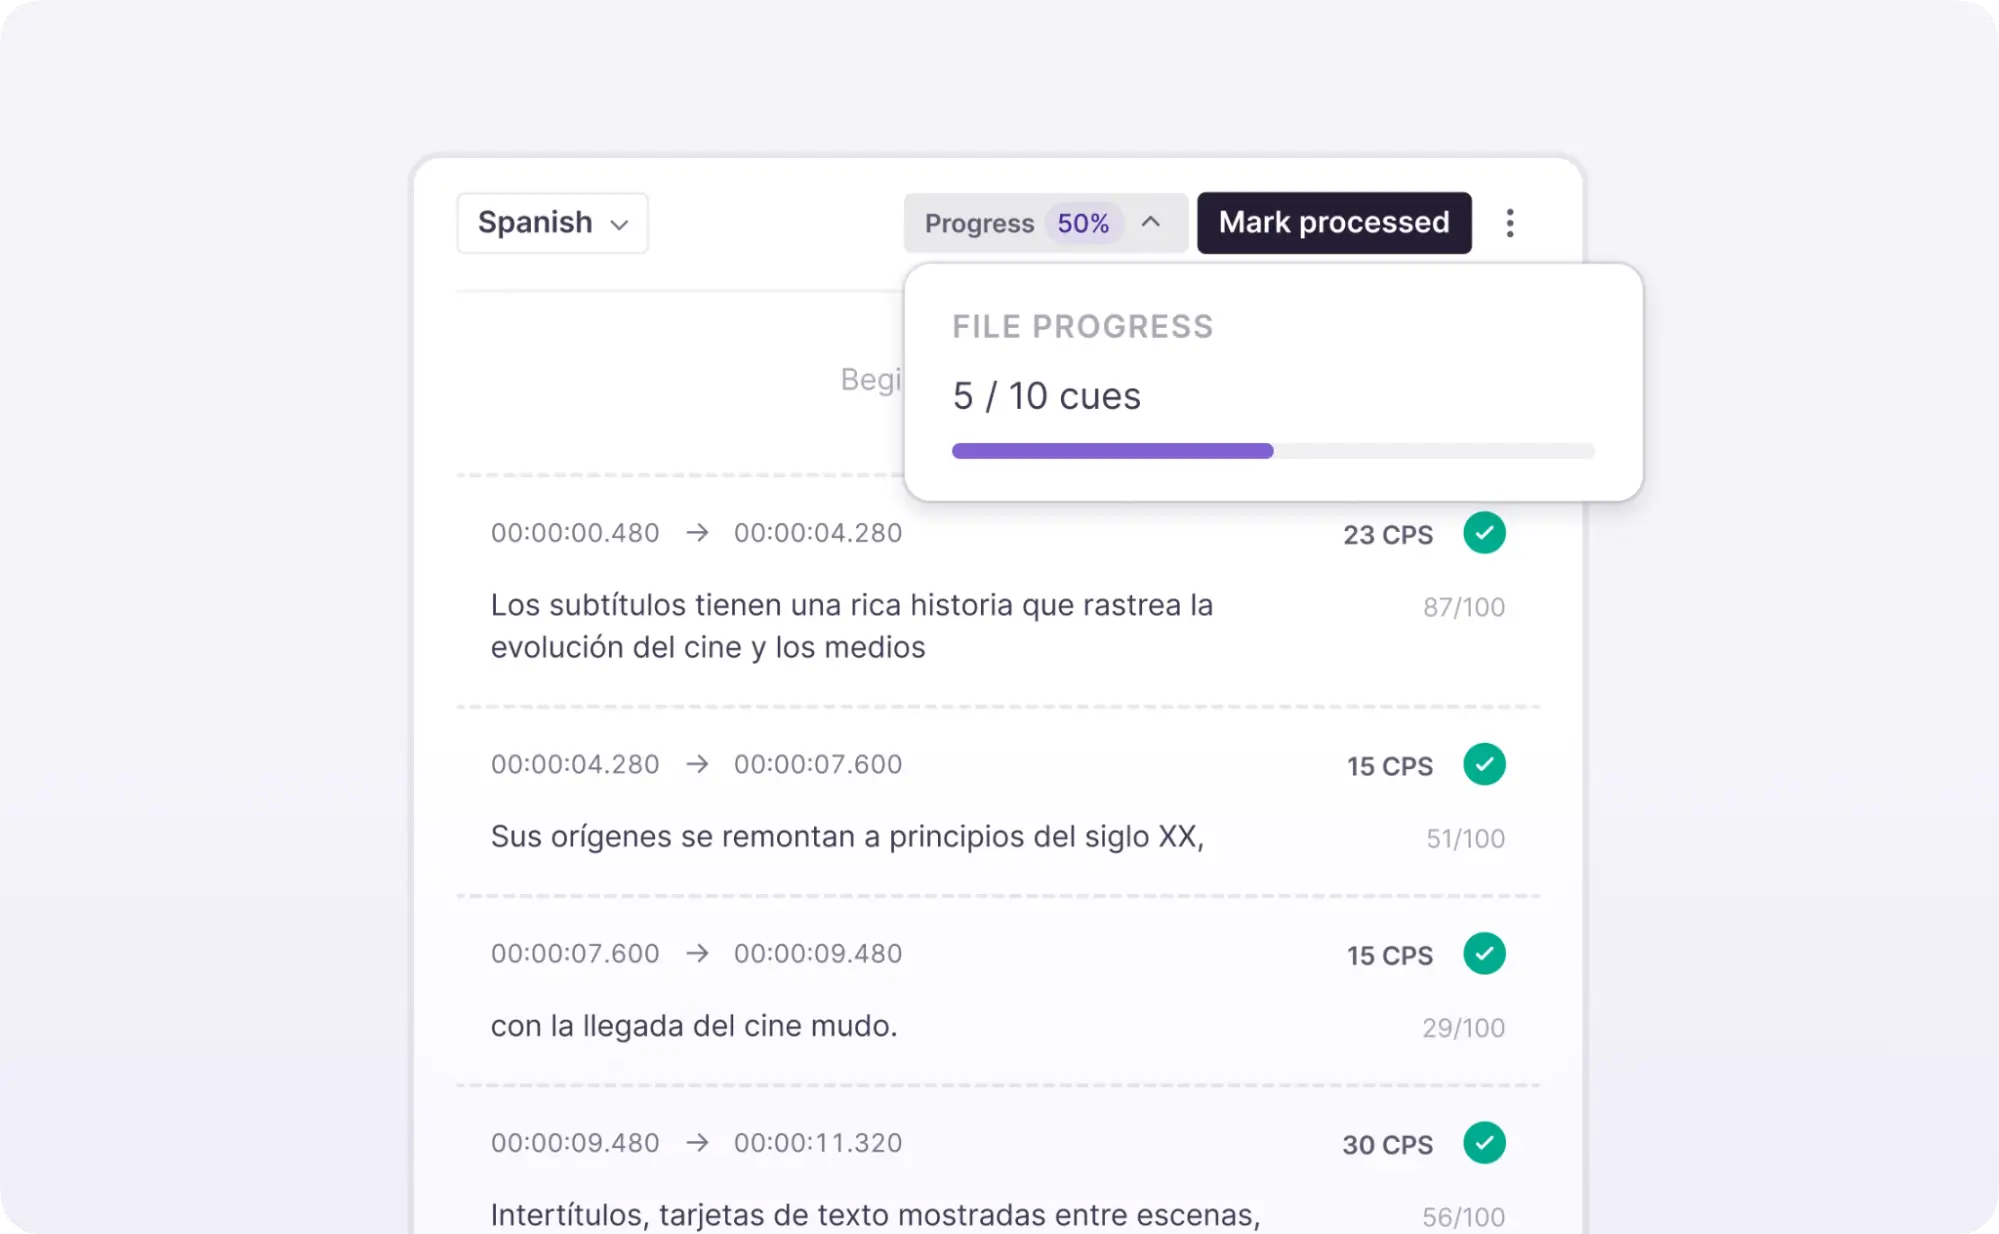
Track your progress by clicking the Progress button, which shows how much of the file you have completed.
What to do when you are done
When you believe the translation of the file is ready, click the Mark Processed button in the control bar to finish working on the subtitles. You can use this button even if no cues have been marked as processed.
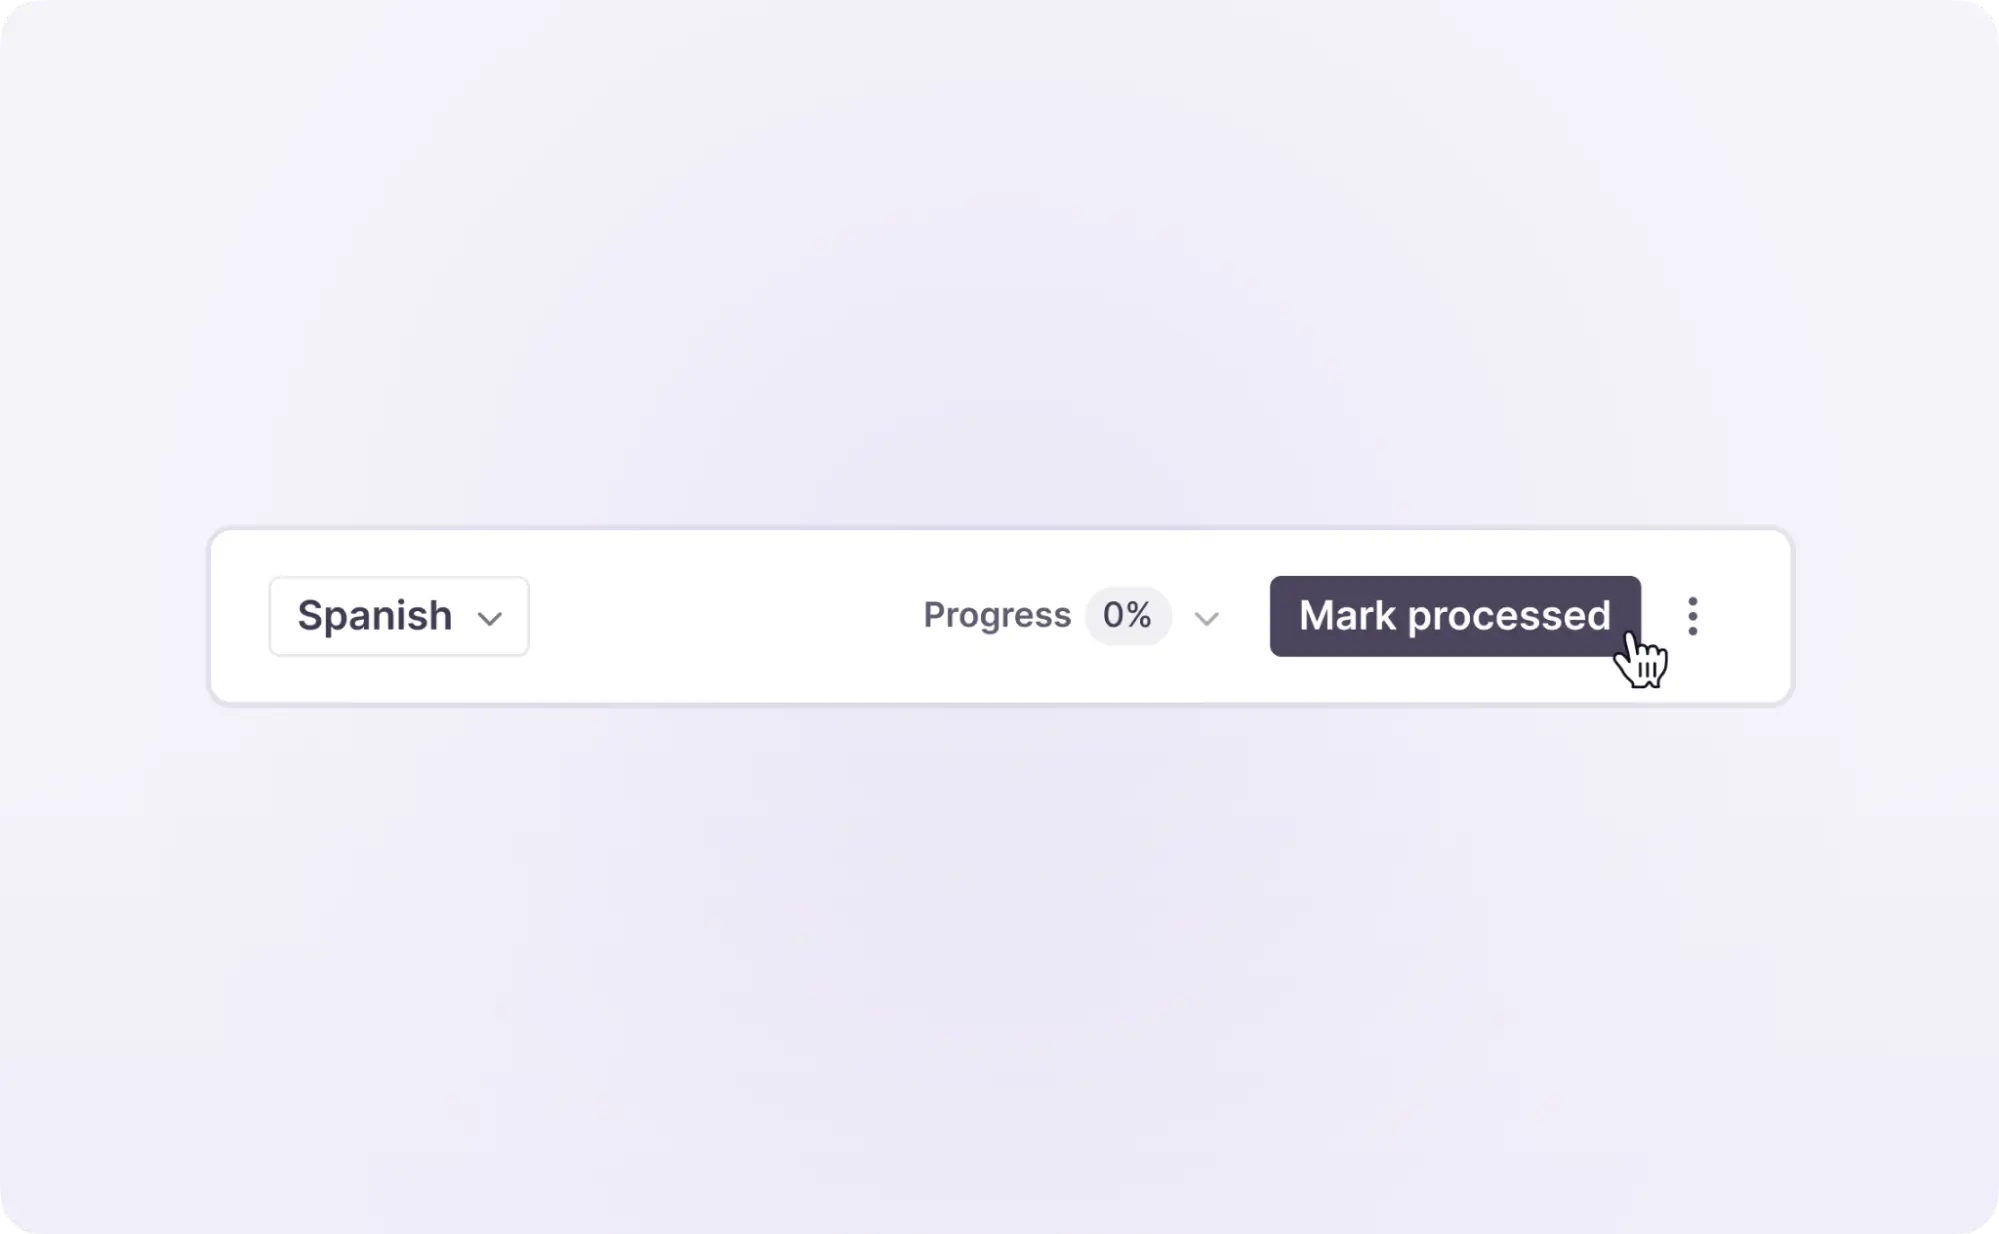
If you are not ready to finish the task, you can export the subtitle file by clicking the Download button above the language version and choosing your desired file type. Subtitle files can be exported in two formats: SRT and VTT.
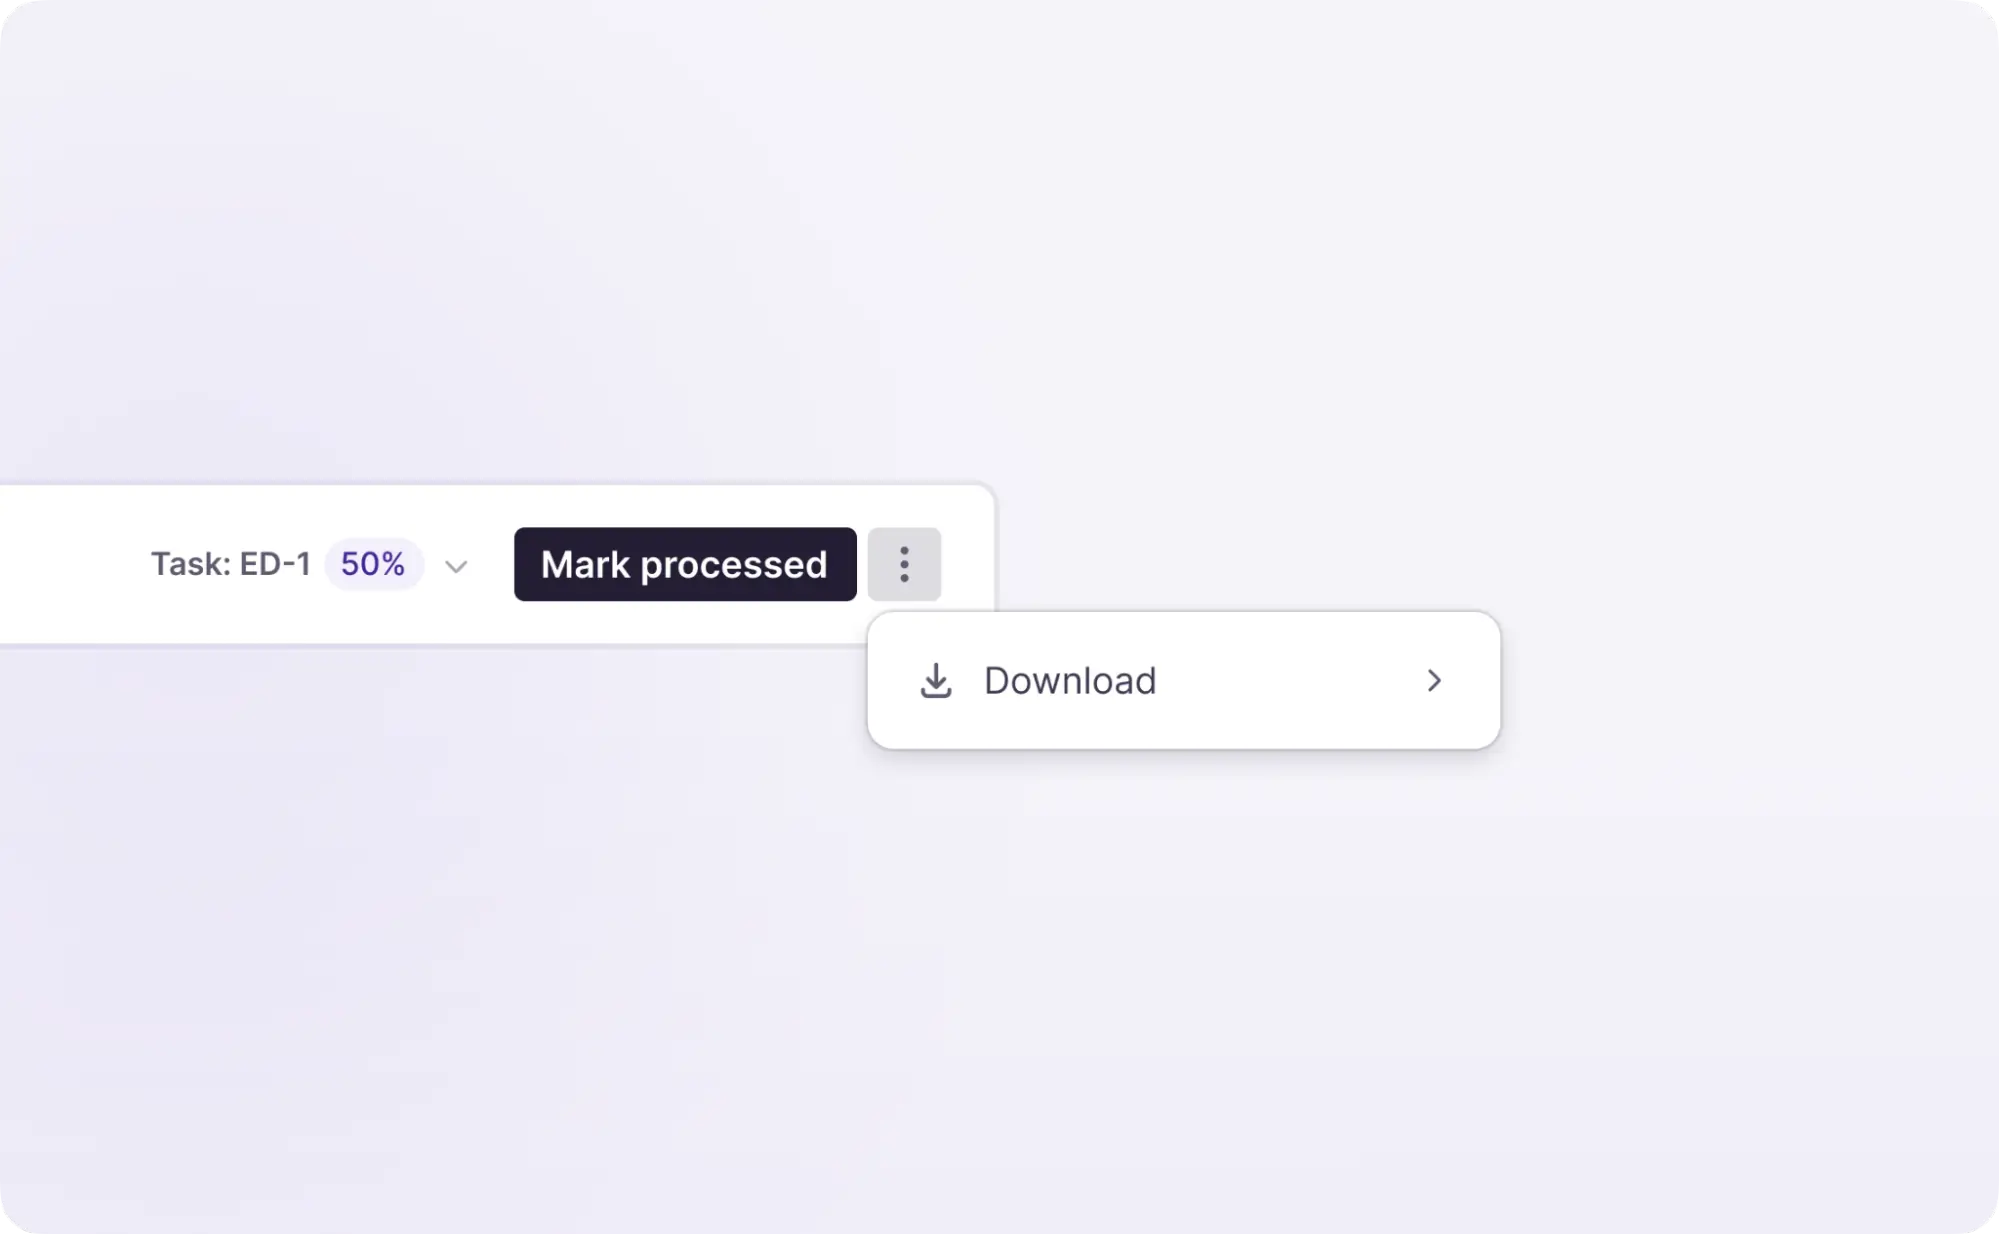
Get translated video
To get a video in another language (one of the target languages of the project) or dub with an AI voice, select the desired language in the selector under the Preview section.
Then preview the AI voices and select the appropriate one. Select another AI voice and preview your video with it.
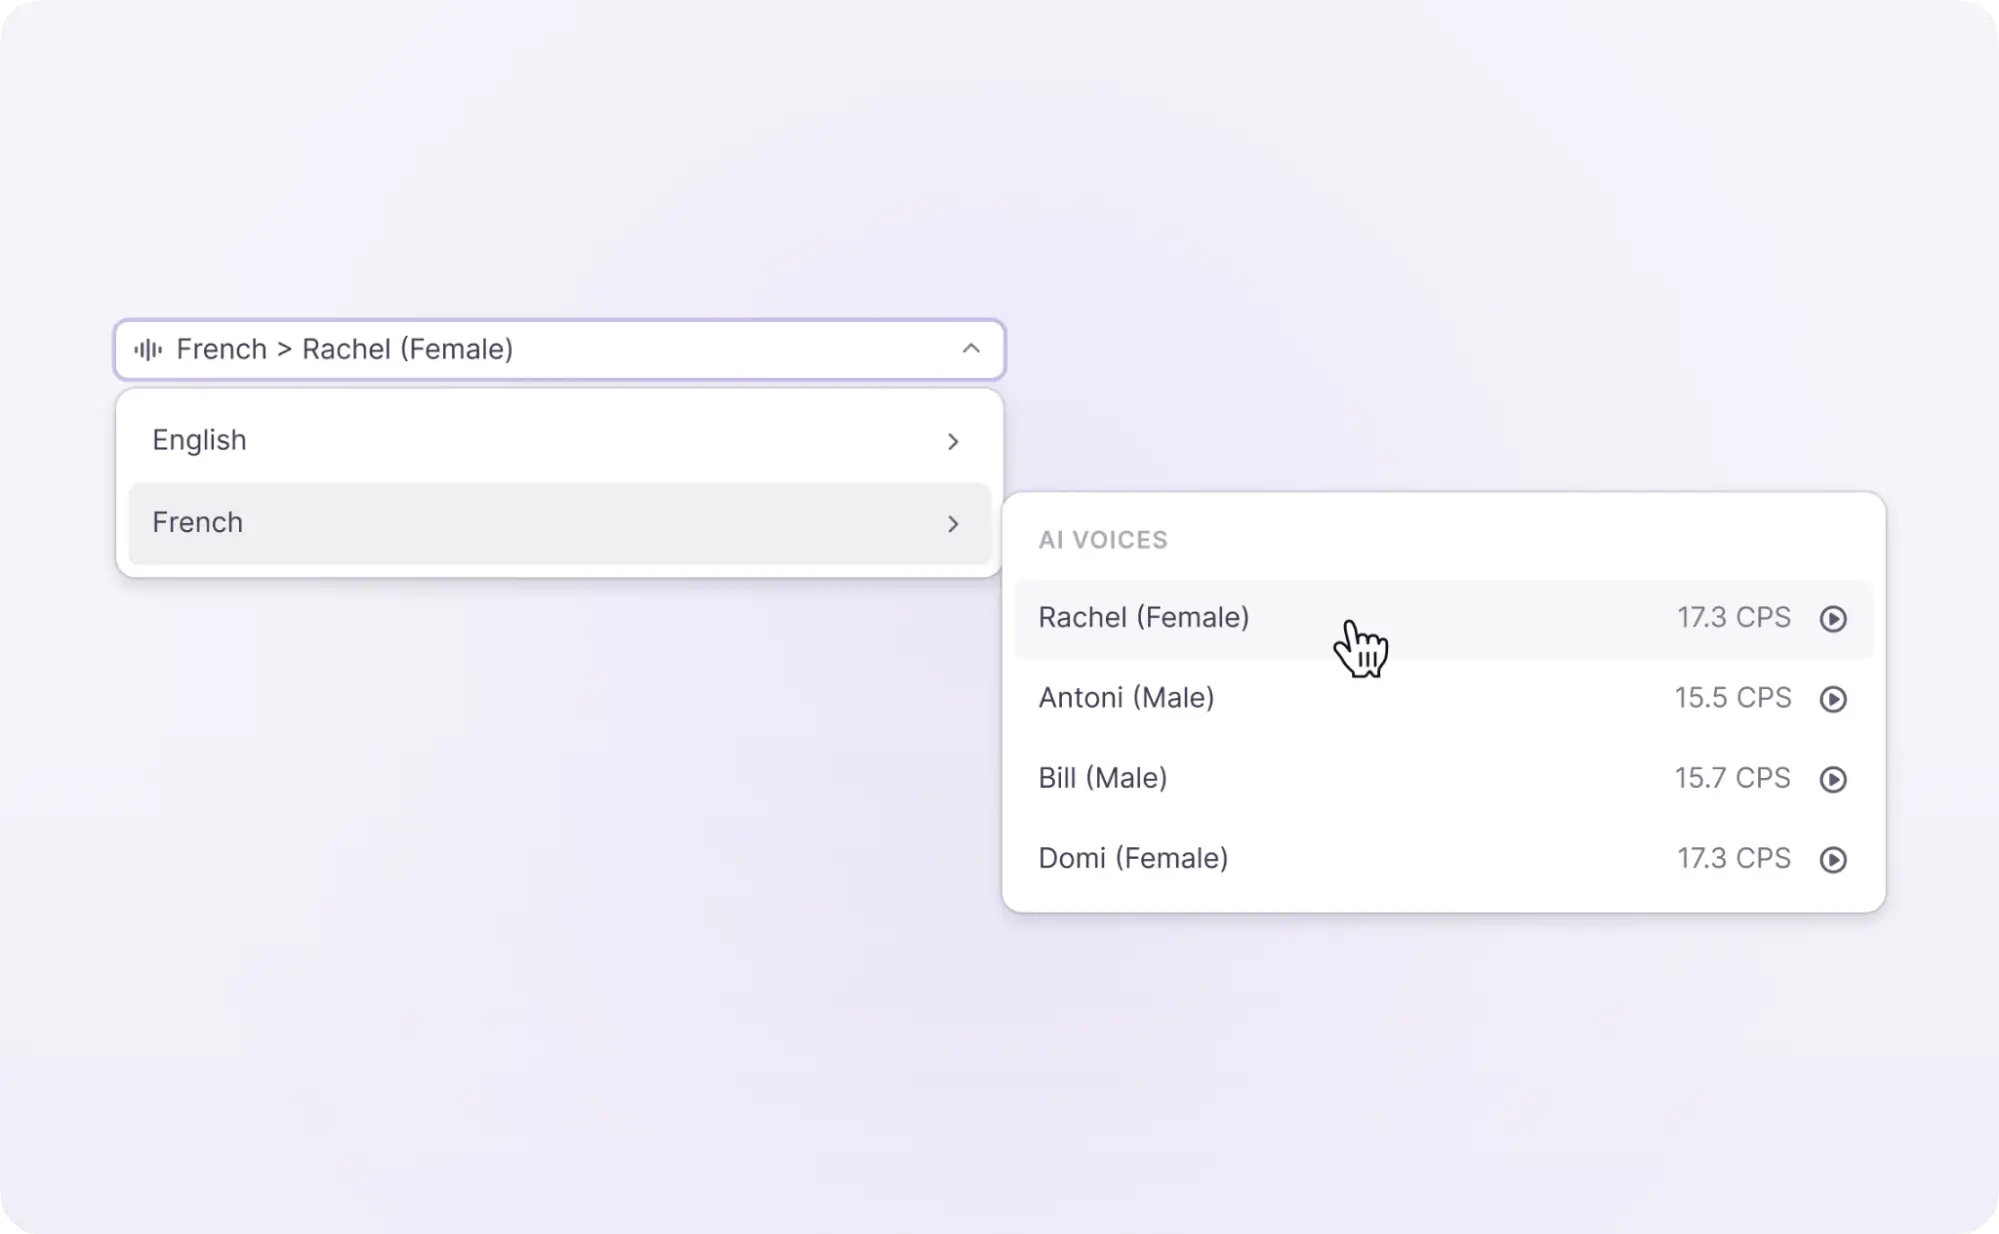
Once you are happy with the result, click the Download button above the video preview.
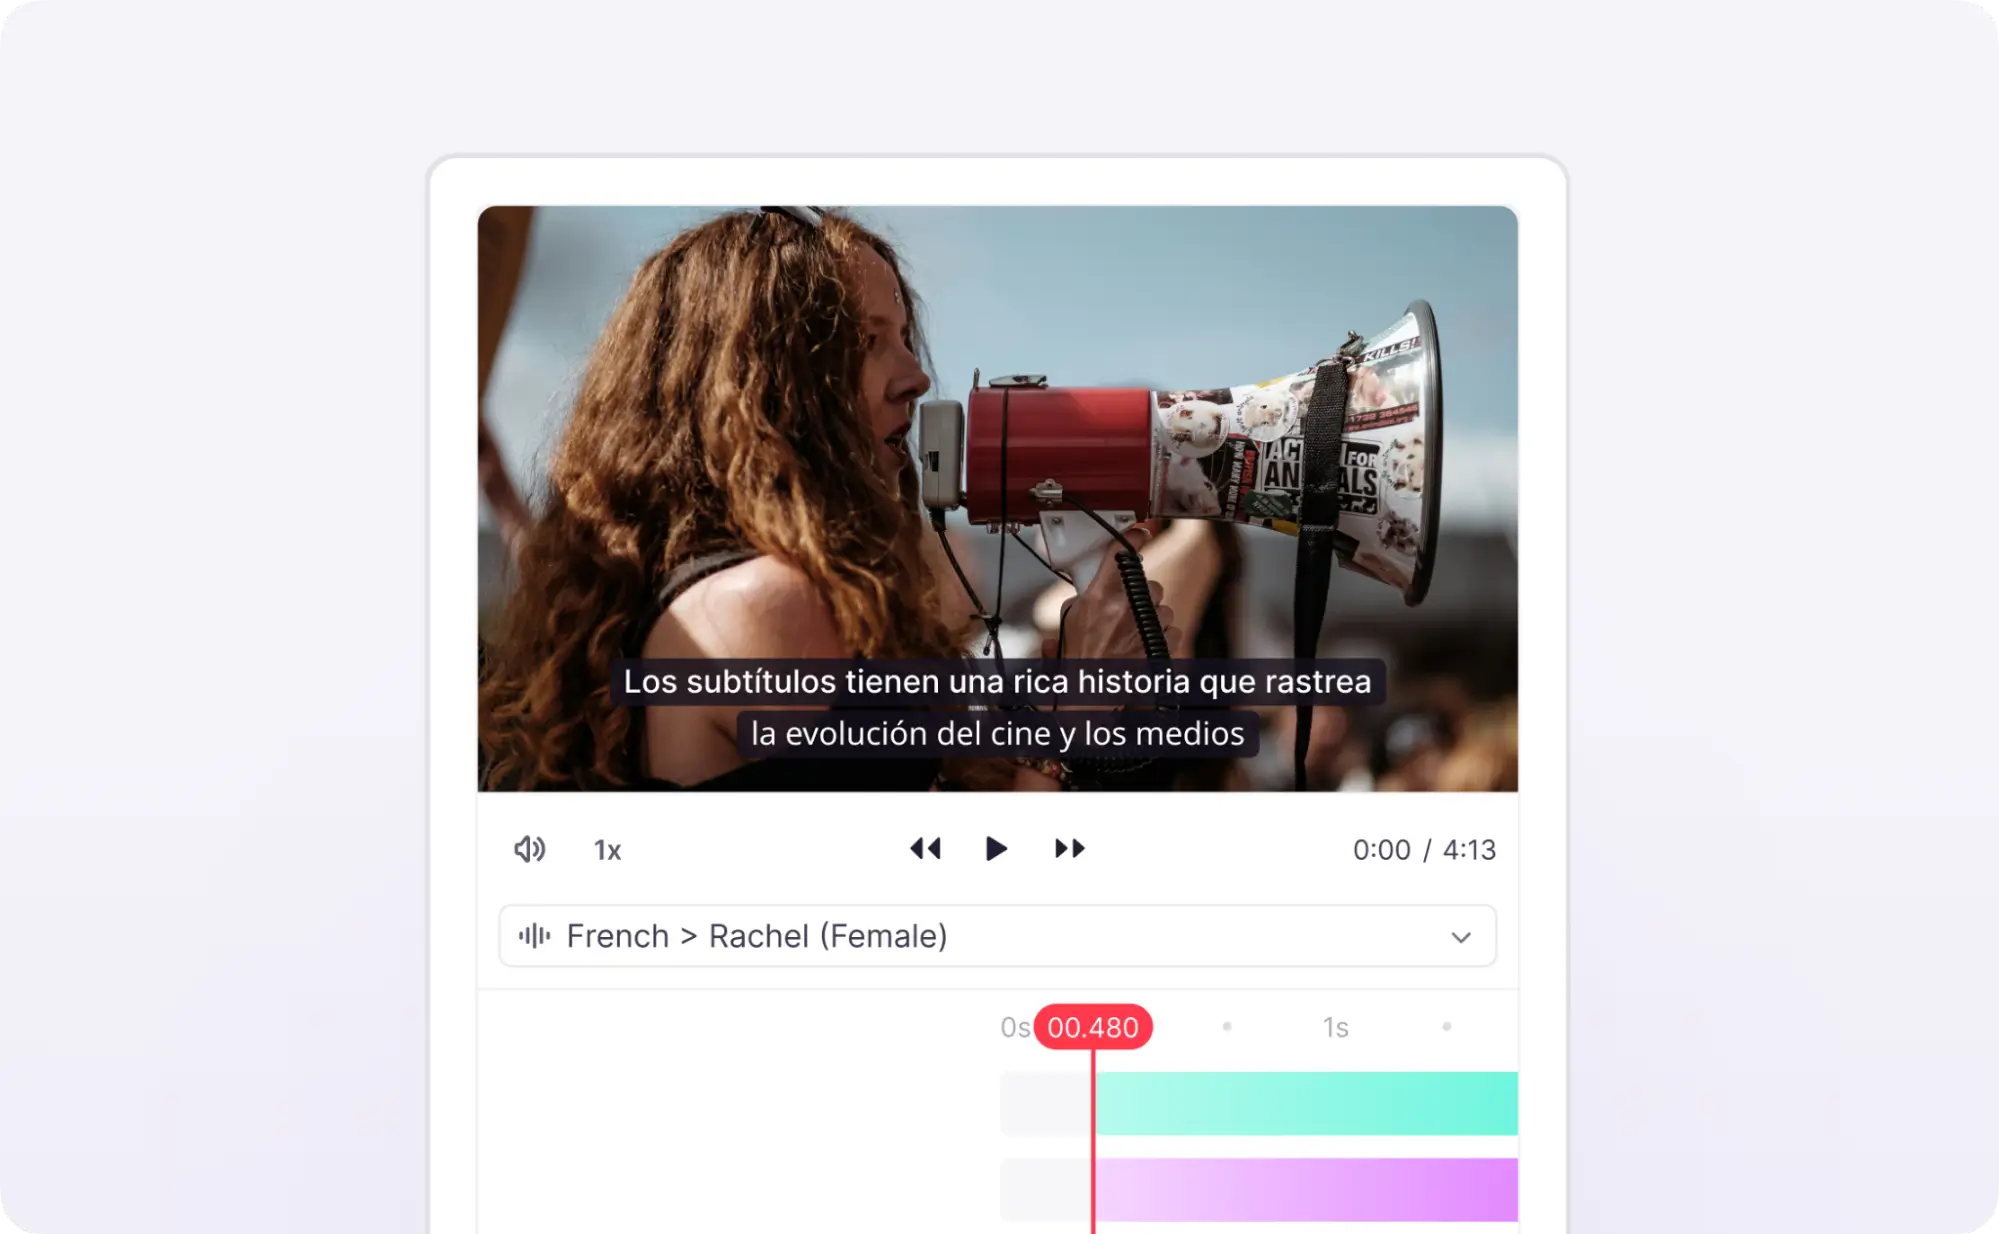
You can choose the output parameters for the video:
-
Keep the selected AI voice
-
Burn-in subtitles in your chosen language onto the video
This lets you create any combination of voiceover and subtitle languages in the final file.
After selecting your preferences, confirm and start the export. You can preview the completed video with embedded subtitles. If everything looks good, click the Confirm button to save the final version to your computer.
Your translated video is now exported with your chosen voiceover and subtitle combination.
Subtitle editor hotkeys
| Hotkey | Action |
|---|---|
| Arrow Up/Down | Cue navigation |
| Arrow Left/Right | Seek ±10s |
| Space | Play/pause |
| Delete/Cmd+Backspace | Delete cue |
| Ctrl/Cmd+Home/End | Jump to first/last cue |
| Enter | Edit cue |
| Tab | Switch source/target |
| Esc | Exit edit |
| Ctrl/Cmd+Enter | Confirm cue |
FAQs
Who is this guide for?
Anyone using the Subtitle Editor — freelancers, LSPs, and organizations — though how you access the editor differs slightly: organizations and LSPs open subtitle files from a project's Files, Tasks, or Overview pages, while freelancers open the file from the details of an incoming task.
Why is subtitle text divided into "cues" instead of full sentences?
Cues are time-bounded segments rather than sentence-based ones, which optimizes subtitles for readability, synchronization with the video, and audience engagement.
Can I adjust how strict the CPS (characters per second) limit is?
Yes — the CPS limit is configurable in the Settings section below the preview area, and these settings apply locally at your user level.
How do I split or merge cues?
Use the "Split by lines" button to divide a multi-line cue into separate cues, or click the "Dots" button on a cue to merge, delete, or add cues from the dropdown menu. Hovering over a cue border also reveals an "Insert cue" shortcut.
Do I need to mark every cue as processed before finishing the file?
No — you can click "Mark Processed" in the control bar even if no individual cues have been marked as processed.
Can I get a dubbed video with subtitles burned in, in a different language than the voiceover?
Yes — when exporting the translated video, you can choose the AI voice language and separately choose to burn in subtitles in your chosen language, letting you combine different voiceover and subtitle languages in the final file.
Want to learn more?
See how Smartcat can transform your localization workflow.
Still need help?
Our support team responds within one business day.