Creating and managing a glossary in Smartcat
Overview
Use glossaries in Smartcat to ensure consistent terminology across your translation projects. You can create a glossary from scratch, add terms manually, or upload a file from another tool. This article explains how to set up and manage glossaries in Smartcat.
Requirements and limitations
-
You must have the appropriate workspace role (admin or PM) to create and manage glossaries. Freelancers can suggest terms for approval but cannot add them directly.
-
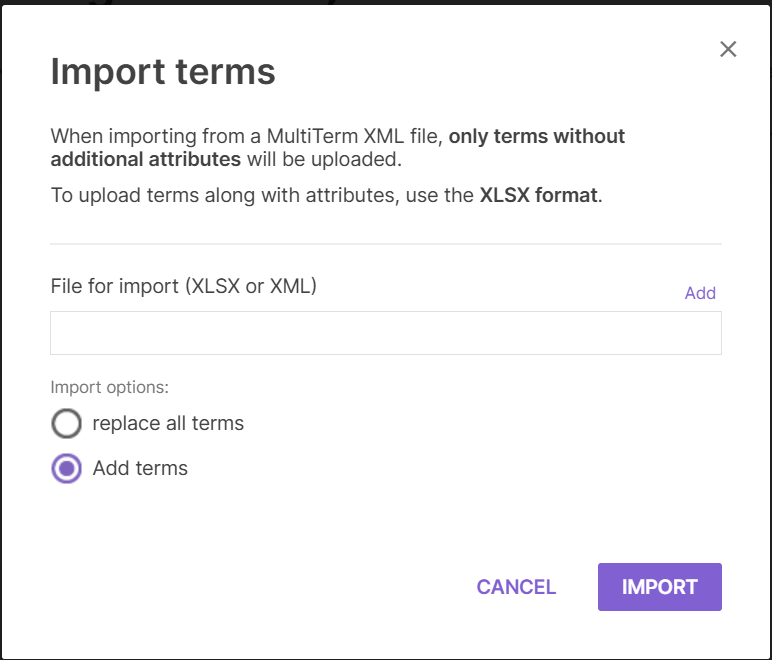
When importing from a MultiTerm XML file, only terms without additional attributes are uploaded. To upload terms with attributes, use the XLSX format.
-
You can have only one import option active at a time: either replace all existing terms or add new terms without replacing existing ones.
Create a glossary
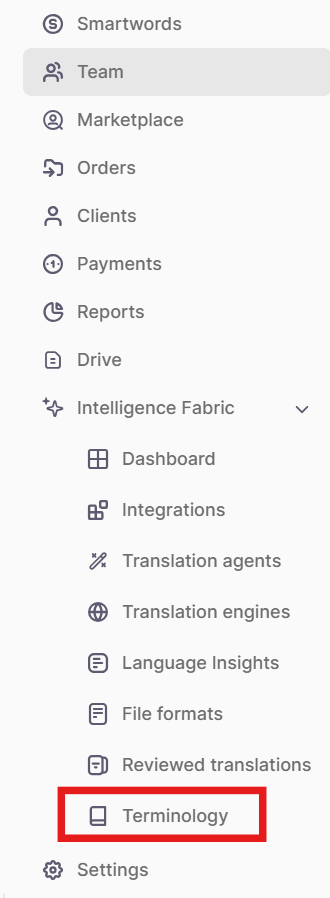
- In the left sidebar of your Smartcat homepage, go to Intelligence Fabric > Terminology.
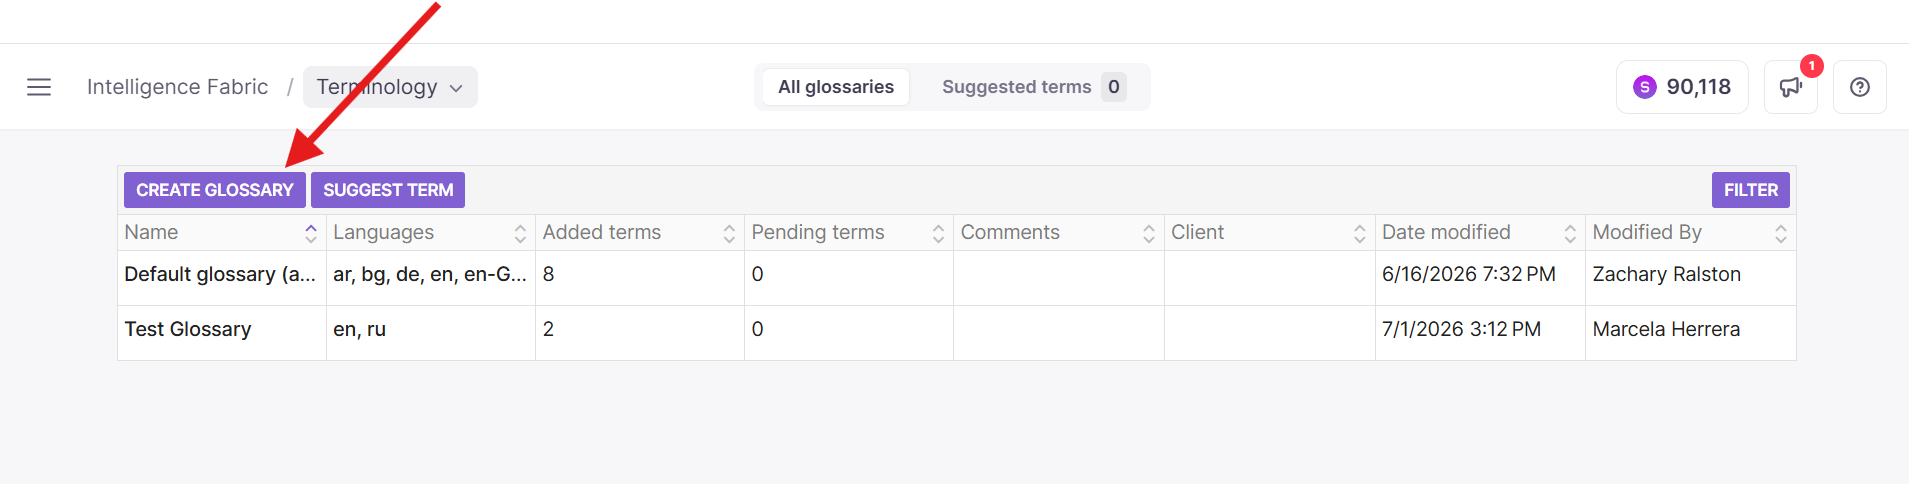
- Click Create glossary.
-
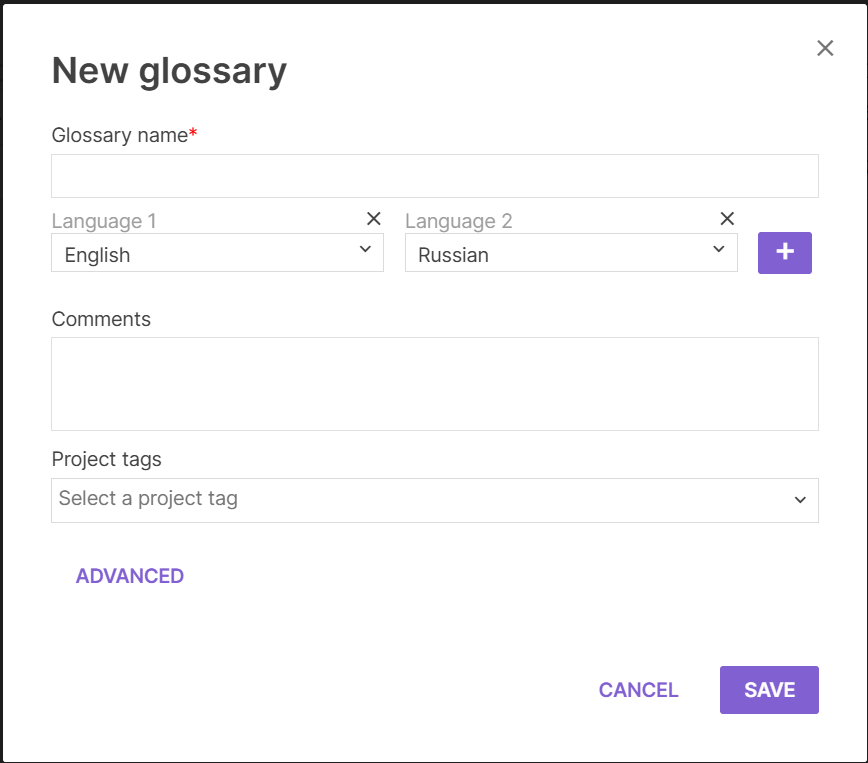
Fill in the glossary details:
-
Glossary Name — required
-
Languages — add as many as needed by clicking the plus button
-
Comments — optional description or notes
-
Clients — available if you are a vendor or language service provider serving clients on the platform
-
Project tags — associate the glossary with specific projects
-
-
Under Advanced instructions, add optional field-level structure. Available fields vary by level:
-
Position level: definition source, subject, example
-
Language level: definition, definition source, comments
-
Term level: source, gender, number, part of speech
-
-
Click Save.
Your glossary is created and ready to use. These fields let you build a detail-rich glossary with full context for your collaborators. For more on field types and structure, see How to set up glossary properties and structure.
Add terms manually
After creating a glossary, add entries one by one directly on the glossary page. You can include comments, a definition, and any other details based on the fields you enabled in Advanced instructions.
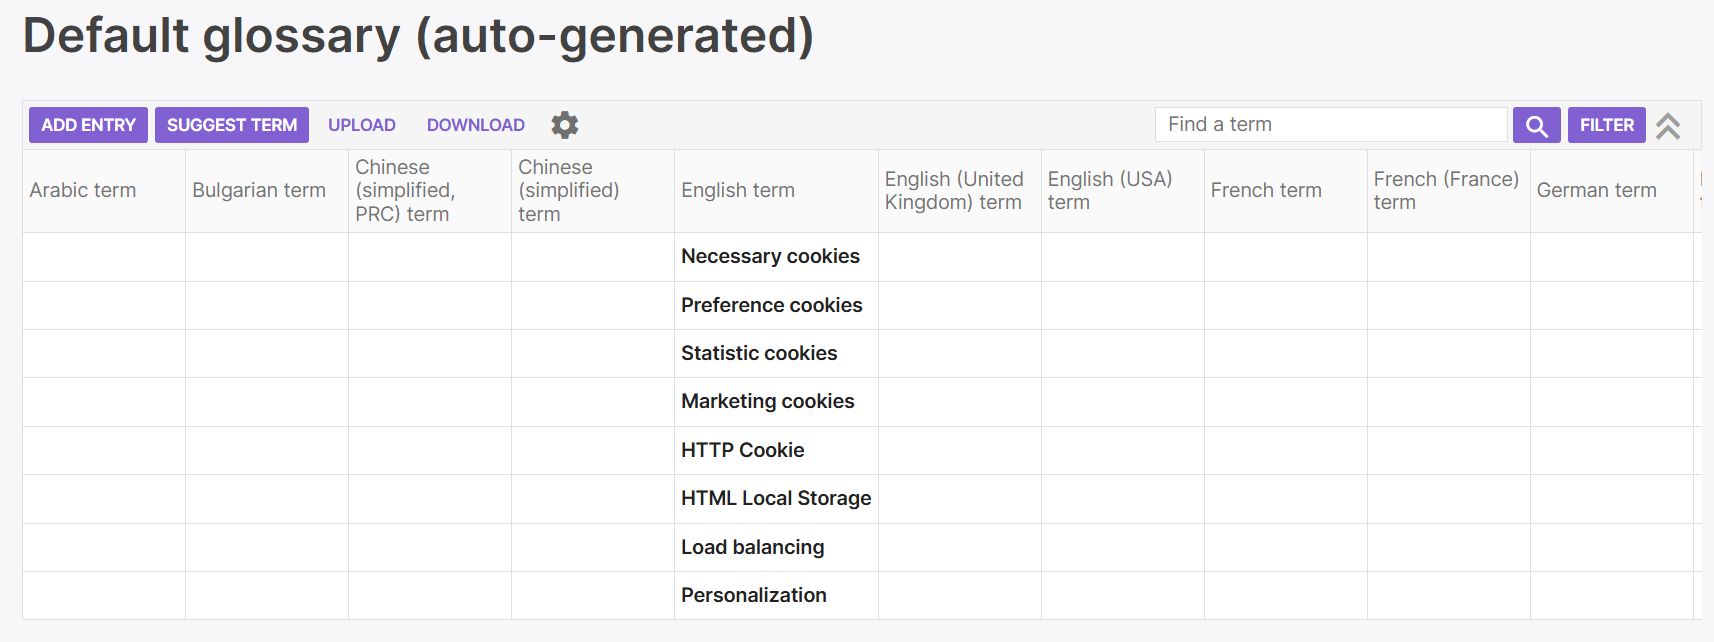
You can also use the search bar on the glossary page to find existing terms quickly.
Upload a glossary from a file
If you have an existing glossary saved elsewhere, you can upload it instead of adding terms manually.
-
On the glossary page, select Upload.
-
Select your file. Supported formats:
-
XLSX — supports terms with and without attributes
-
MultiTerm XML — terms without additional attributes only; use XLSX if you need attributes
-
-
Choose your import option:
-
Replace all terms — overwrites all existing entries
-
Add new terms — adds new entries without removing existing ones
-
For full import and export instructions, see How to import/export glossaries to and from Smartcat.
Want to learn more?
See how Smartcat can transform your localization workflow.
Still need help?
Our support team responds within one business day.