Manage your personal spaces in Smartcat
Overview
Smartcat personal spaces let all users manage their personal workspace and tailor it to their work preferences.
Centralized management via the sidebar
The sidebar is the main place for account management, keeping all settings in one place and accessible from any page of Smartcat.
From the sidebar you can:
-
Manage your account and go to settings
-
Change the region
-
Go to the page with your tasks
-
View incoming messages and go to chat
-
Manage and go to other organizations and workspaces
-
Navigate within each workspace
Personal spaces
All the personal work management tools you need are also at hand in the sidebar. The sidebar is the centralized location for managing your personal settings. Depending on your role, the contents of this panel may change.
From here you can quickly:
-
Go straight to the main work area where all tasks are located
-
Move between regions
-
Manage payments
-
Control correspondence
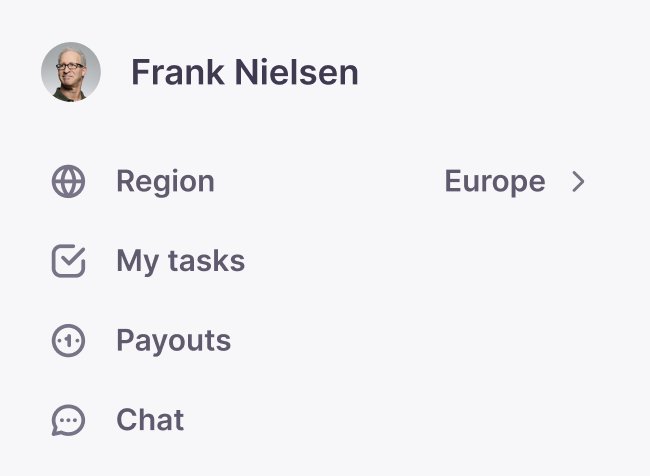
For linguists, all tools are always in the sidebar menu. This menu is available on every page.
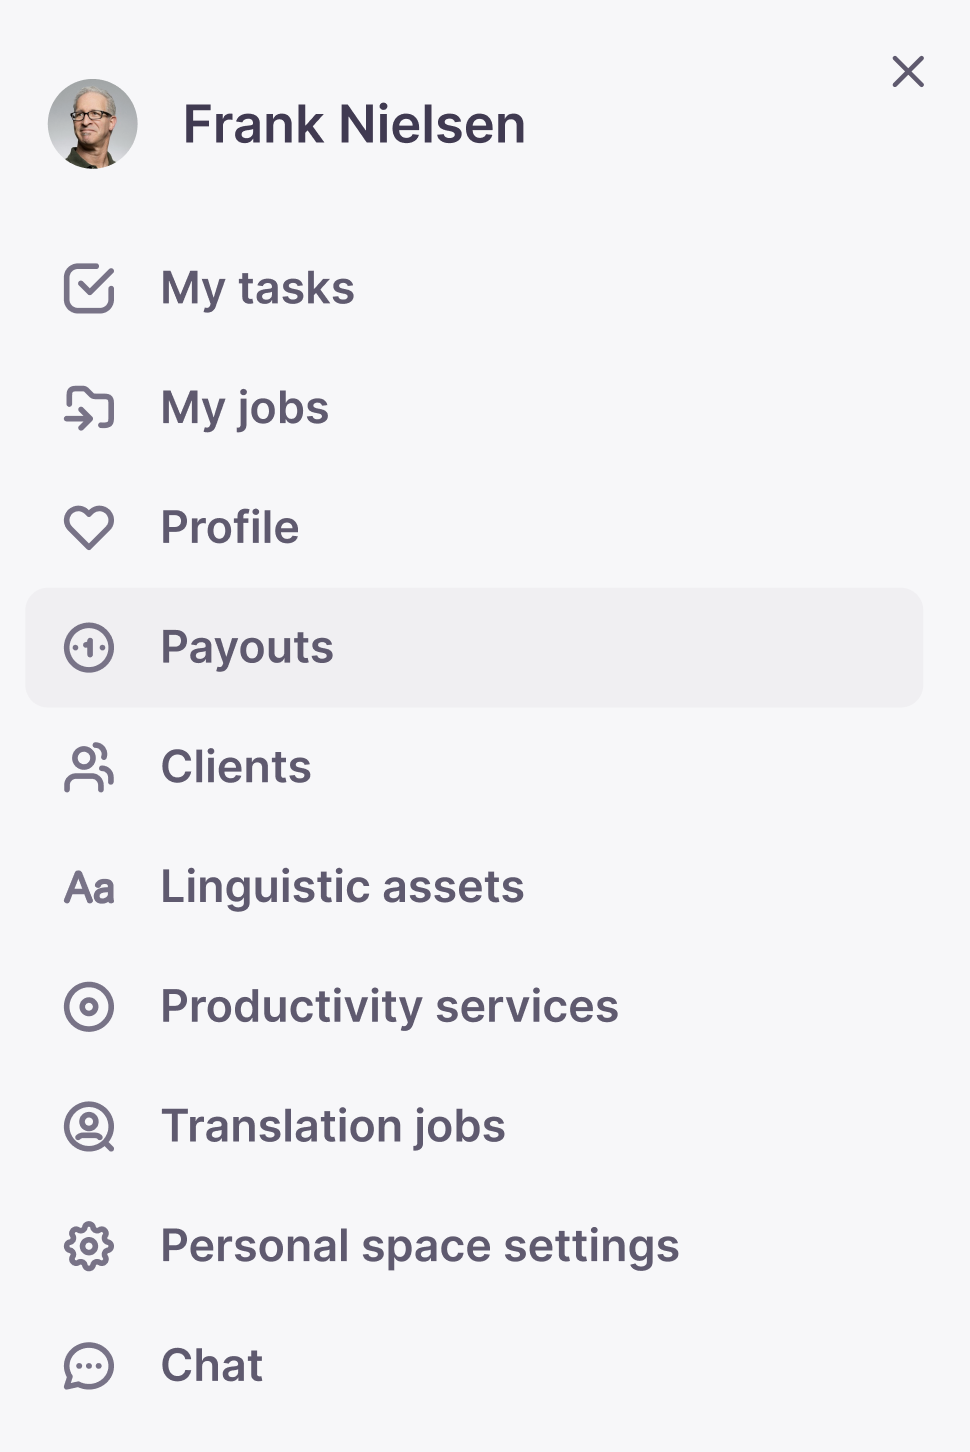
Workspaces and organizations
In the sidebar, you can see the selected organization and all workspaces related to it.
Inside each workspace, you can see the navigation for all its pages. This means you can go to another section of the menu directly from the home page by selecting it in the sidebar. To go to another organization and select a workspace in it, use the dropdown options.
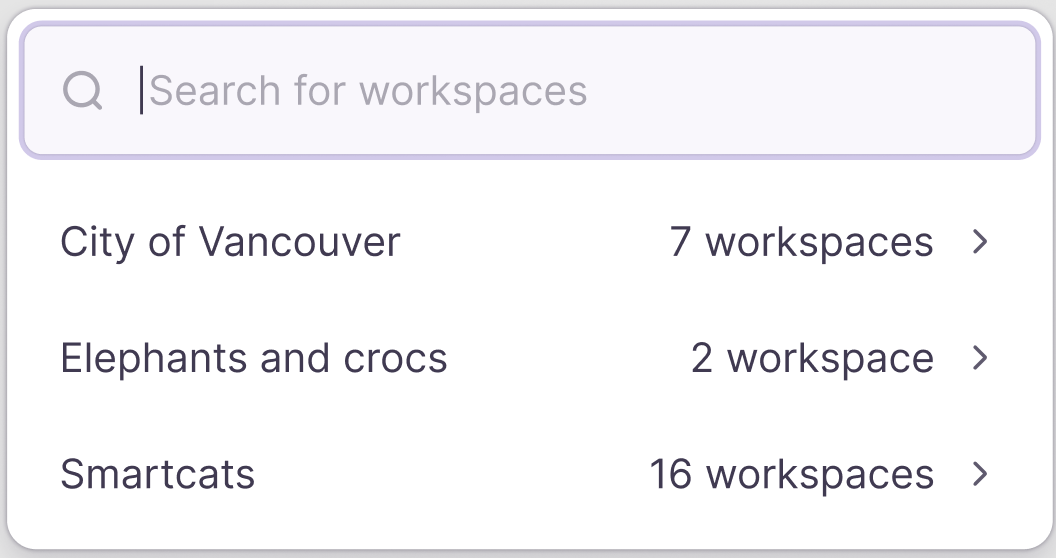
The dropdown includes a search line that helps you find the workspace you need when there are many workspaces.
When selecting a workspace, you can manage visibility settings right away. You can adjust the workspace you want to see without going to the settings page.
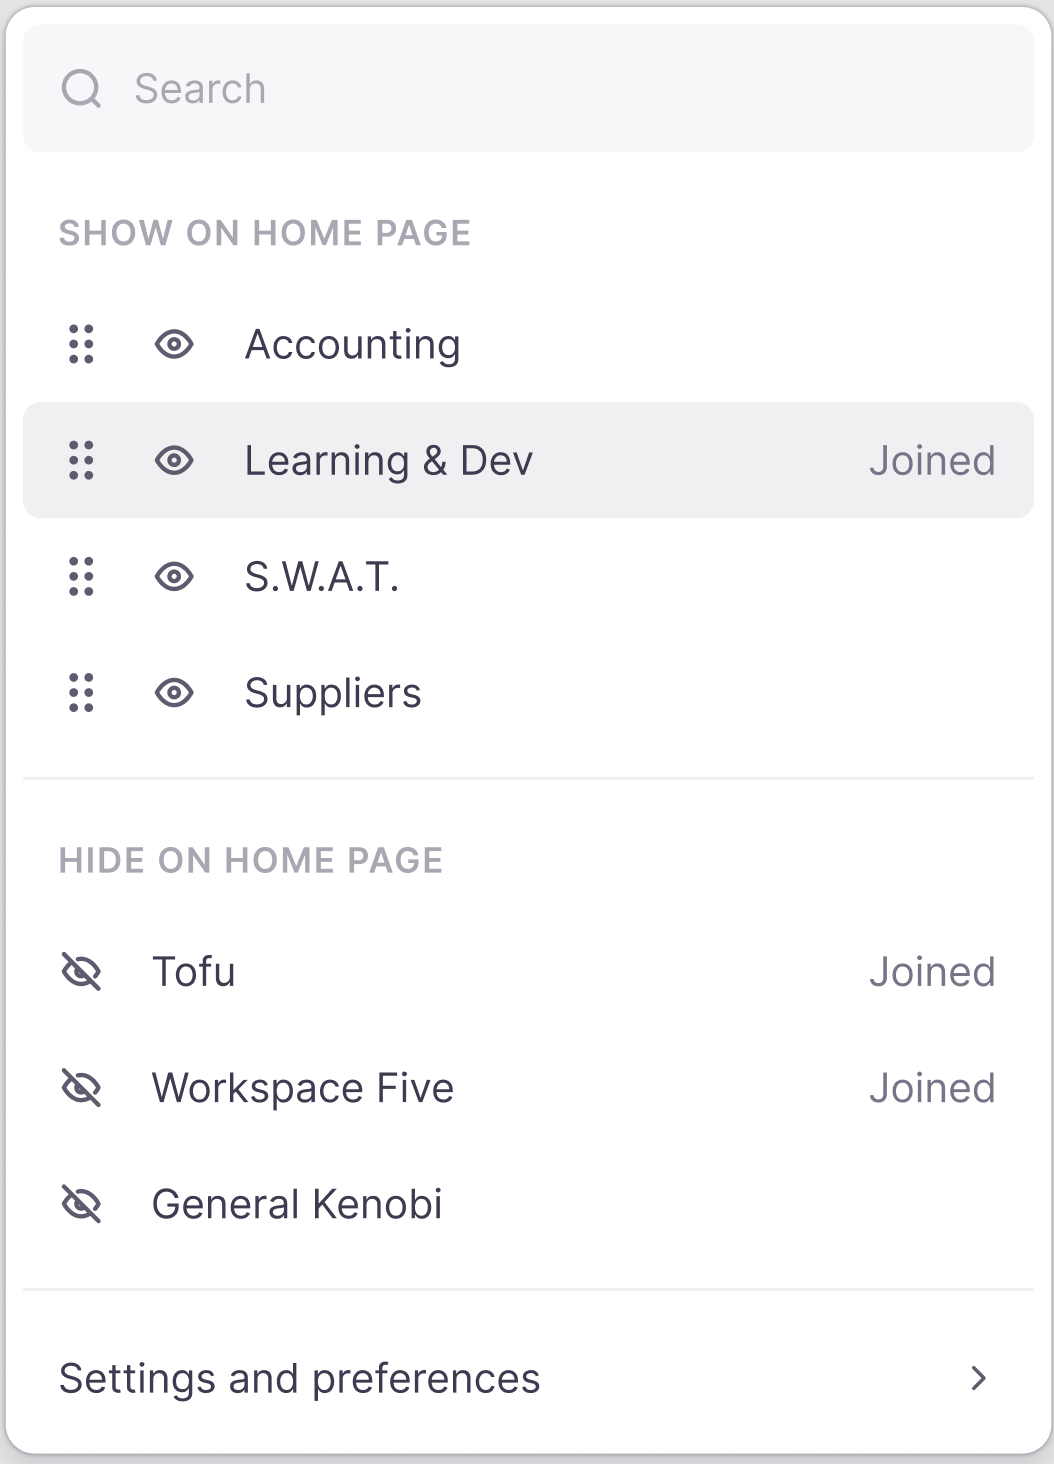
When you hover over a workspace panel, you can see its privacy. You can tell which workspaces are paid and which are closed.
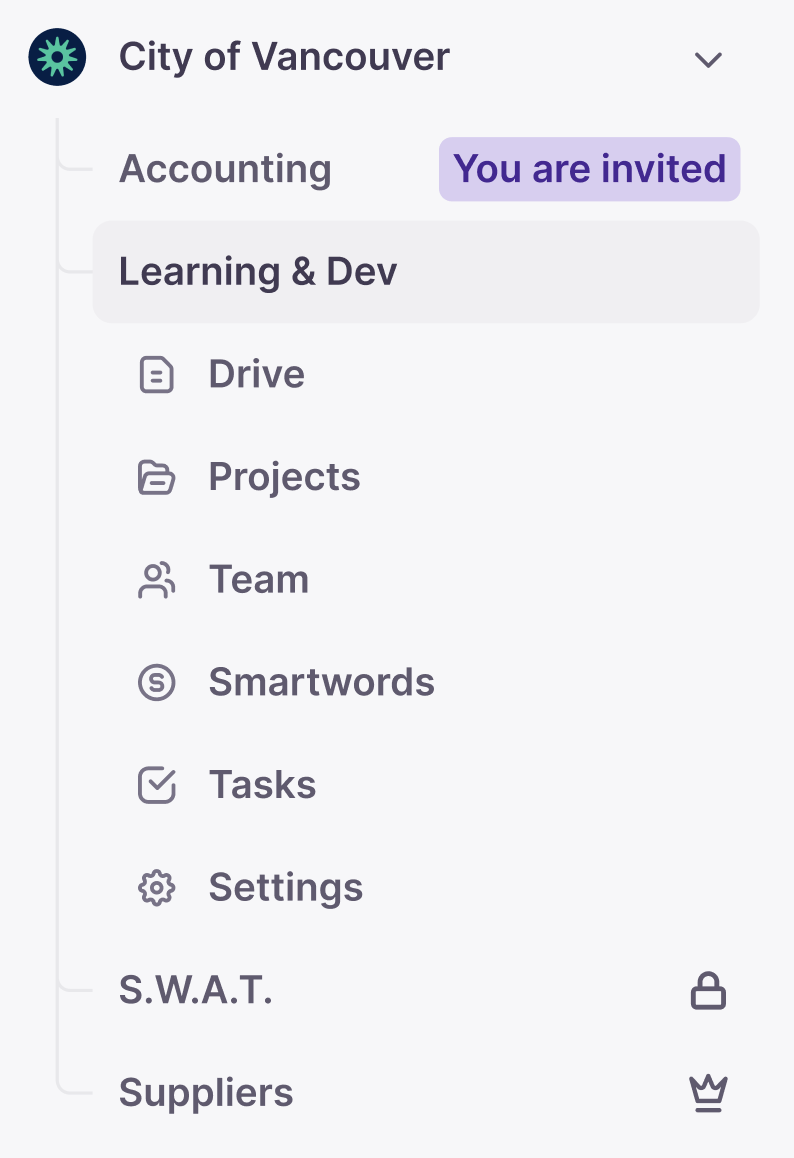
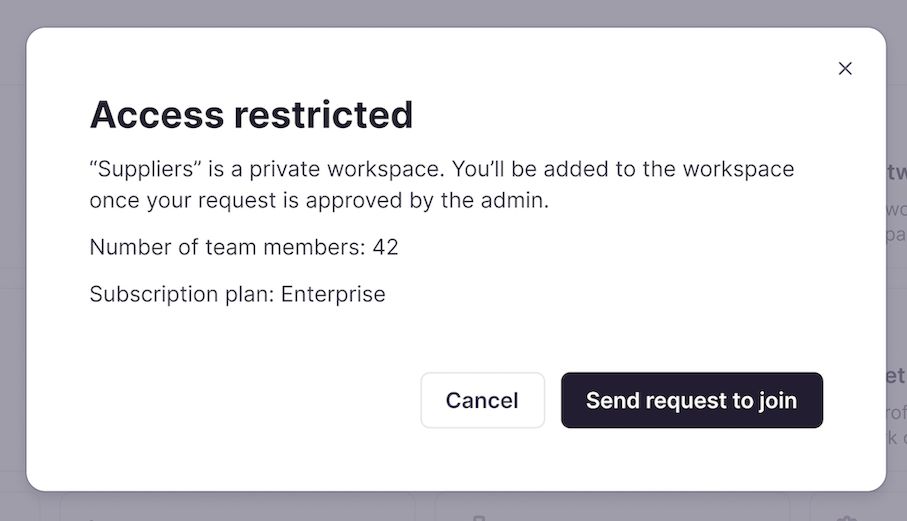
Request access to a closed workspace
-
Click the closed workspace you want to open
-
In the window that appears, send a request for access to the workspace and an increase in access rights
This works for all linguists.
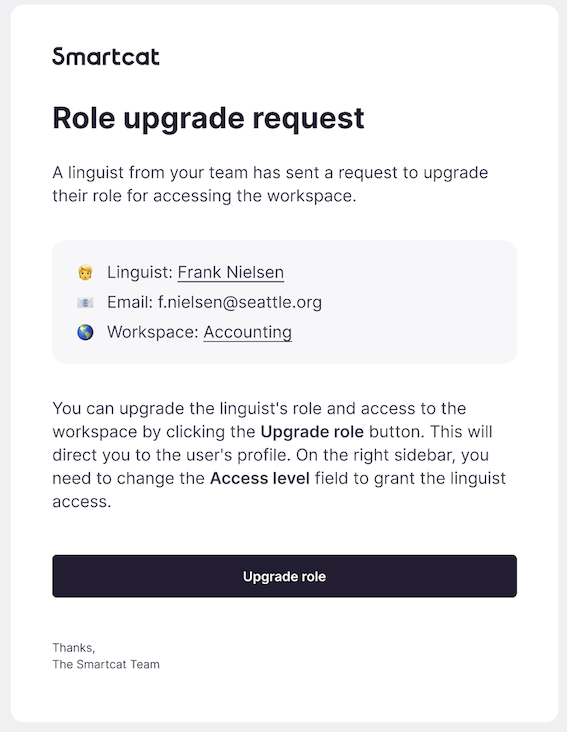
Administrators of the workspace receive an email with a role update request.
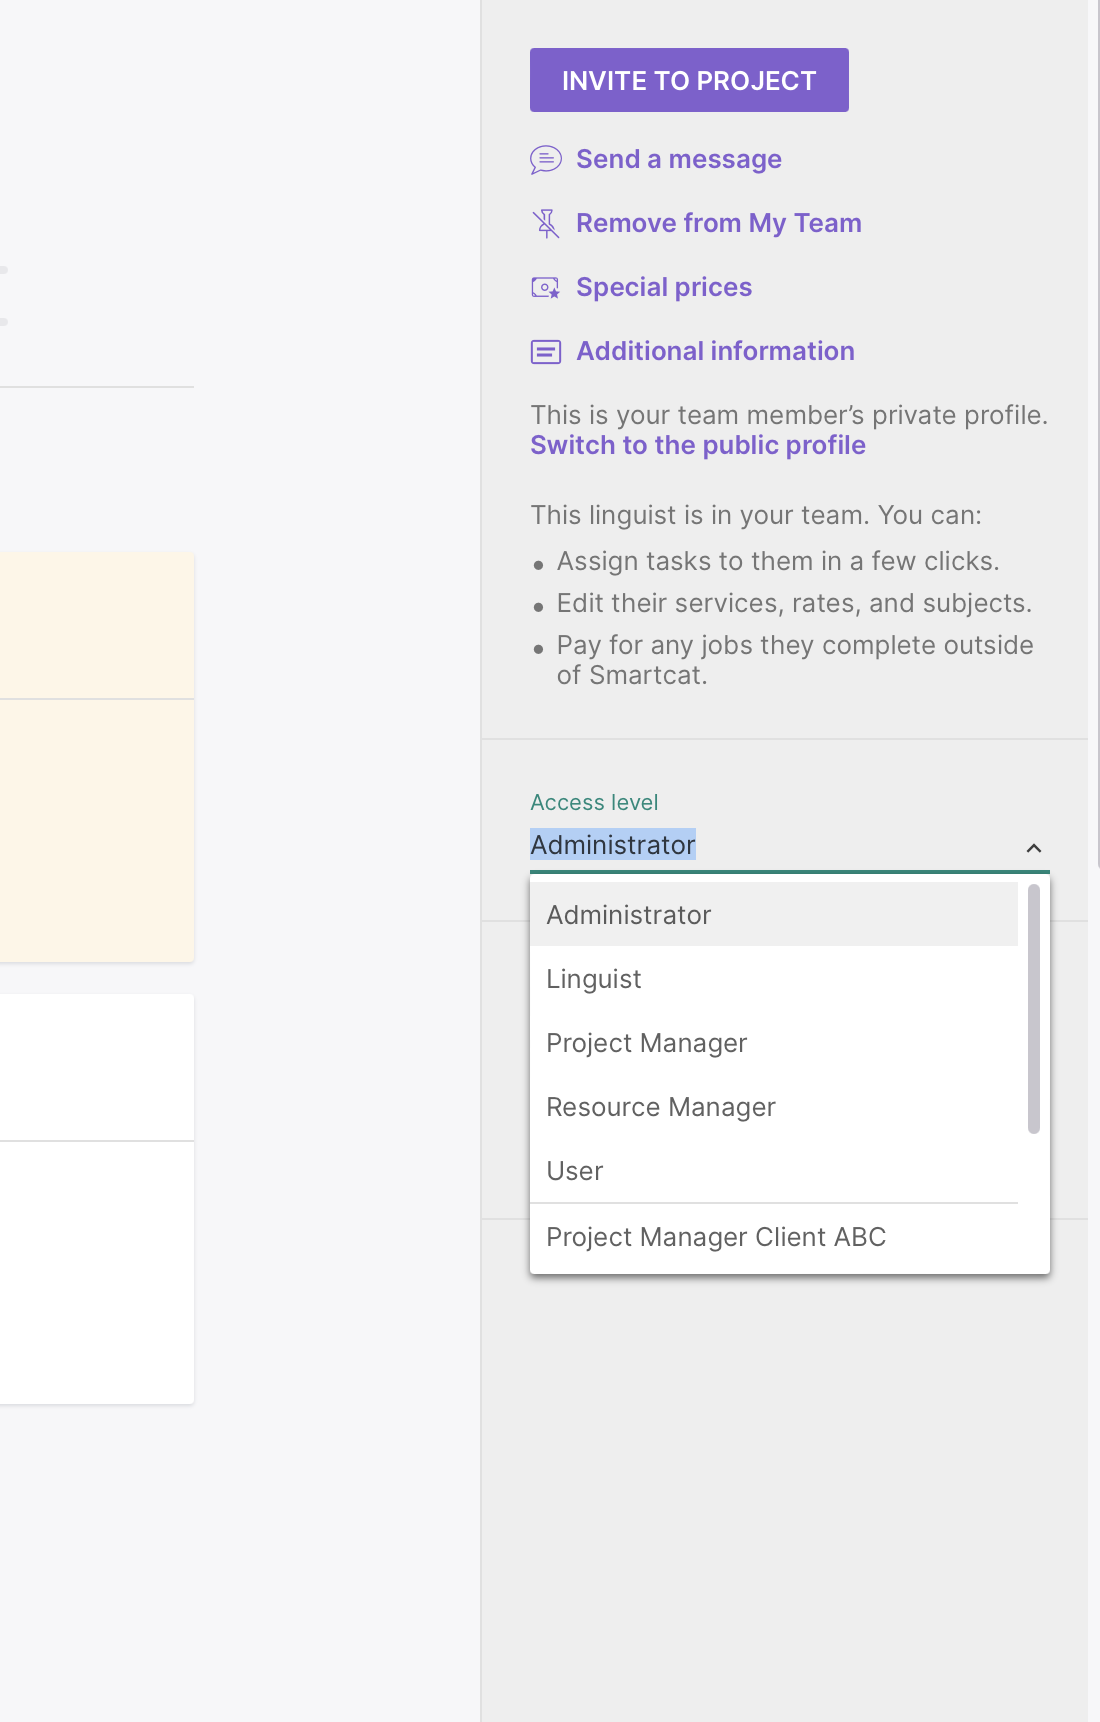
From the link, the administrator goes to your profile, where they can update your role.
After you gain access to a previously closed workspace, you see a message about it next to the workspace.
After these steps, you can open and work in the workspace you requested.
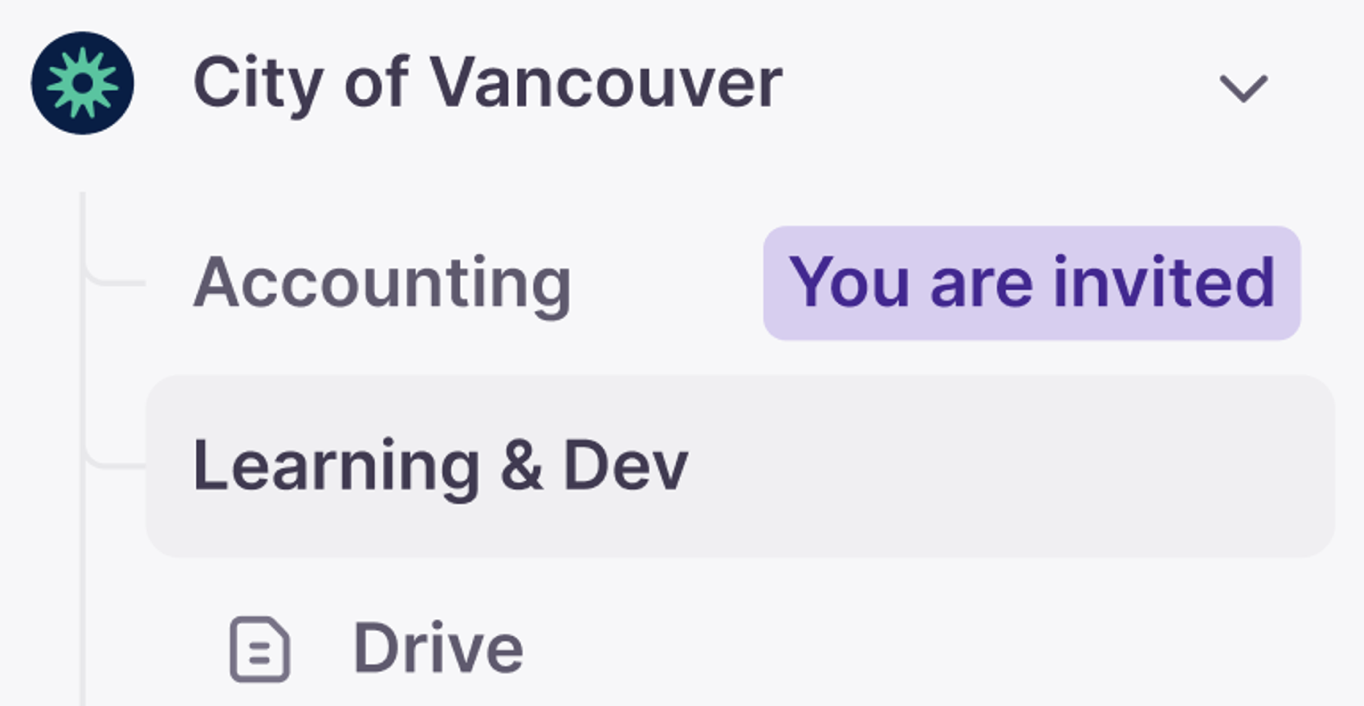
If you switch to another organization, the panel displays the message that you received an invitation.
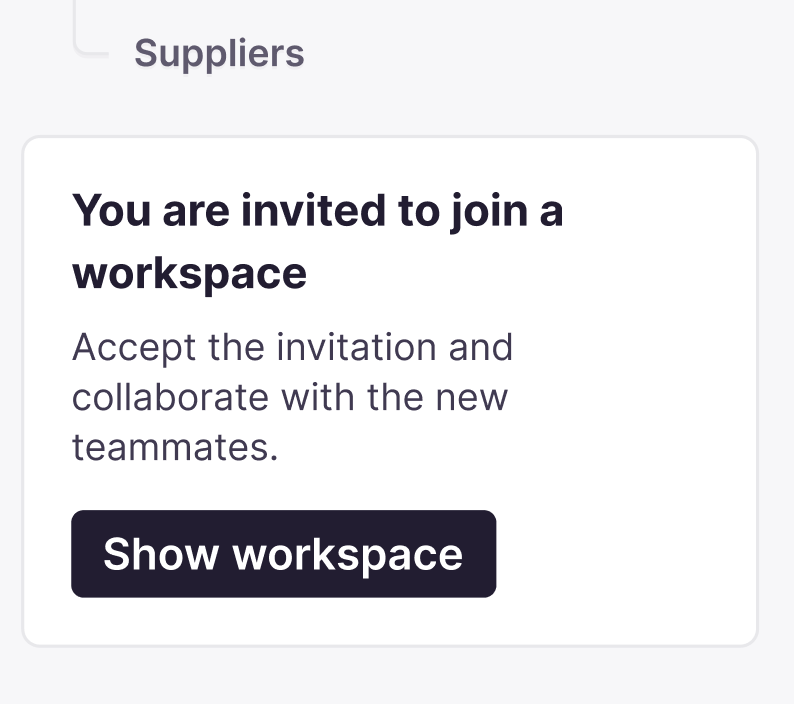
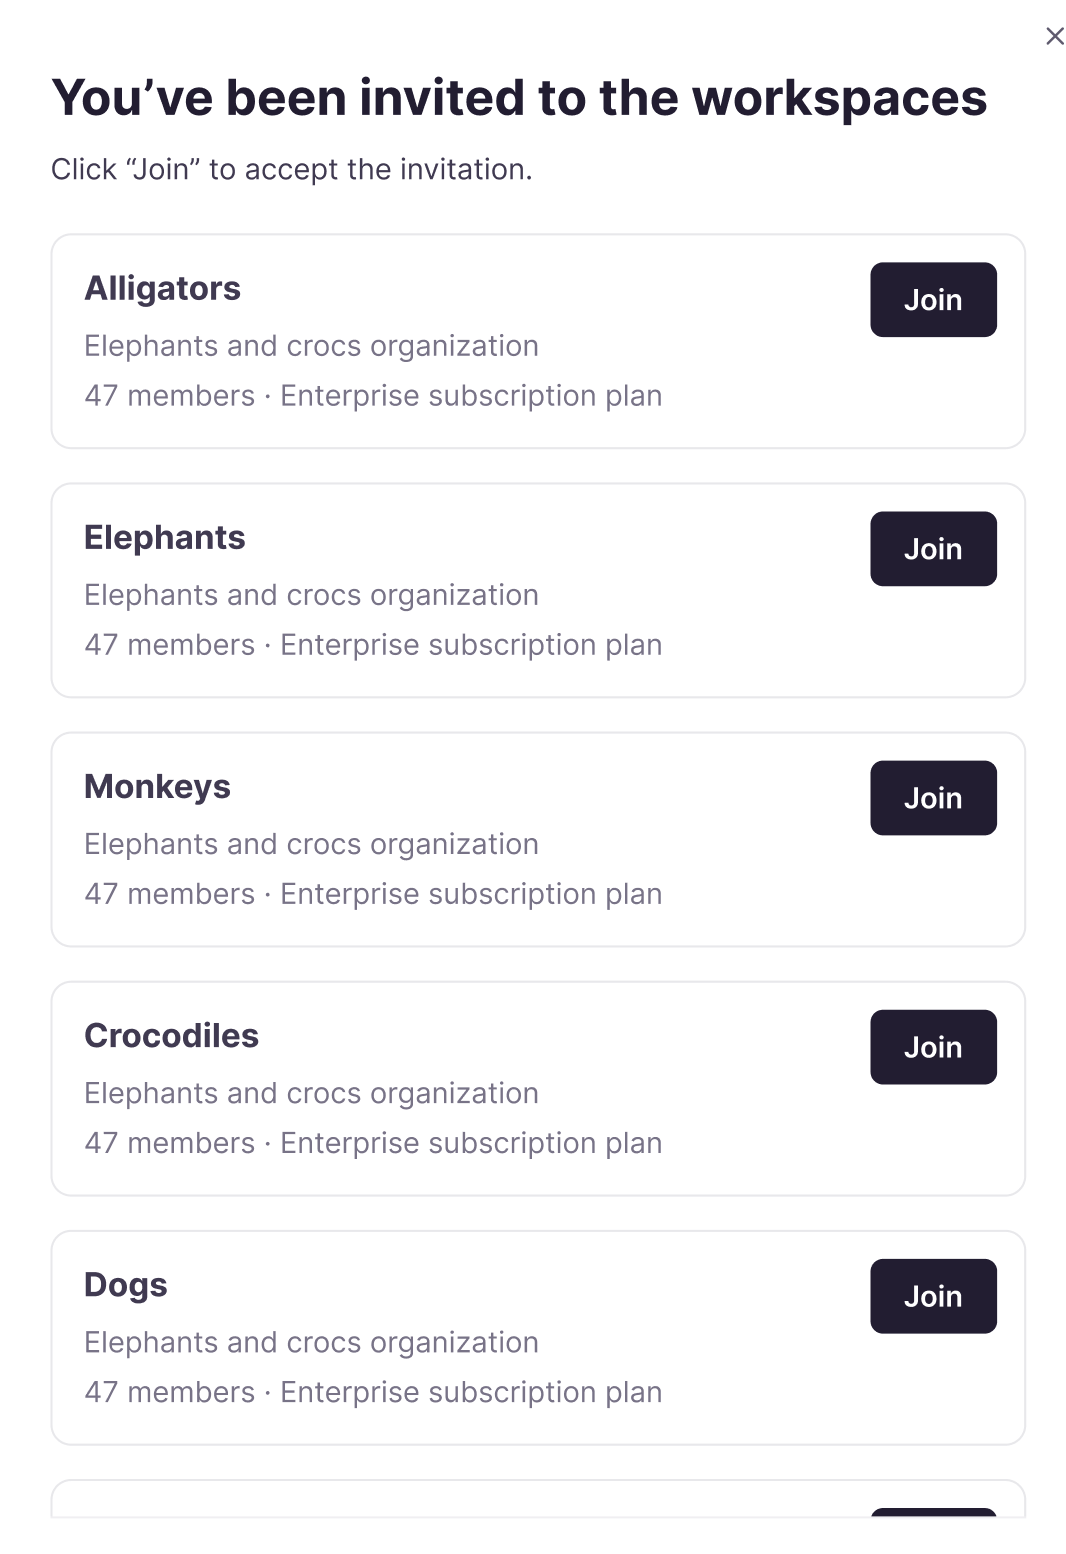
If you are invited to several workspaces at once, you can see them in a window that lists all of them, along with basic information about each workspace.
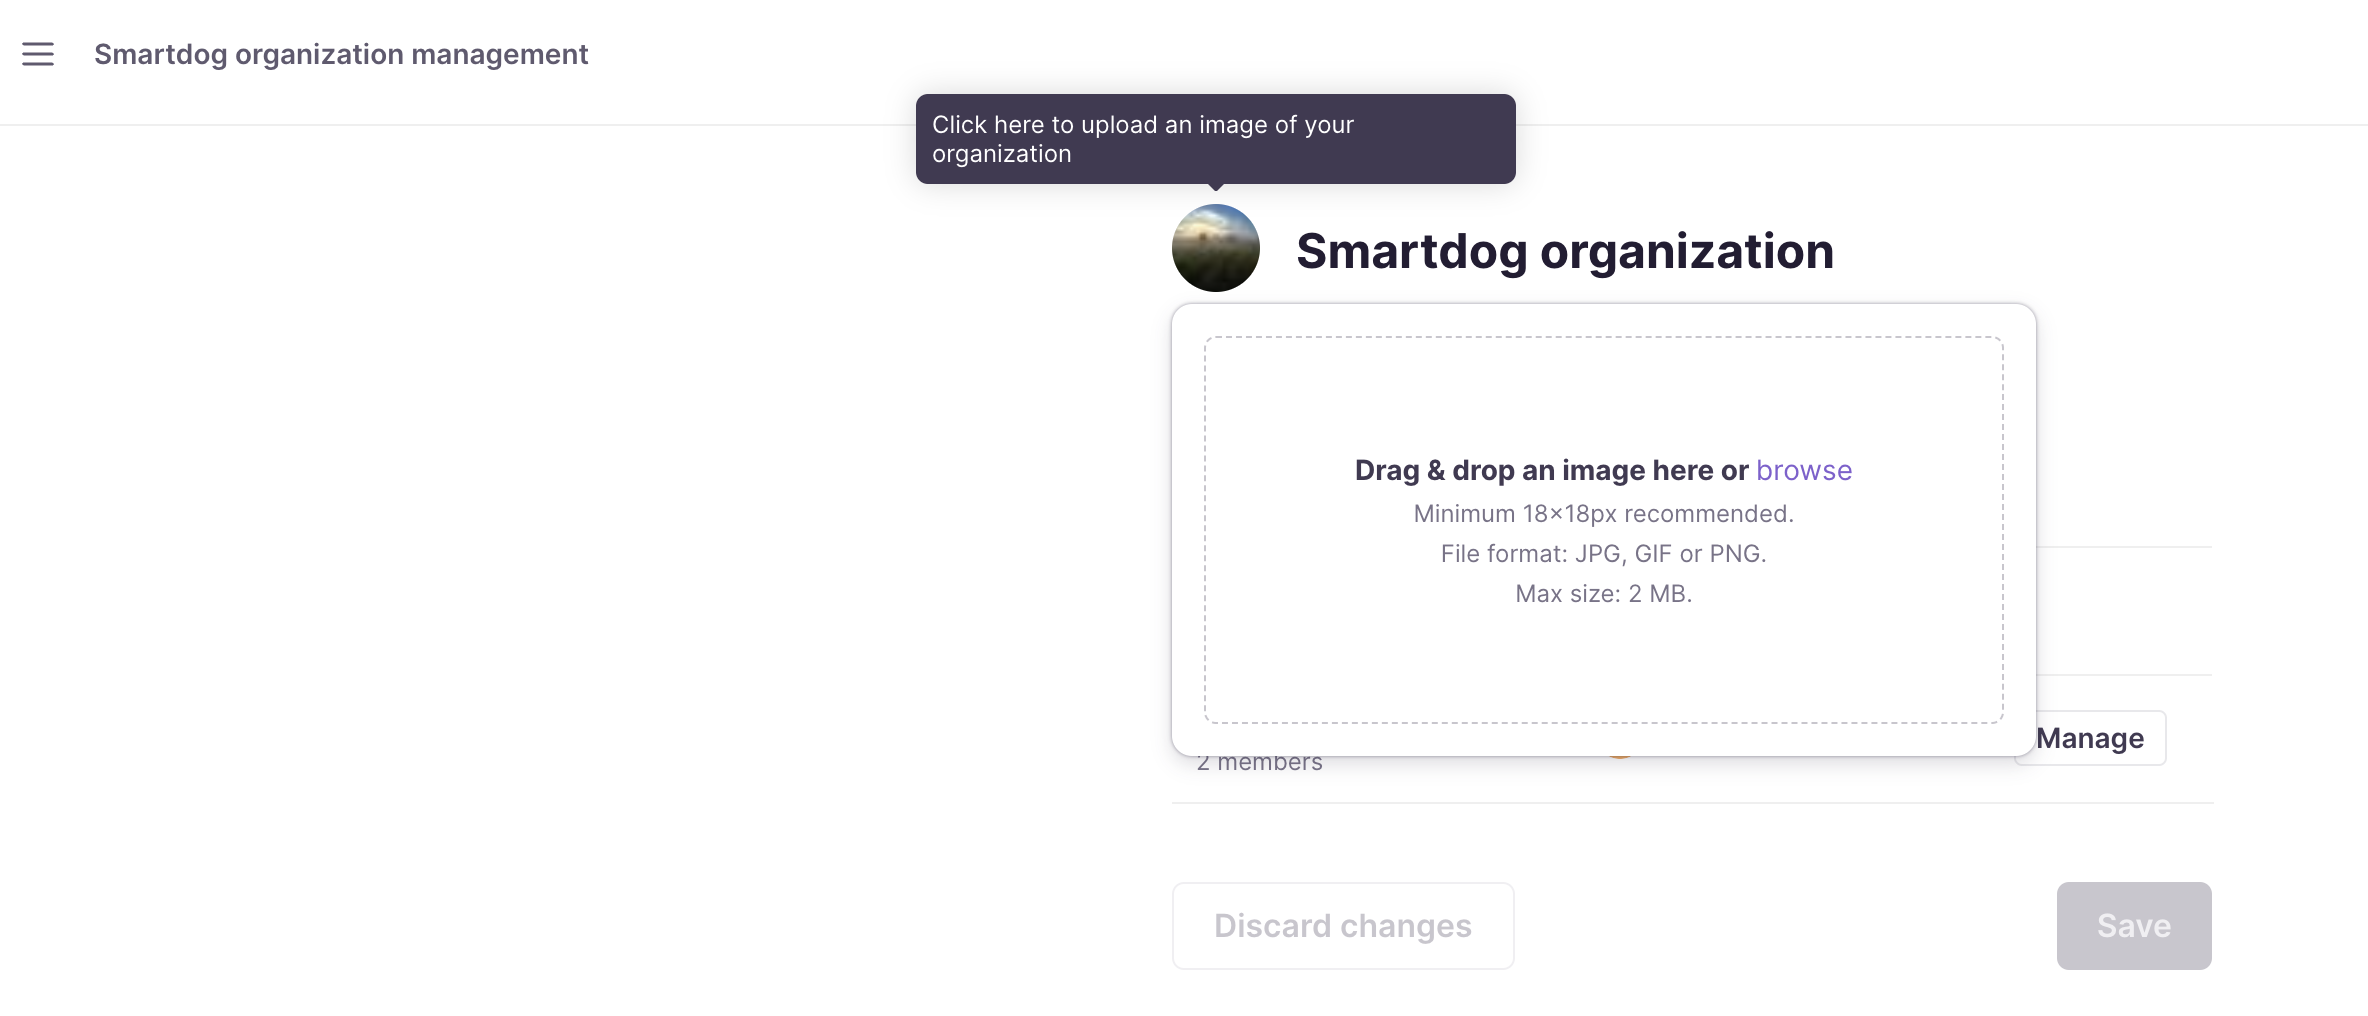
Set an icon for your organization
-
Open the Organization and workspaces dropdown
-
Go to the Manage organization page
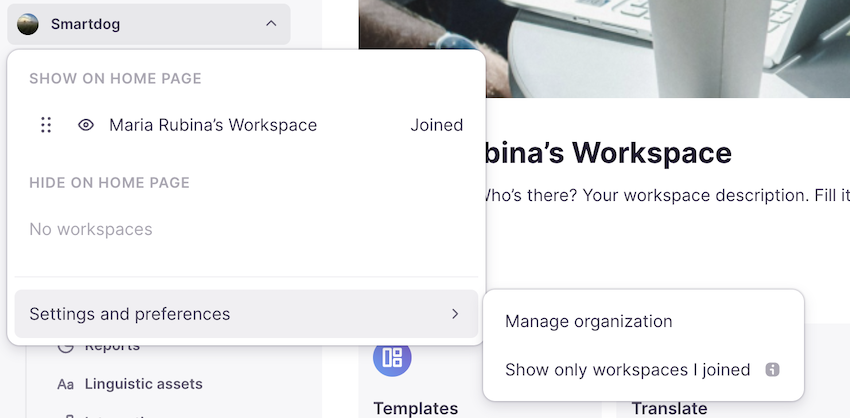
- On this page, click the organization icon and choose a picture for the organization
Your organization now displays the icon you selected.
More personalized workspaces
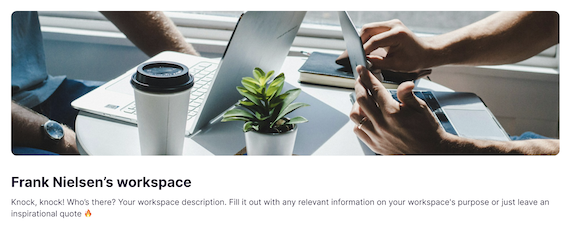
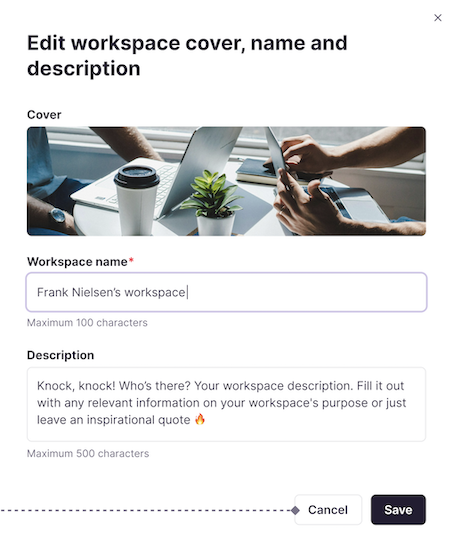
You can now quickly change the name of a workspace, add a description to help colleagues understand it, and set an image — all without going into settings.
FAQs
What can I manage directly from the sidebar without going into Settings?
Your account, region, tasks, incoming messages/chat, and switching between organizations and workspaces are all accessible directly from the sidebar.
How do I request access to a workspace that's closed to me?
Click the closed workspace — a window appears where you can send a request for access and a role increase. The workspace administrator receives an email and can approve it from your profile.
Can I customize how a workspace looks and is labeled?
Yes — you can rename a workspace, add a description, and set an image directly, without navigating into a separate settings page.
Is there a way to tell which workspaces are paid versus which are still closed/trial?
Yes — hovering over a workspace panel shows its privacy/subscription status.
Can I set a custom icon for my whole organization, not just a workspace?
Yes — open the Organization and Workspaces dropdown, go to Manage Organization, and set an icon there.
Want to learn more?
See how Smartcat can transform your localization workflow.
Still need help?
Our support team responds within one business day.