Connect Lokalise with Smartcat
Overview
Lokalise is a localization and translation management platform for projects such as mobile apps, games, and websites. Connecting Lokalise to Smartcat gives you extra flexibility in vendor management, billing, and project management automation. This article explains how to connect your Lokalise account and continue your projects in Smartcat.
Requirements
Before configuring the integration, generate a Lokalise API token for Smartcat to use:
-
Log in to your Lokalise account
-
Click your avatar in the bottom-left corner and go to Personal profile → API tokens
-
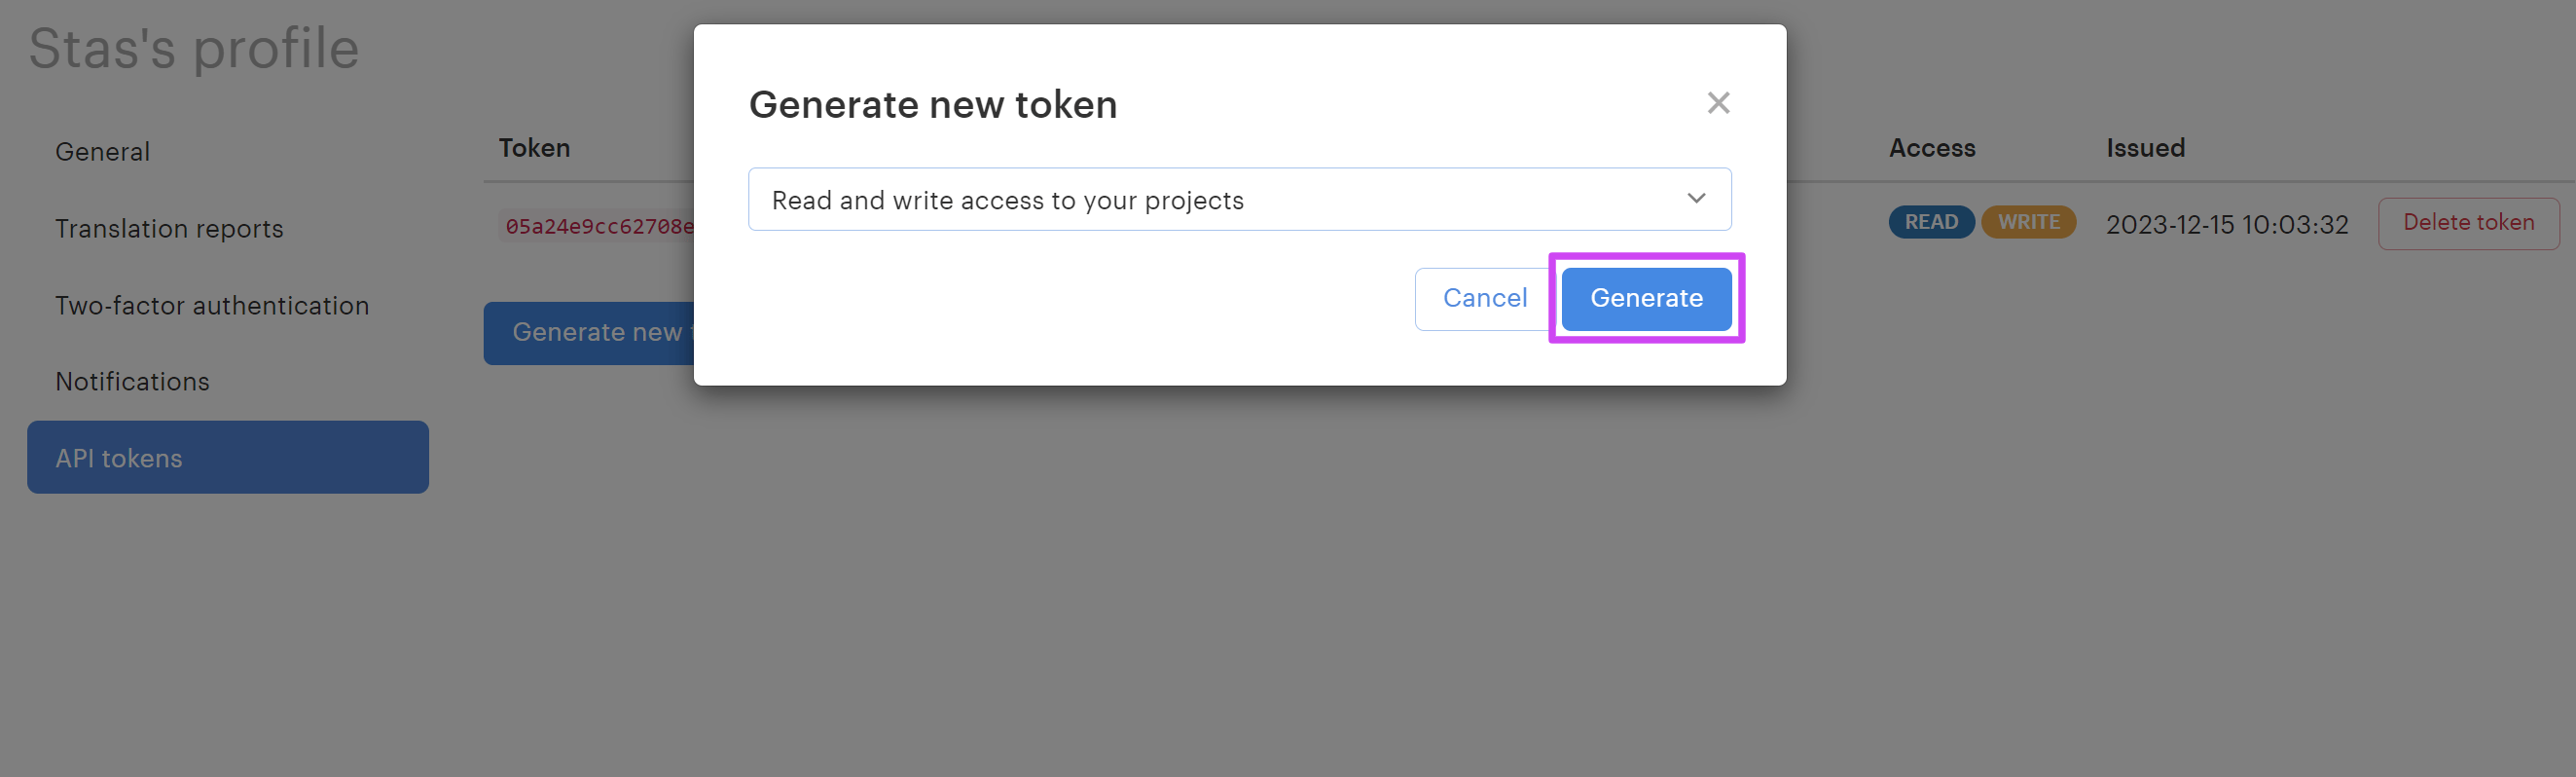
Click Generate new token and select a token type with read and write access, which the Smartcat integration requires
-
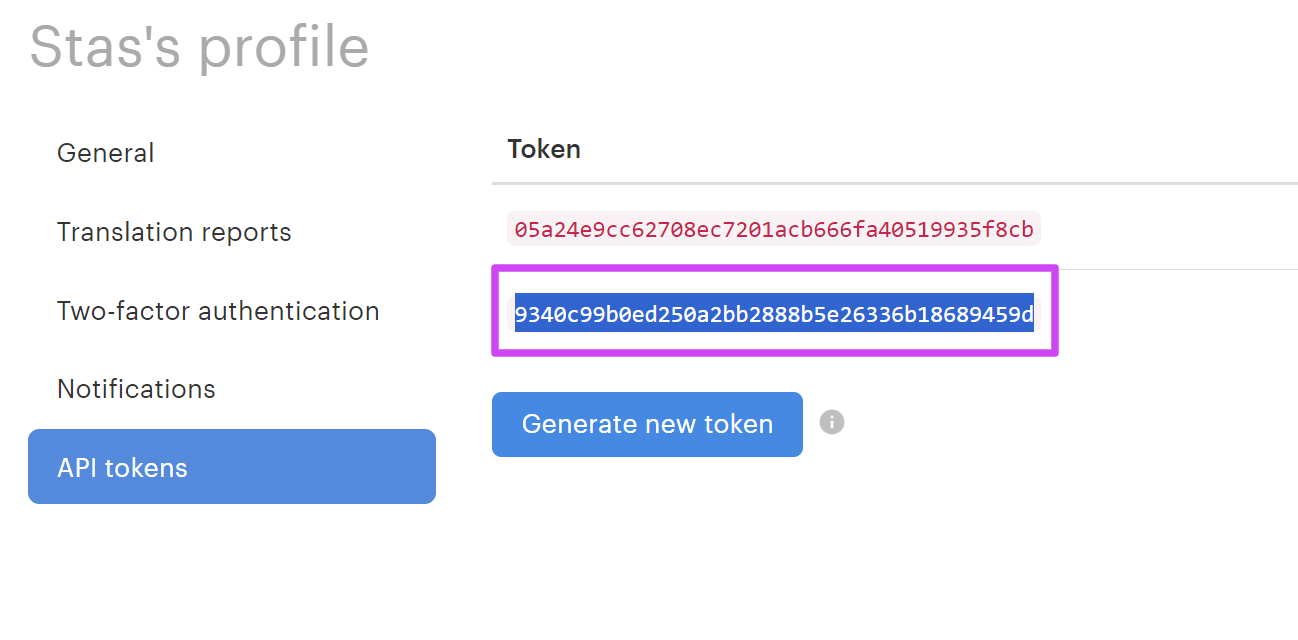
Click Generate — the new token is added to the list
-
Copy the token string and save it for later — Lokalise API tokens do not expire
How to configure the integration
-
Create a new Smartcat project and select Set up an integration when prompted How would you like to proceed?
-
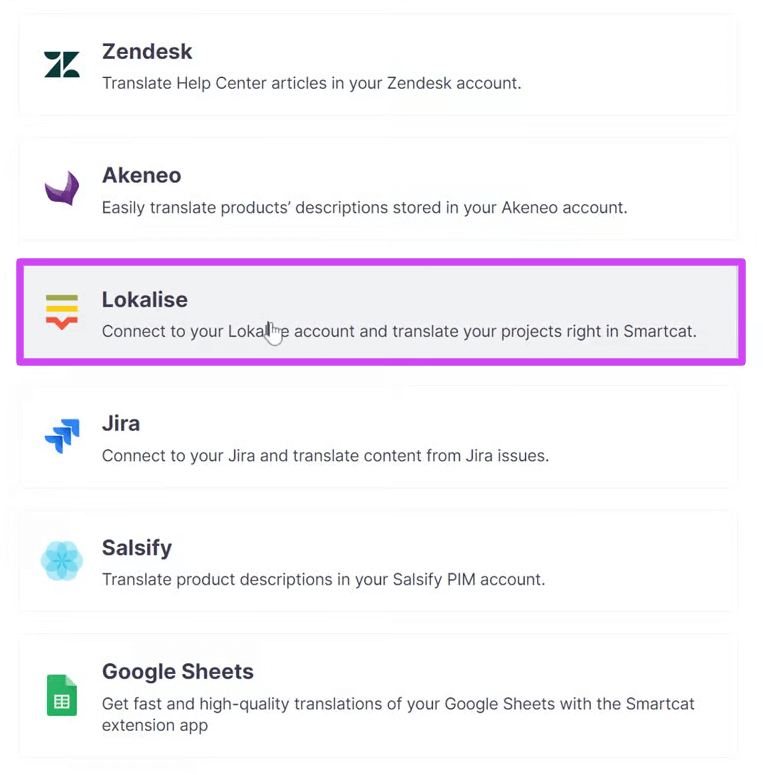
Scroll down the Integrate & streamline page and click Connect on the Lokalise tile
-
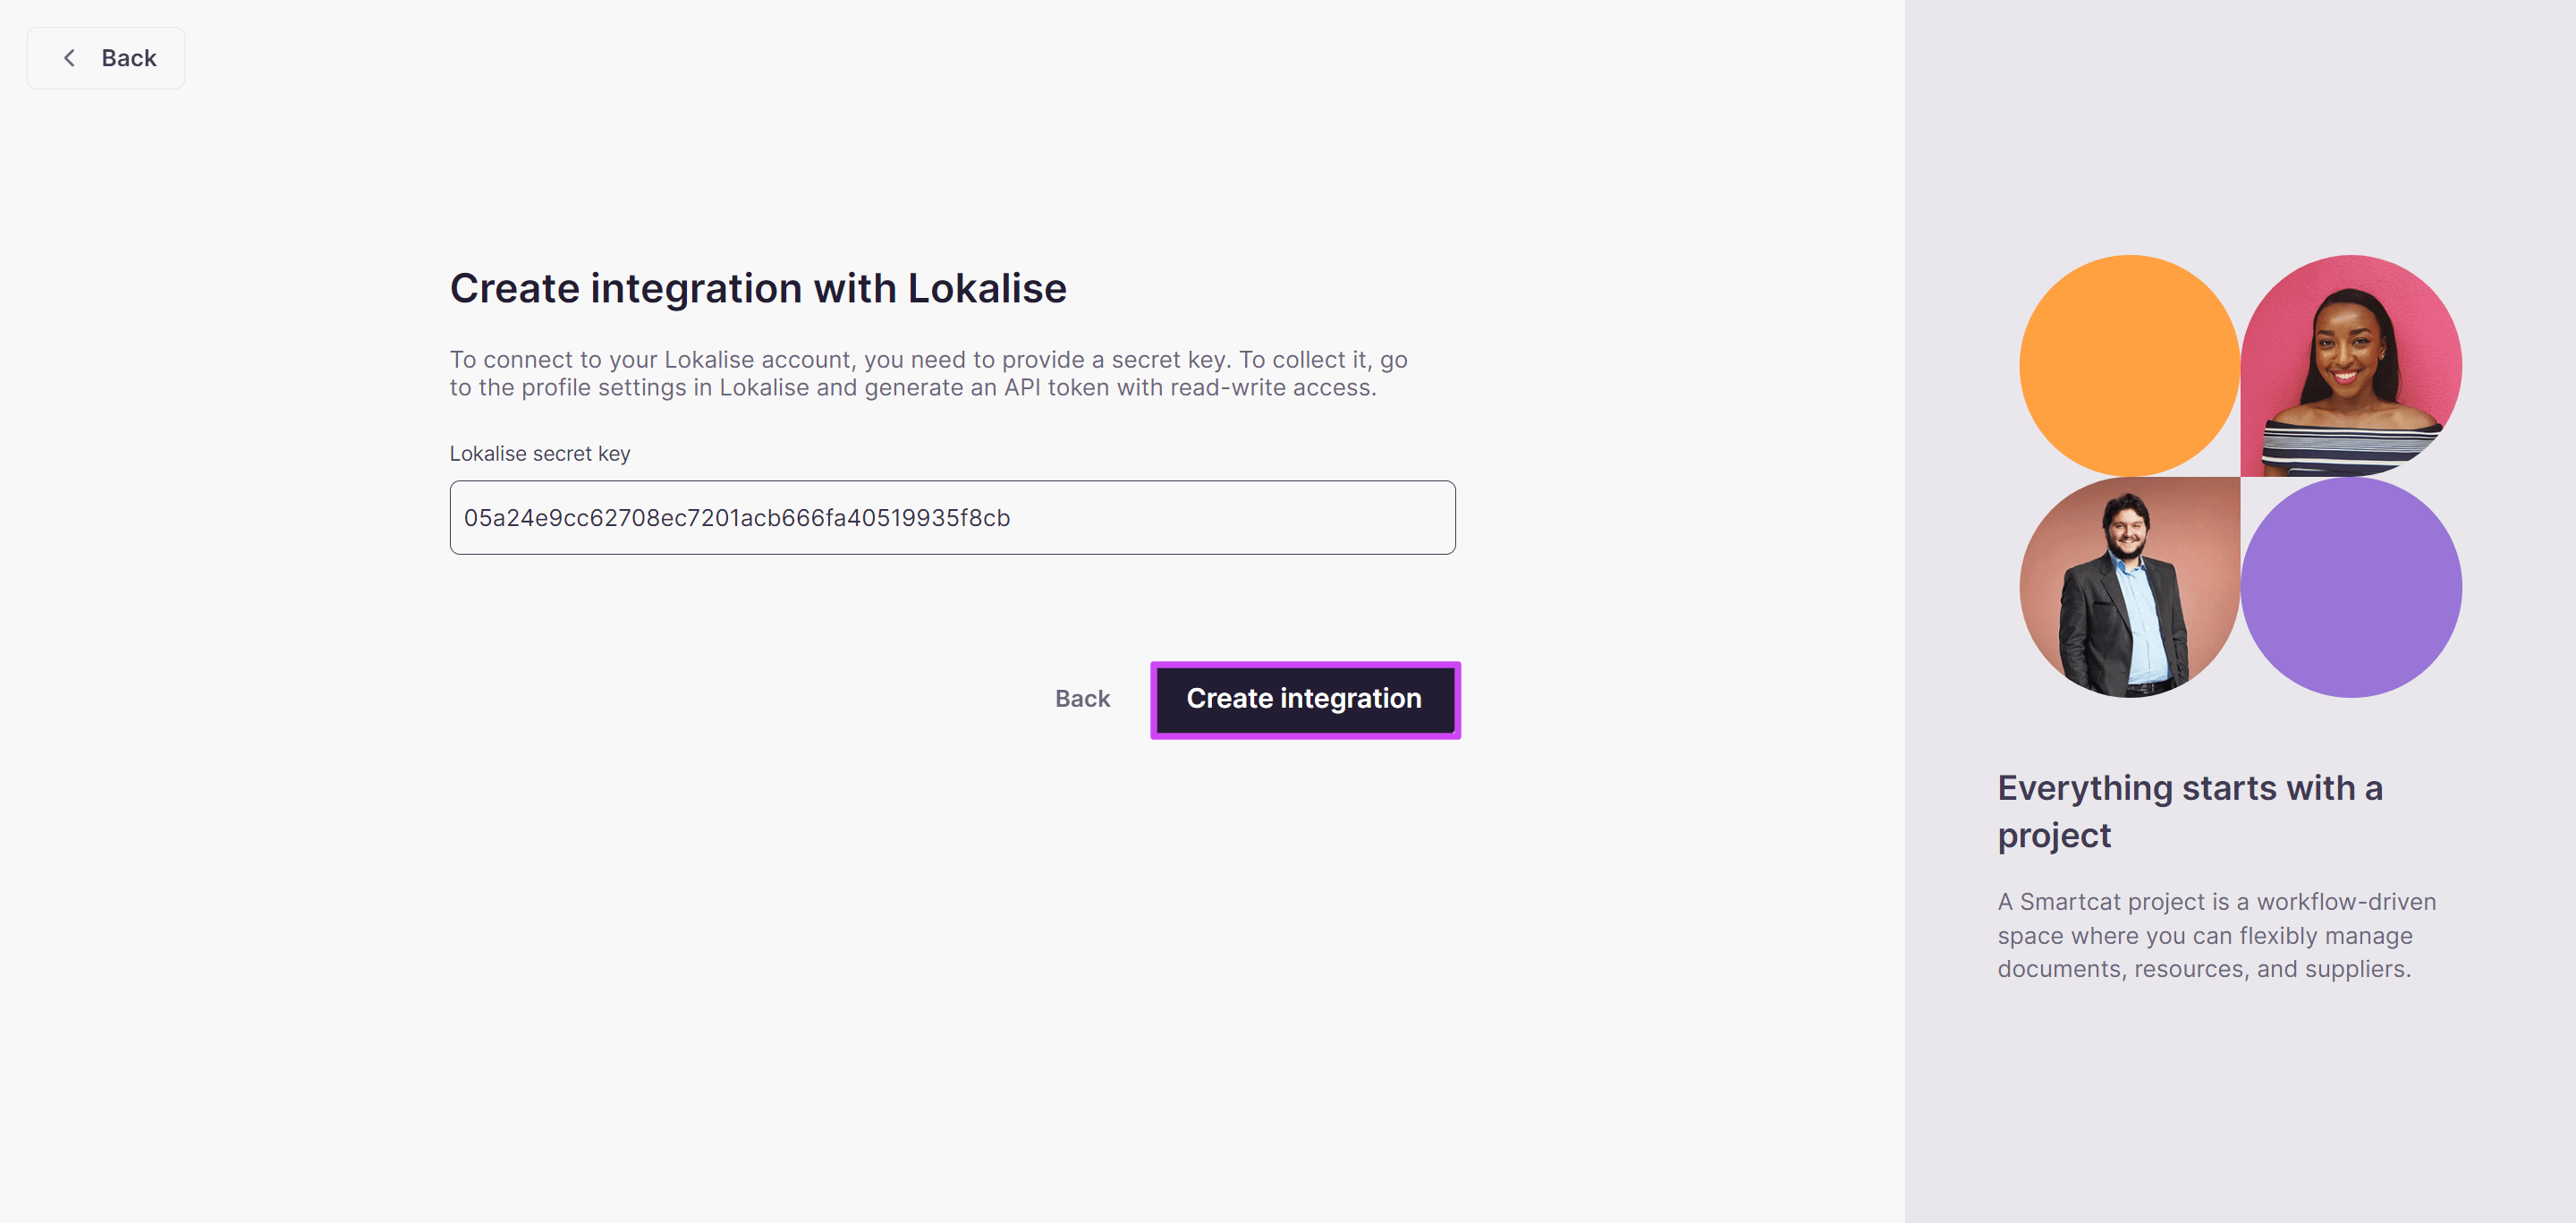
Paste the API token you saved into the Lokalise secret key field
-
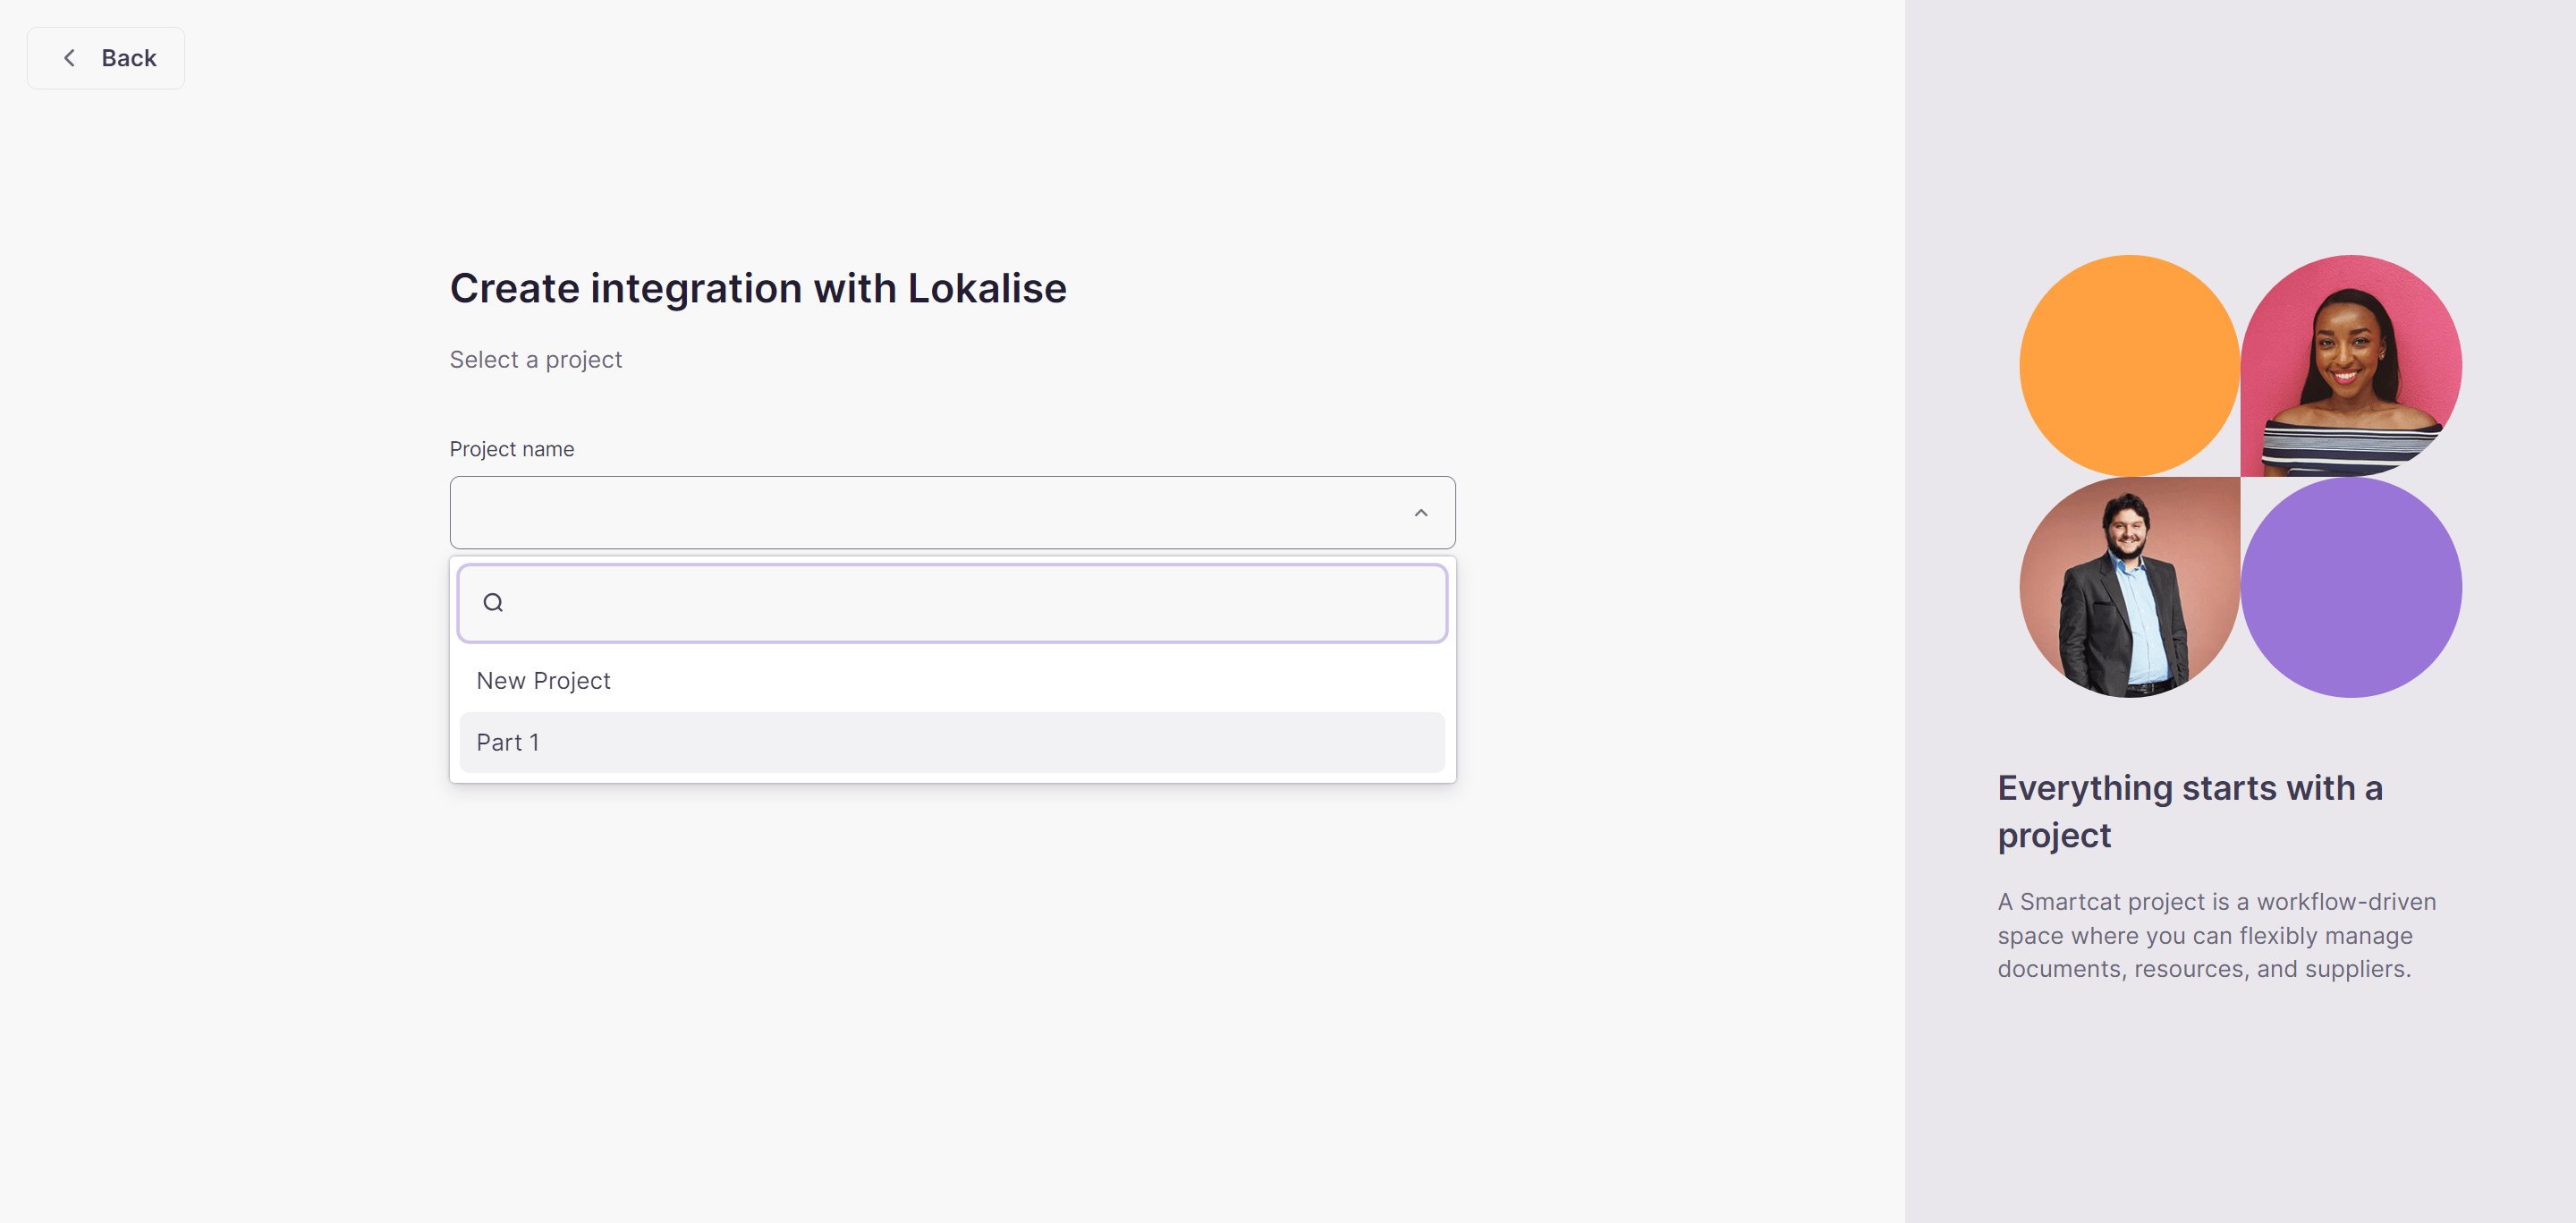
Click Create integration — Smartcat gathers your Lokalise projects and prompts you to select one
-
Make your selection and click Create integration
The integration is created and your Lokalise project content is synchronized with the Smartcat project.
How to use the integration
-
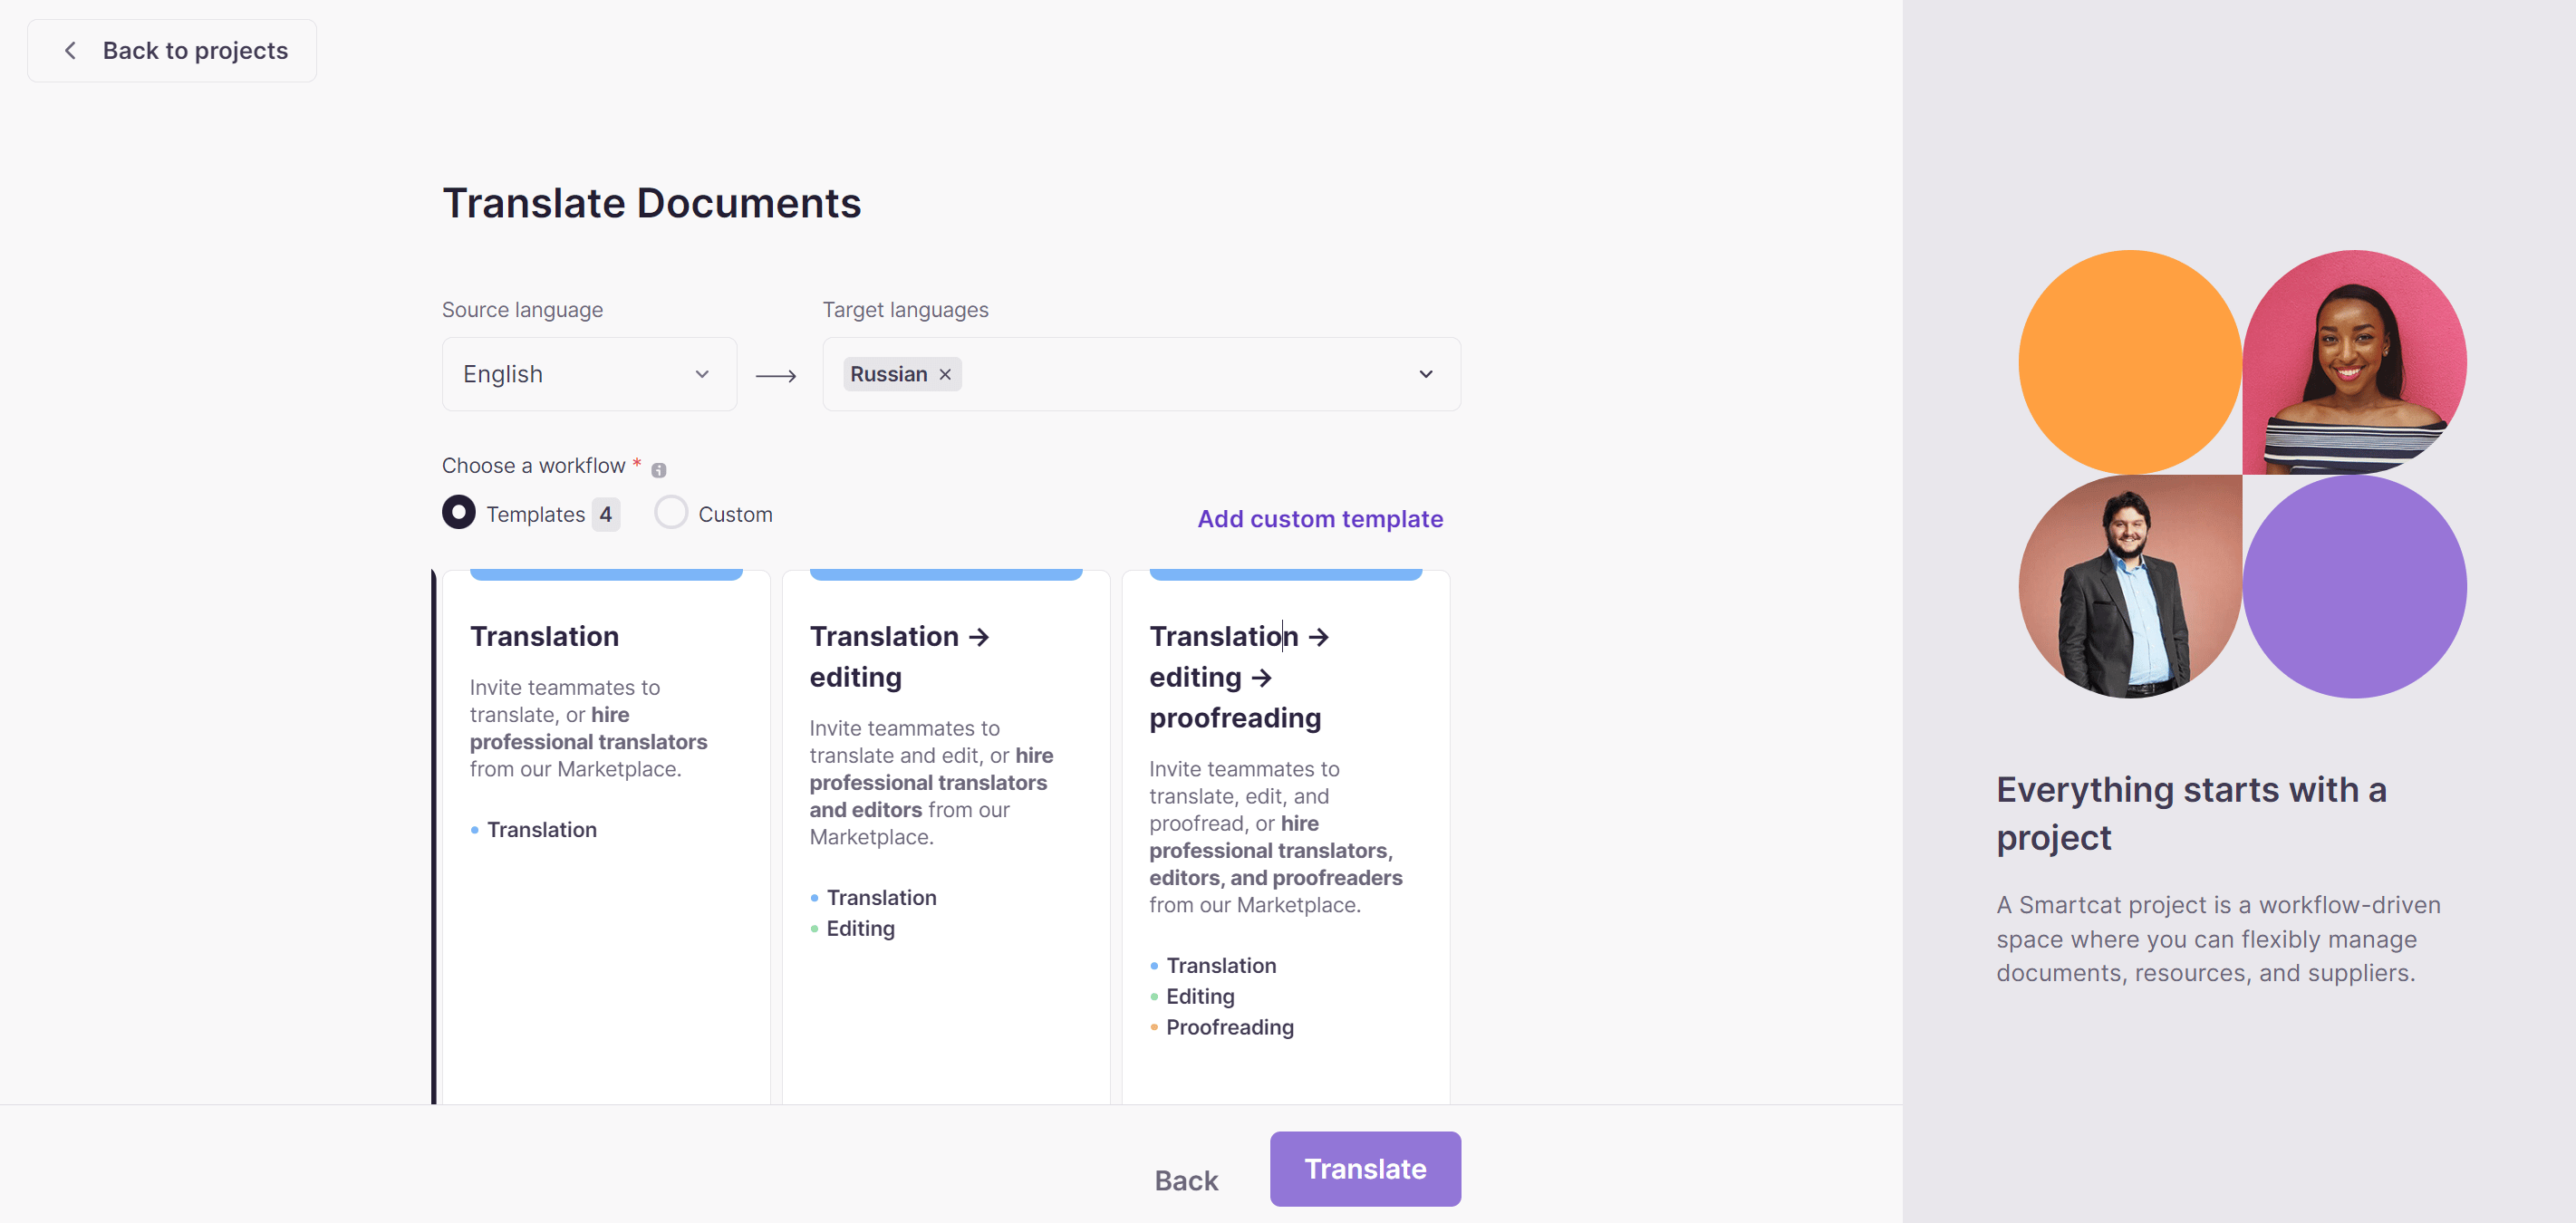
In the Translate Documents dialog, the Source language is populated automatically. Select the target languages (they match the Lokalise project) before continuing
-
Choose the tile that best describes the workflow you need and click Translate
-
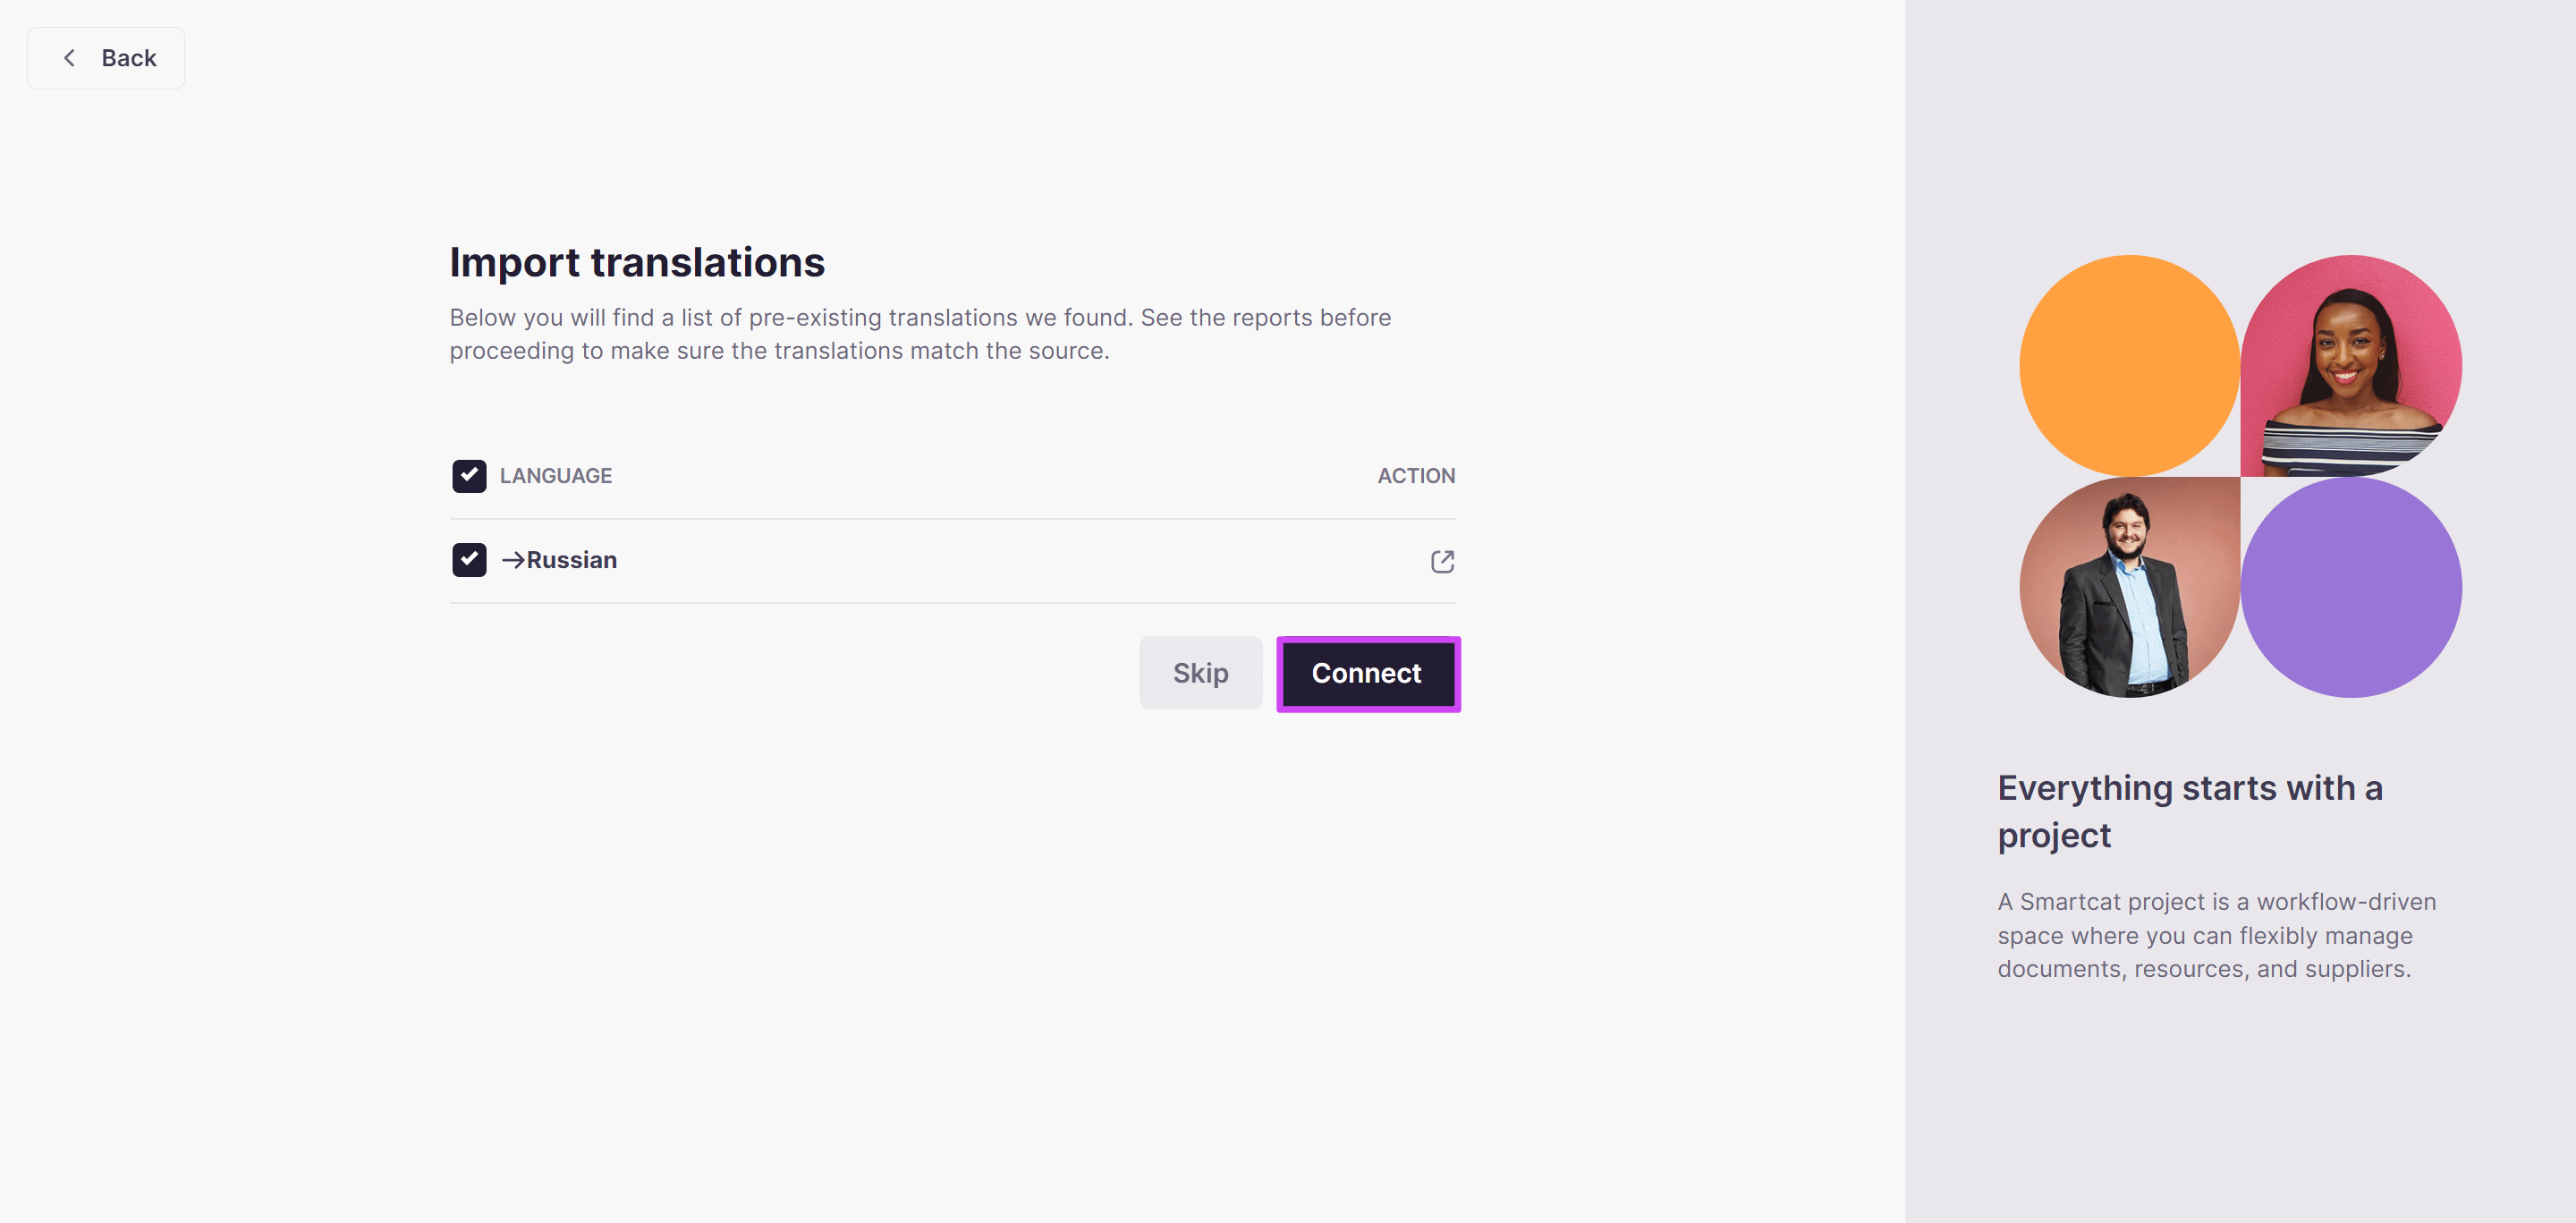
If Smartcat finds pre-existing translations, review them with Download in the relevant row. To import a translation, check its checkbox and click Import; to pull only the source content, uncheck all checkboxes and click Import
-
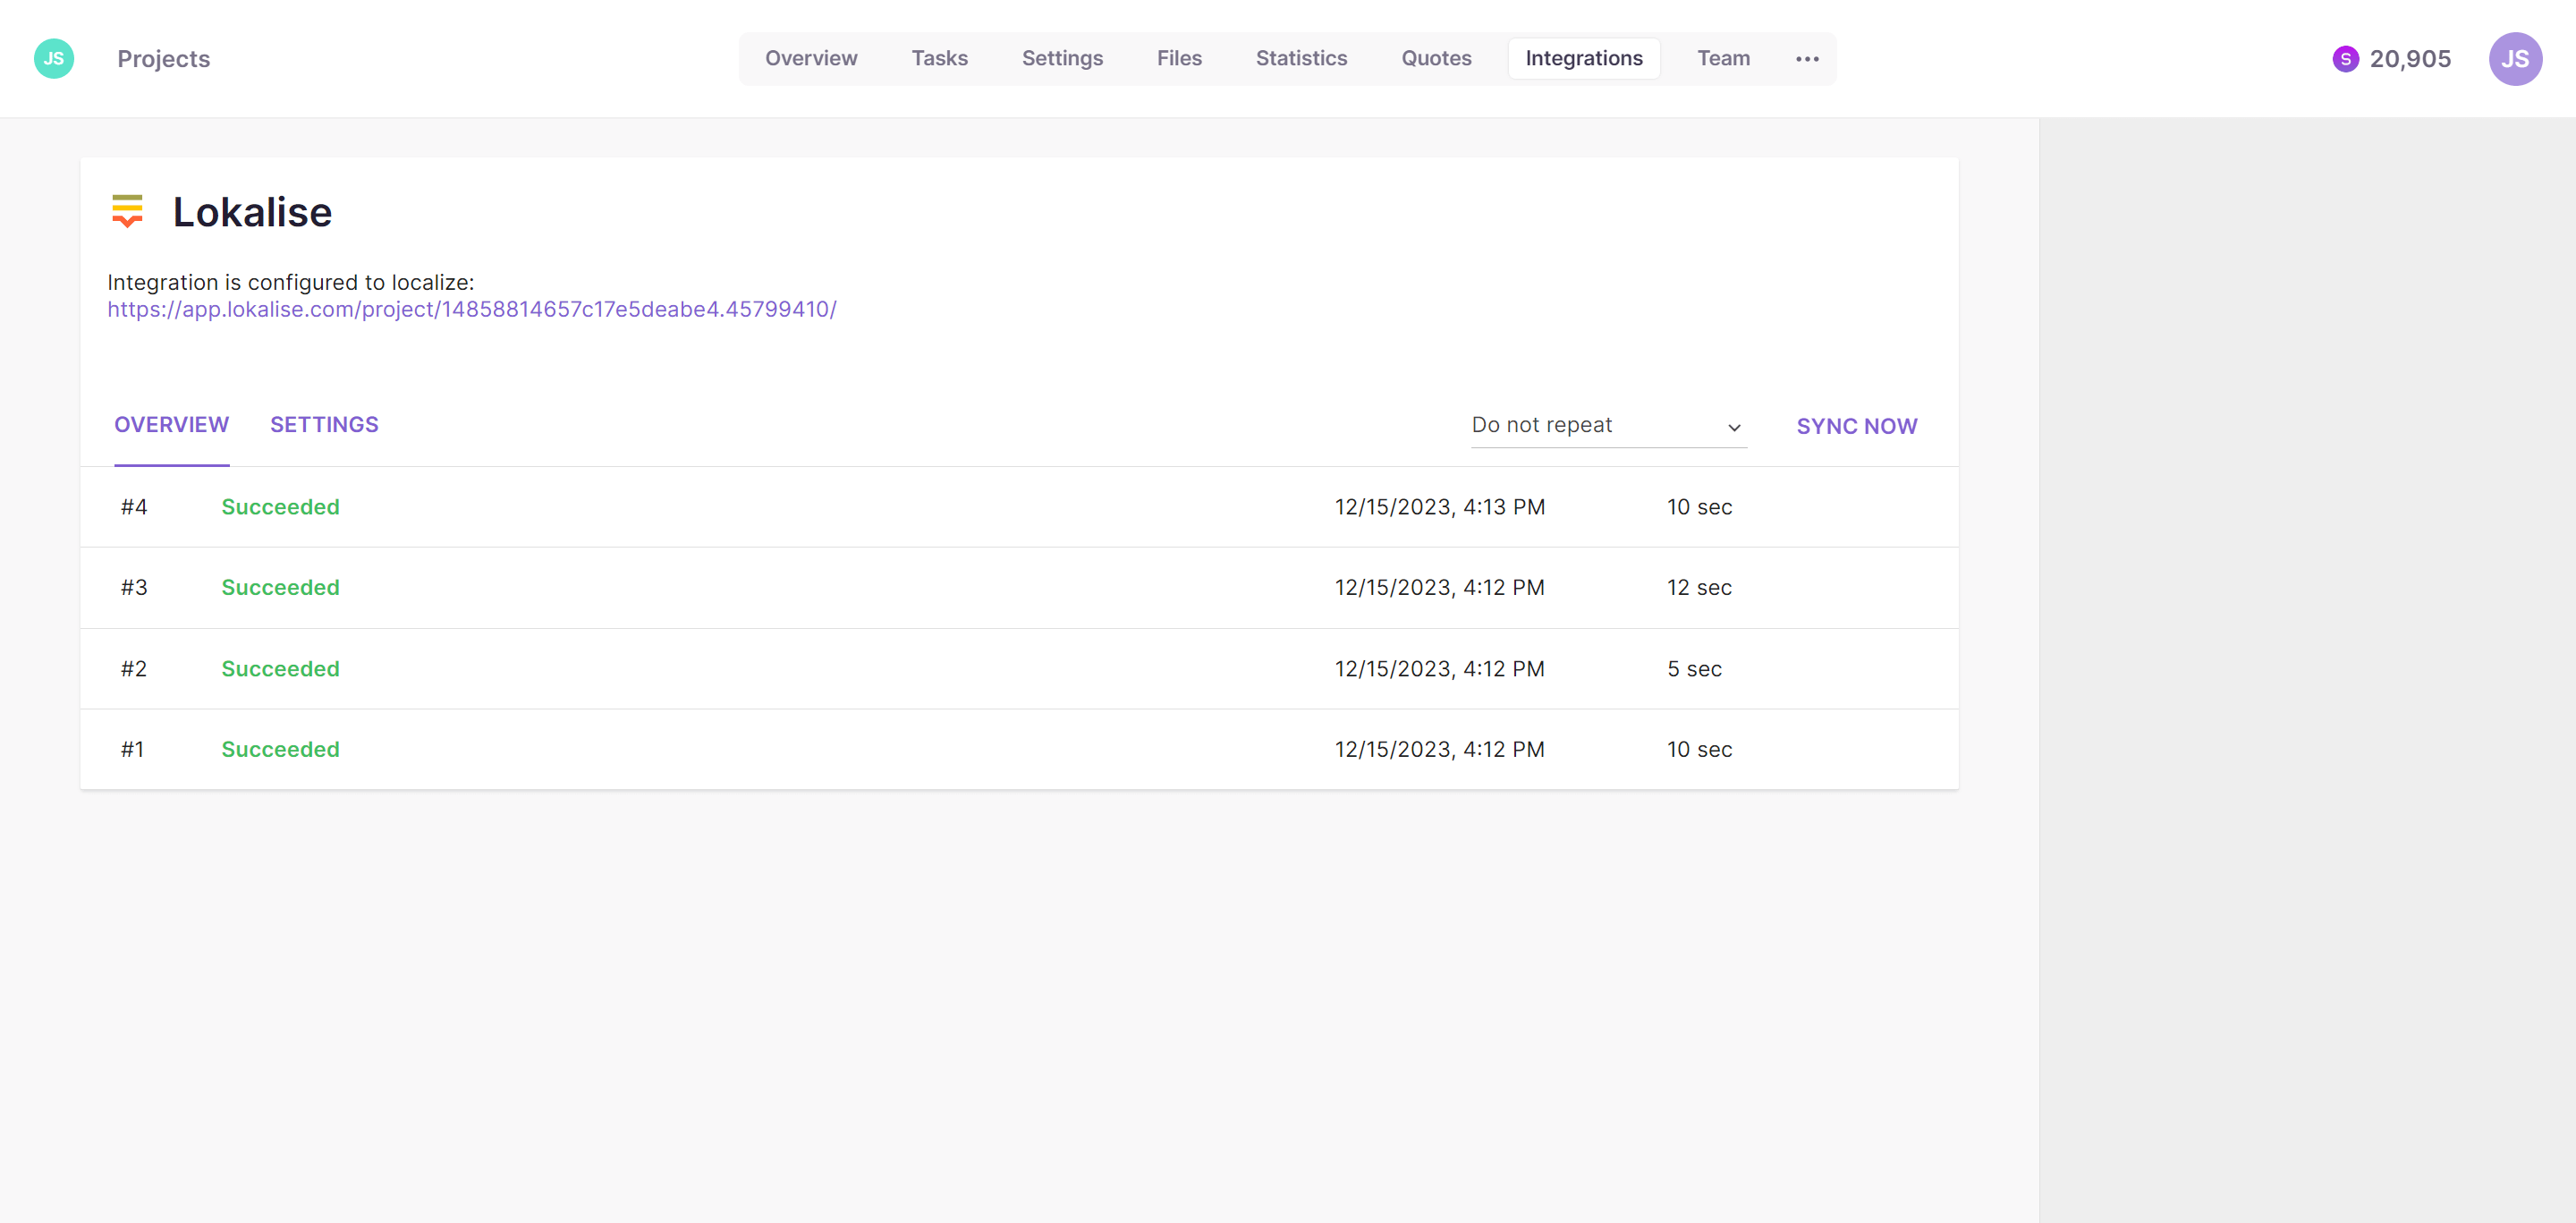
When the content is imported, a summary shows the integrated project name and file import statistics
-
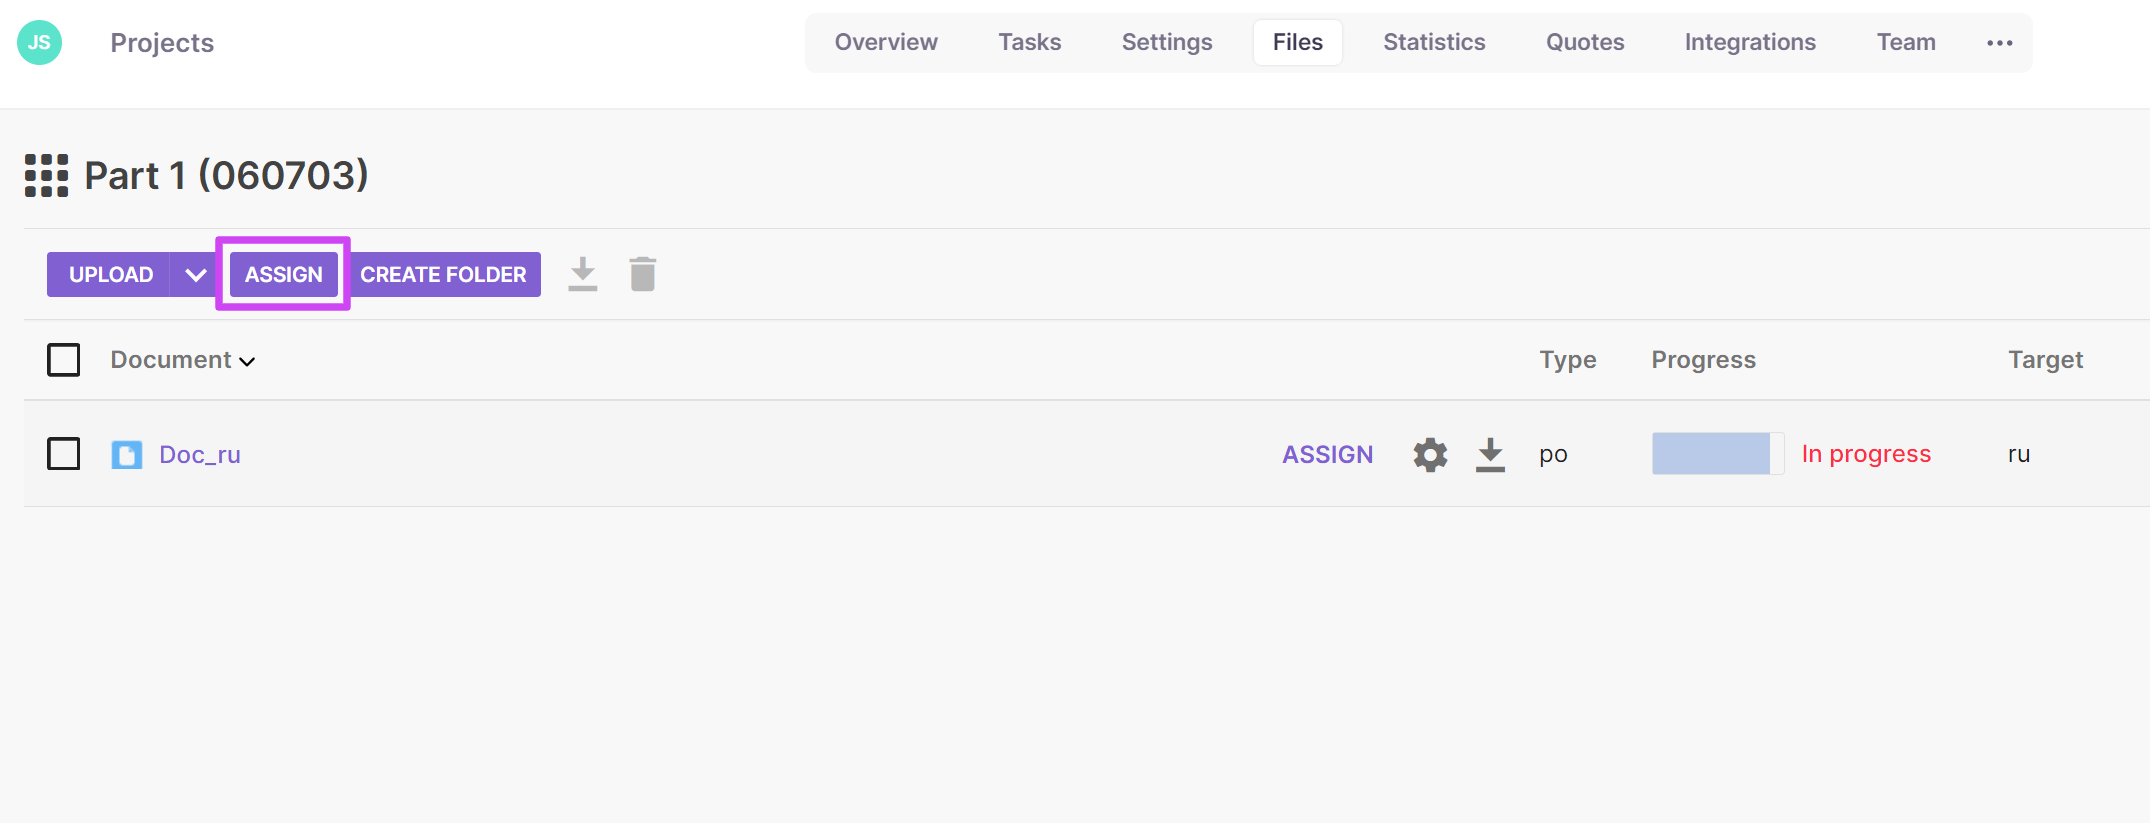
Open the Files tab to view the imported documents
-
Translate the documents yourself, or click Assign to invite a supplier or agency
-
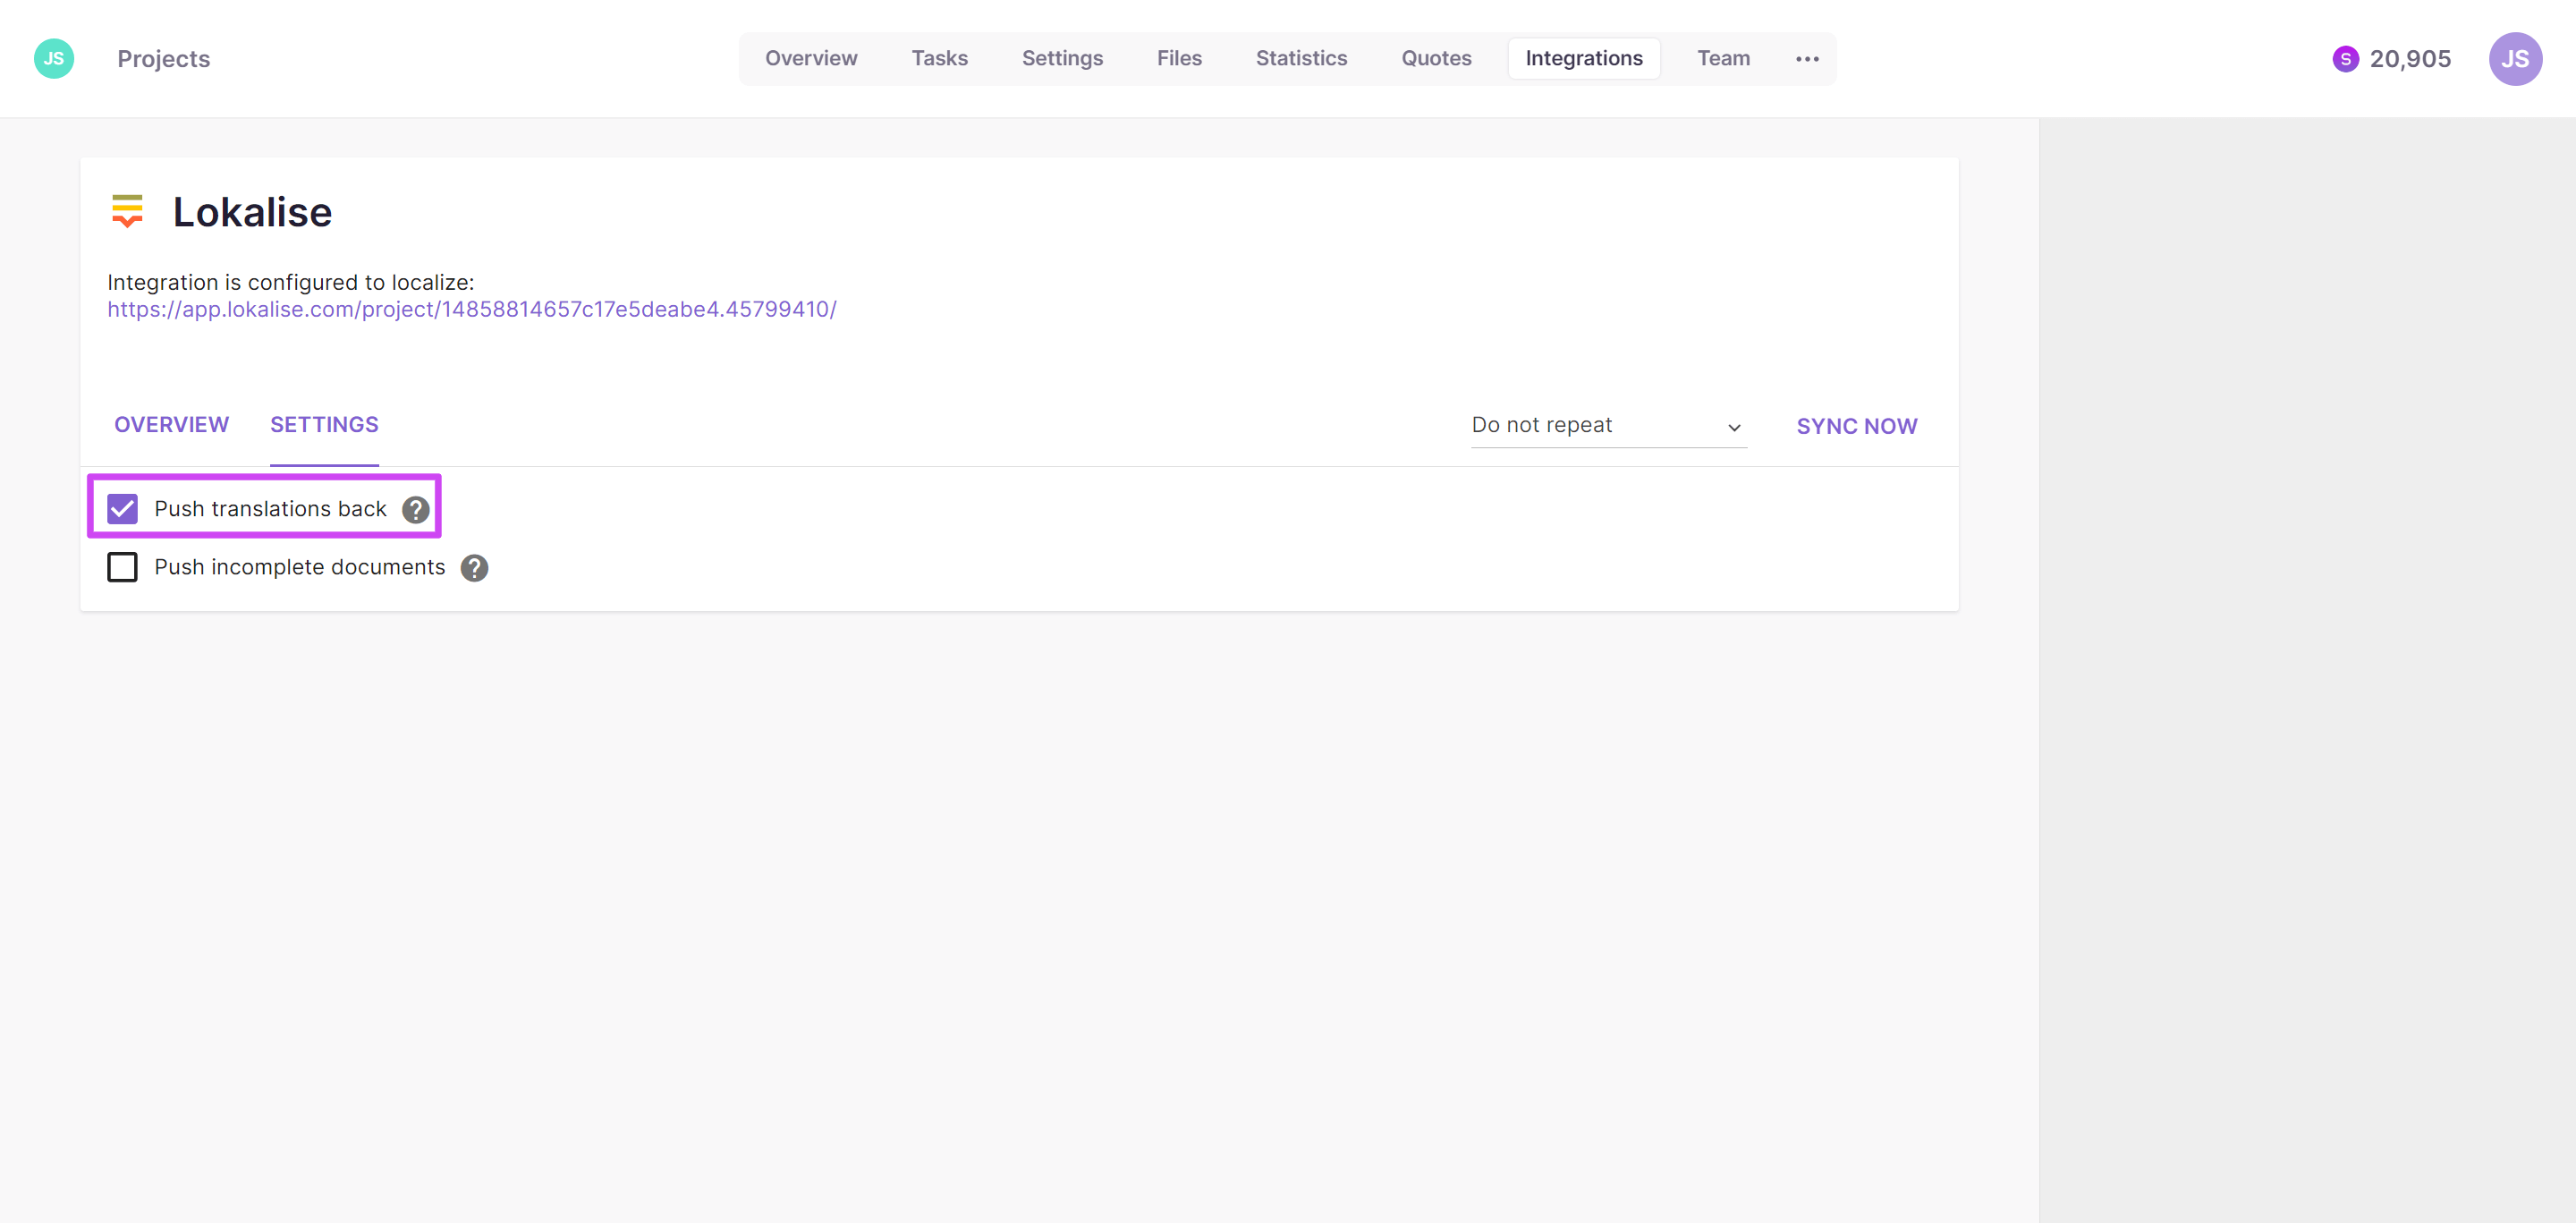
When translation is complete, return to the Integrations tab, open Settings, enable Push translations back, and click Sync Now
-
The translated segments are pushed to Lokalise and appear in the editor
Your translations are delivered back to Lokalise.
📌 If new source segments were added since the previous sync, the Smartcat documents are updated accordingly. By default a sync ignores incomplete translations; enable Publish incomplete documents to include them.
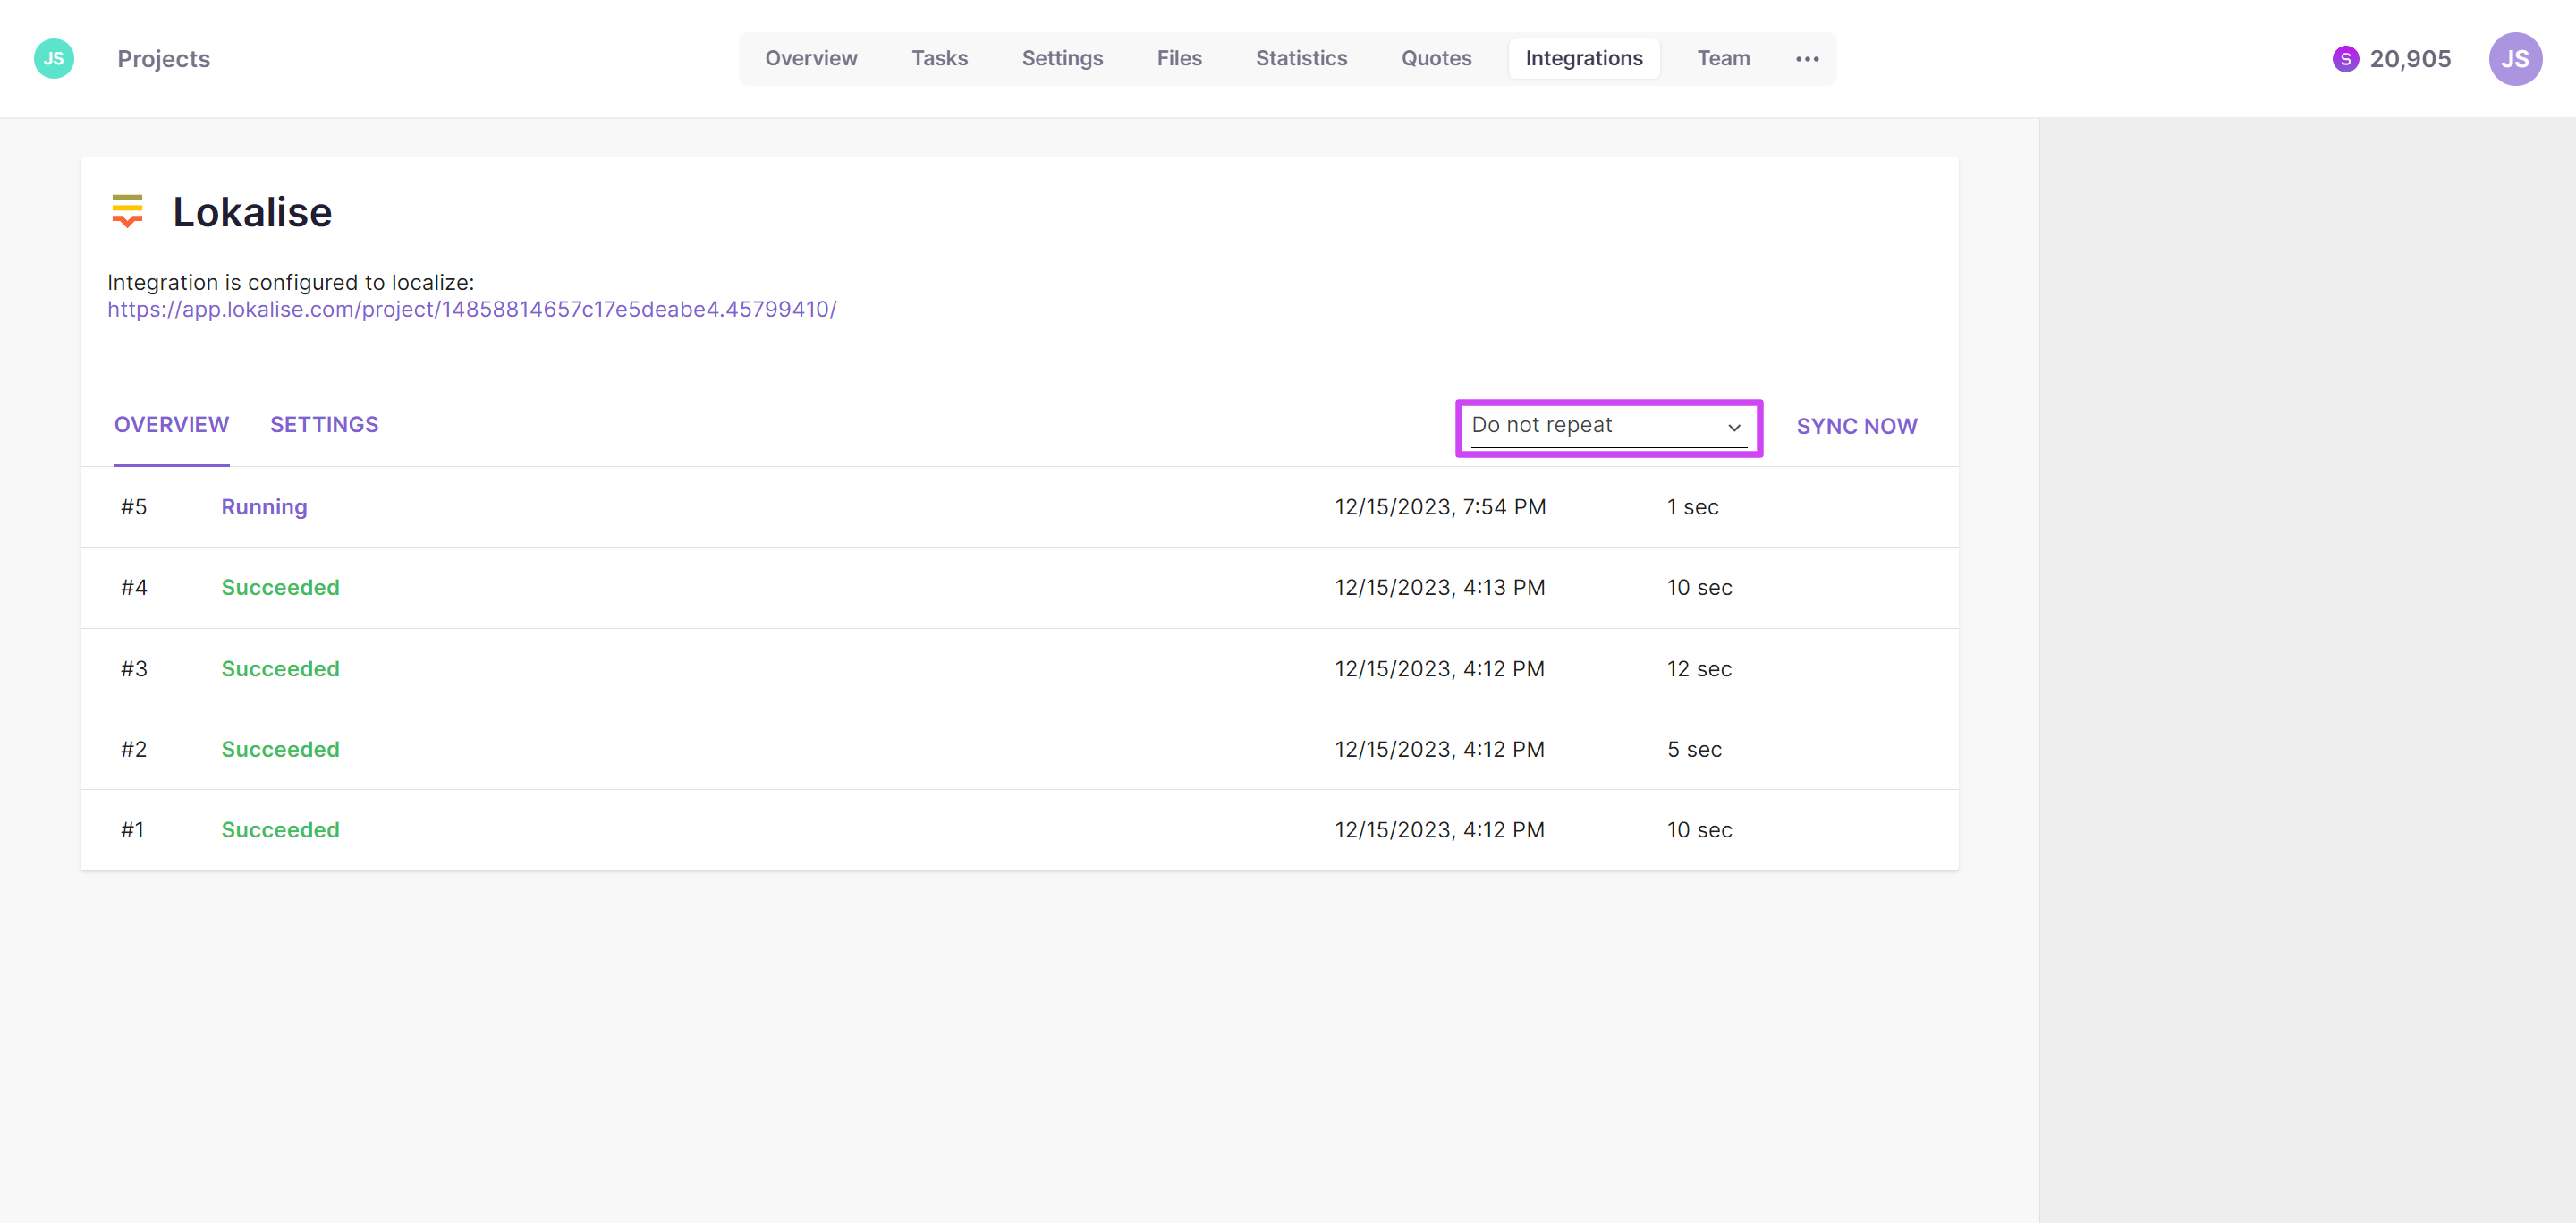
💡 Instead of clicking Sync Now each time, schedule automatic syncs by clicking Do not repeat and choosing an interval from the dropdown menu.
FAQs
What do I need from Lokalise before setting up this integration?
A Lokalise API token generated with both read and write access, created from your Lokalise account under Personal profile → API tokens.
Do Lokalise API tokens expire?
No — per the setup guide, Lokalise API tokens do not expire, so you only need to generate and save one once.
What happens if Smartcat finds translations that already exist in my Lokalise project?
You can review pre-existing translations and choose to import them (check their checkbox and click Import) or pull only the source content by leaving all checkboxes unchecked.
How do completed translations get back into Lokalise?
Return to the integration's Settings tab, enable Push translations back, and click Sync Now — the translated segments are pushed to Lokalise and appear in its editor.
Can I set this to sync automatically instead of manually?
Yes — instead of clicking Sync Now each time, you can schedule automatic syncs at a chosen interval via the Do not repeat dropdown.
Want to learn more?
See how Smartcat can transform your localization workflow.
Still need help?
Our support team responds within one business day.