Create and manage a basic project workflow as a manager
Overview
In Smartcat, every project has at least one project manager. This user has access to project administration and can assign linguists, set deadlines, and manage project resources. You can see who is assigned as the project manager on the Team tab of the project page.
Watch a walkthrough of a manager's basic workflow:
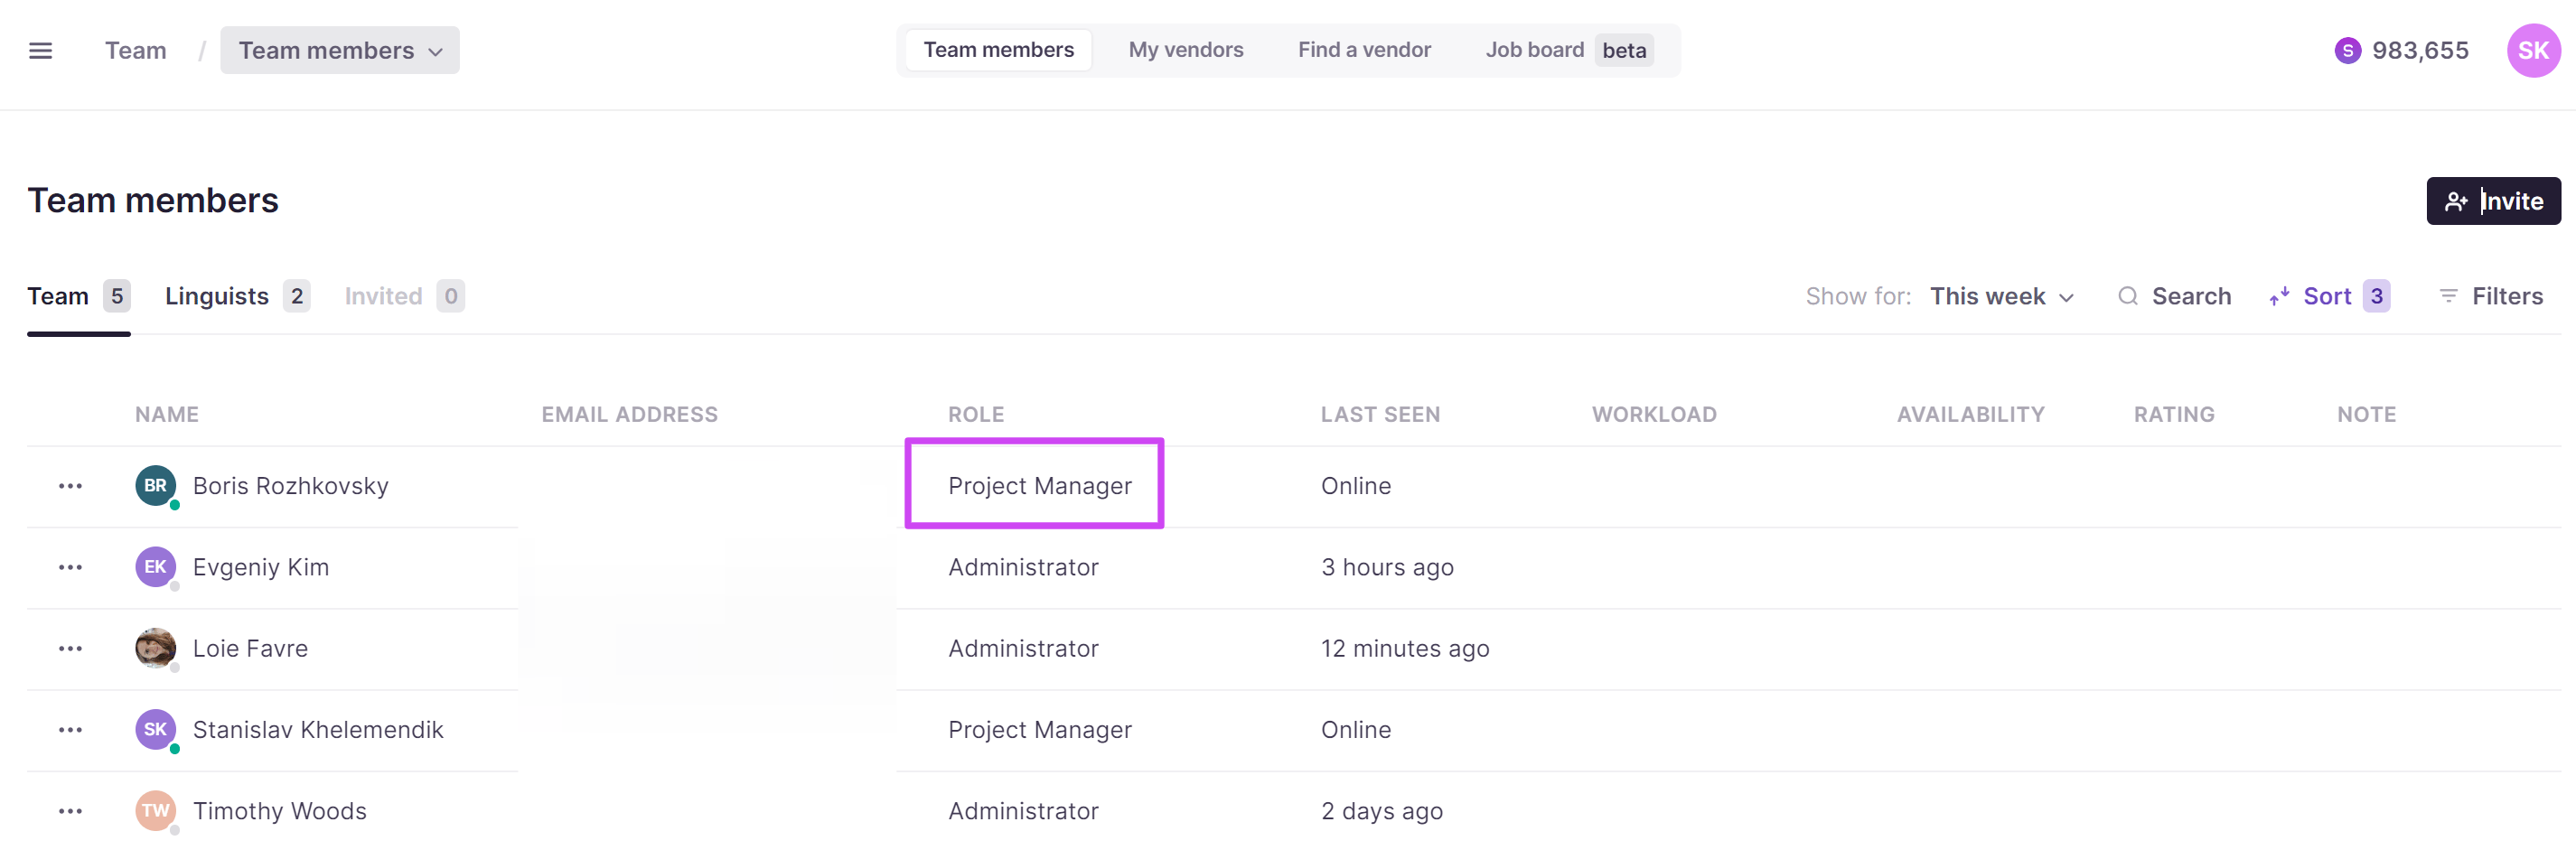
Project participants can chat with a project manager by clicking Send message. The person who creates a project in a corporate account automatically becomes a project manager and is included in the project manager list. Anyone who assigns linguists to the project is automatically added to the project manager list. You can edit this list at any time to add or remove project managers as needed. The managers on the list receive an assignment notification.
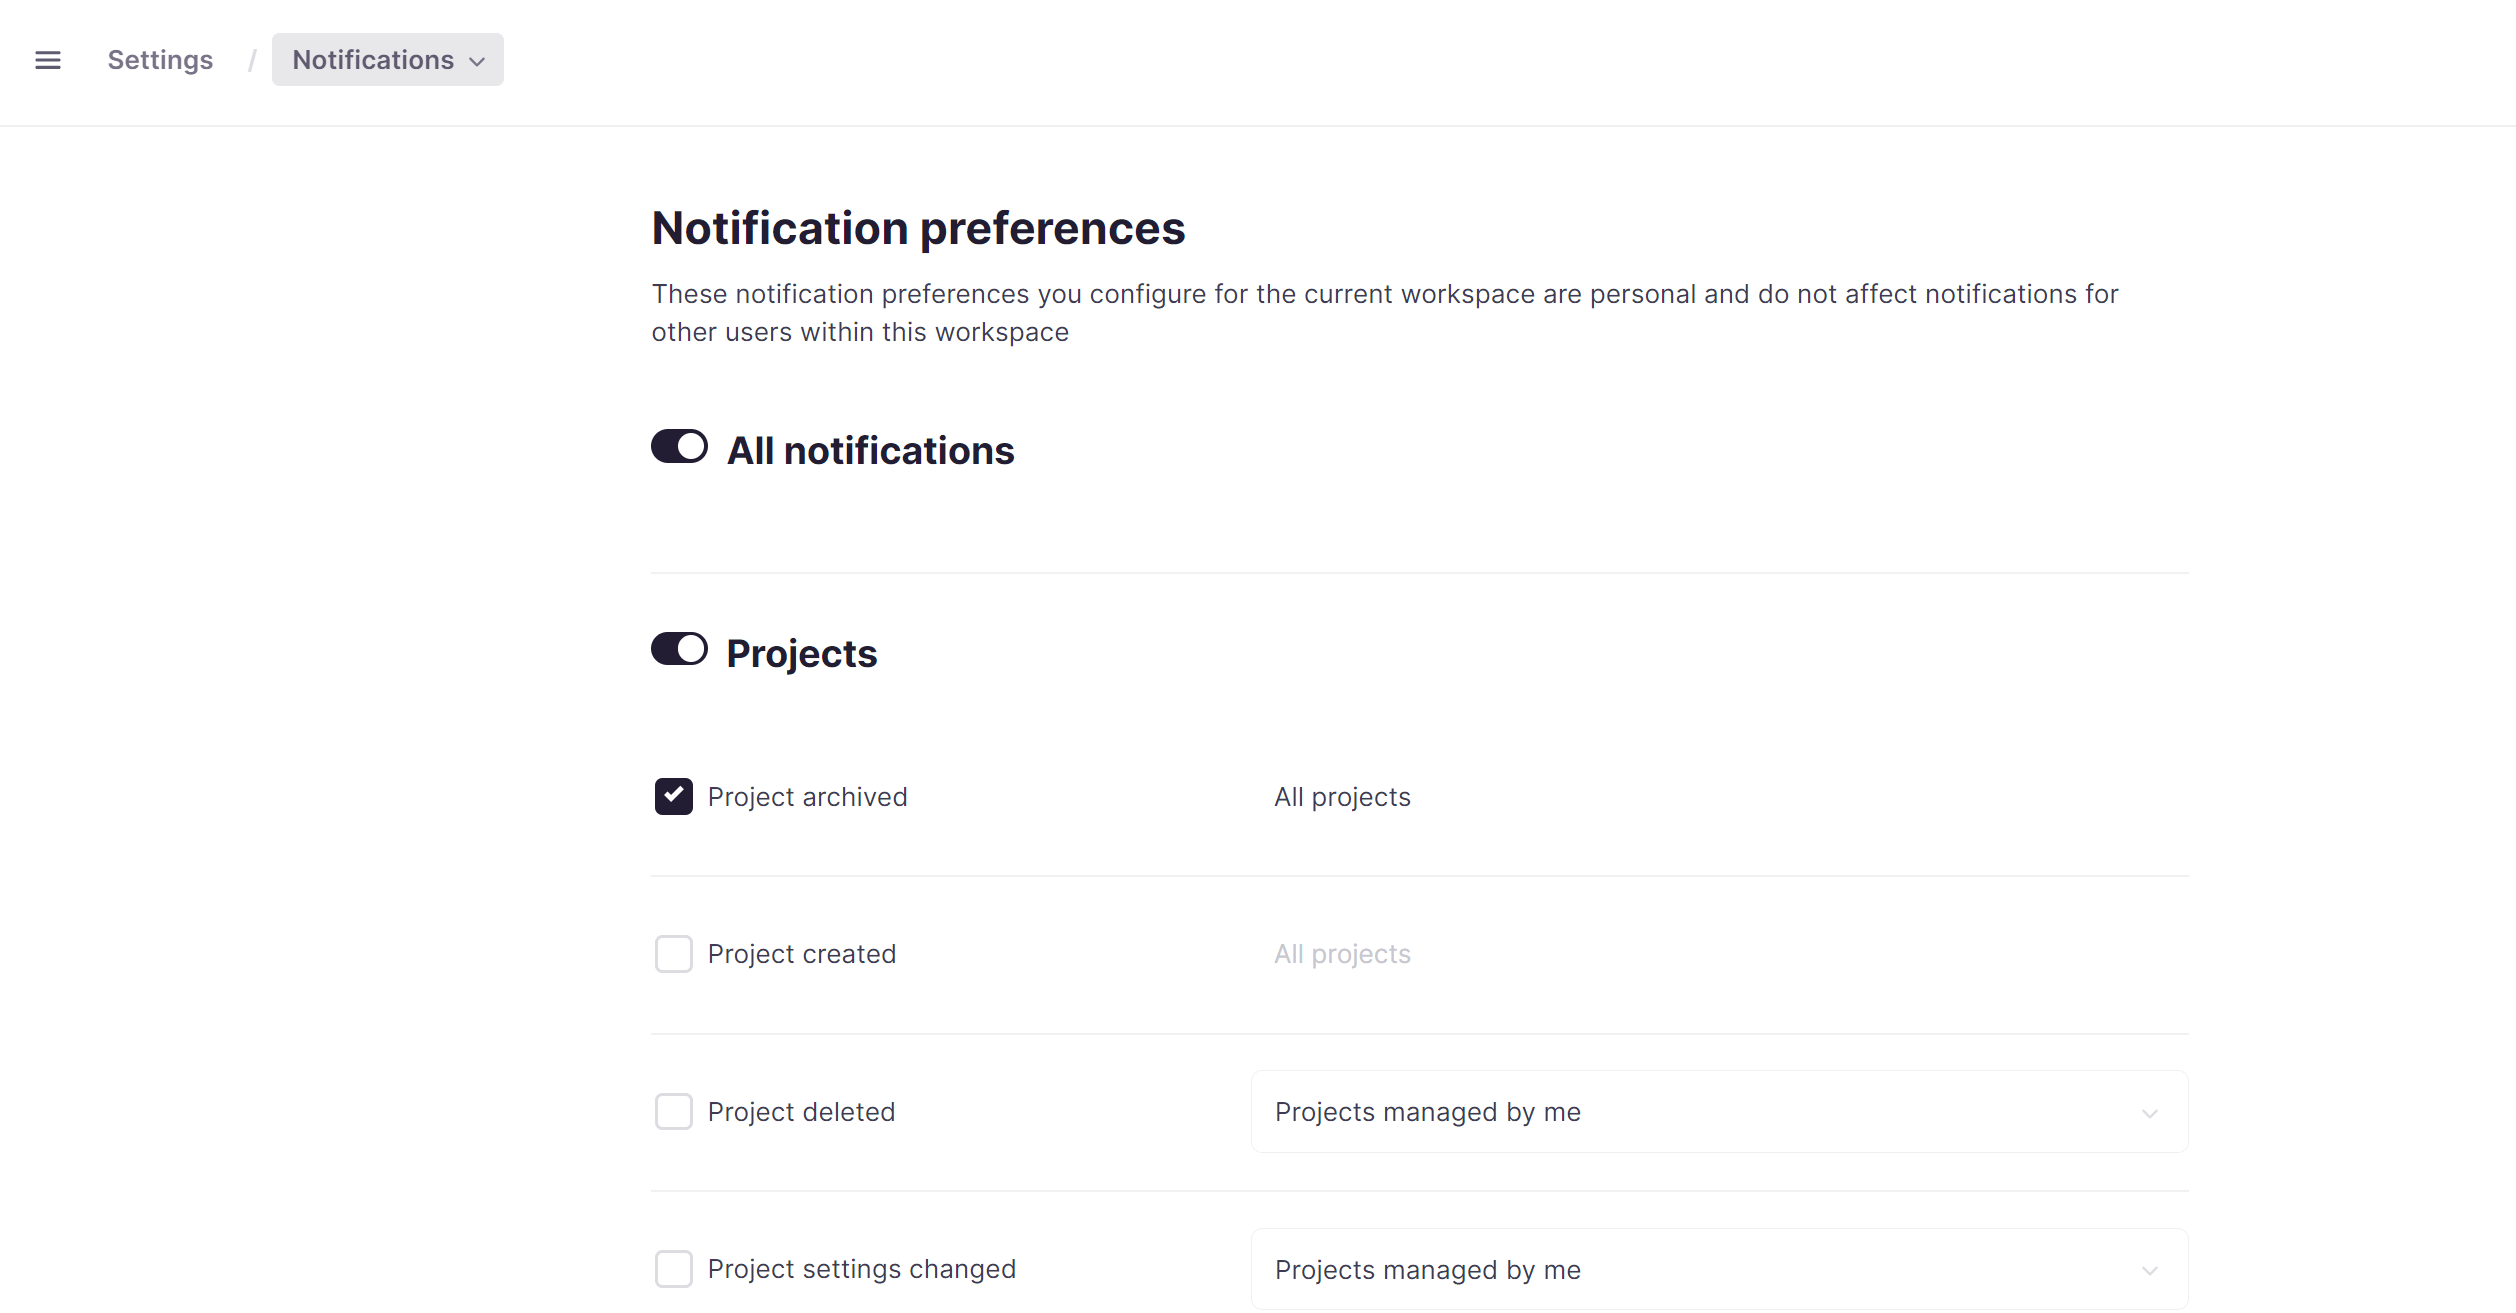
Project managers receive other notifications about project events. Every change to the project status generates an email notification. To set up notifications, go to Settings → Notifications in the main menu. To eliminate irrelevant notifications, filter them with the Projects managed by me option.
By selecting their name in the filter panel, managers or administrators can display only the projects they currently manage. A team manager can use this option to find unassigned projects and assign a manager if necessary. The team manager can also monitor projects assigned to a specific manager.
No two projects are the same, but here are the major steps most of them have in common.
Step 1. Create a project
-
Click + next to the Projects menu item
-
Follow the wizard to create a project with the document(s) to translate
-
Set a project deadline so that translators can schedule their time
If your project has several stages — for example, translation, editing, proofreading — you can set an individual deadline for each stage.
You now have a project ready for assignment.
Step 2. Choose assignees
-
Select the documents you want to assign translators to by clicking the respective checkboxes
-
Click Assign tasks
-
If you don't have enough specialists in your team, switch from the My team tab to the Find freelancers tab to find new translators in Smartcat
-
Pick as many assignees as you need
-
Select the mode in which you want to invite them: manual or automatic
Your selected assignees are now ready to be invited in your chosen mode.
Manual and automatic assignment
In the manual mode, assignees who confirm the invitation are placed on the "waiting list". When you are ready to choose one or several of them, you drag them to the right-hand part. In the automatic mode, the first linguist who accepts the invitation gets the project.
Step 3. Assign and optionally split the document
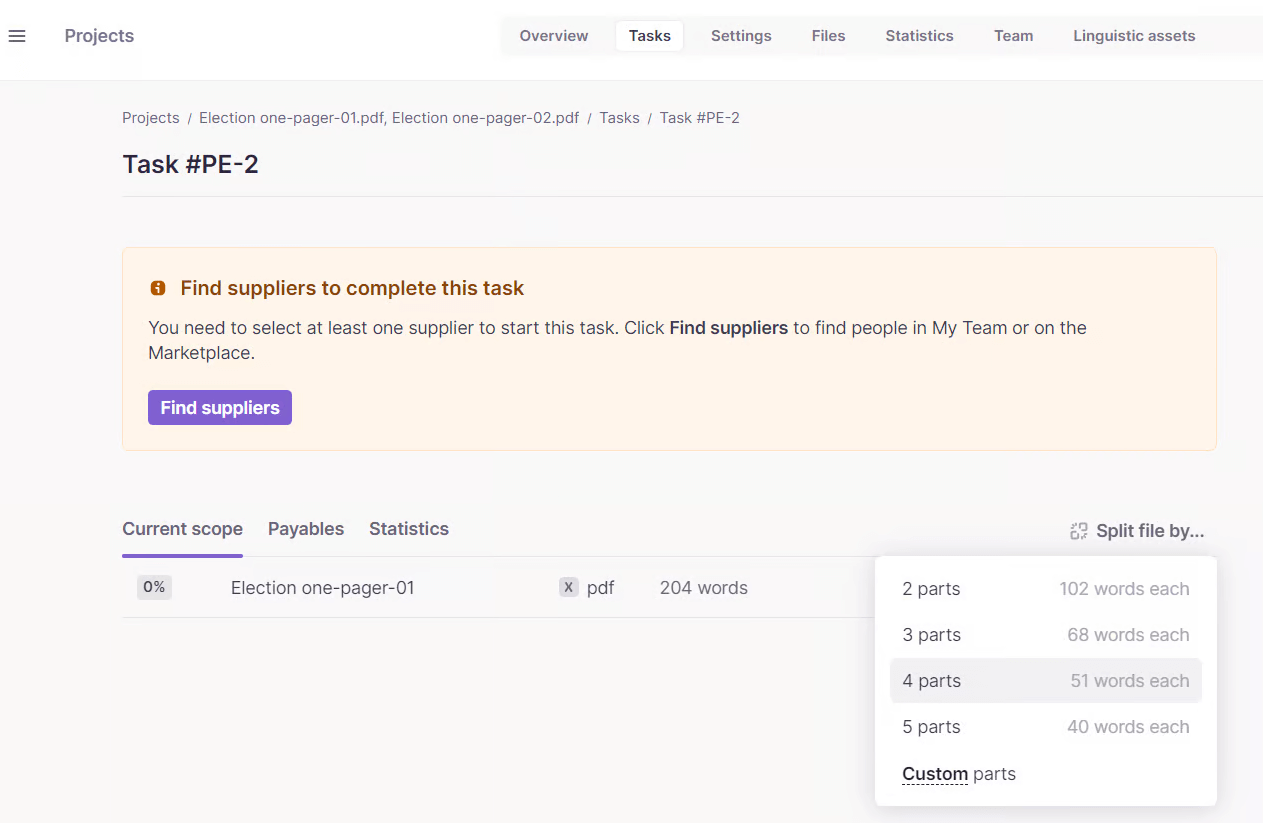
If the document is small or the deadline is generous, it is always better to have a single linguist do the translation. In the real world, however, sometimes you need several people to work on the same document. There are two ways to do this in Smartcat — with or without splitting the document.
-
Split document: click Split document and choose the segment ranges to assign to each translator. Each translator can edit only segments in their range. Assignees can see — but not edit — each other's segments
-
Save without splitting: click Save without splitting the document, so any assignee can edit any segment, even if it is already confirmed
⚠️ When calculating the price, Smartcat accrues the cost of segments to the first person who confirms them. In the non-split mode, an assignee can edit segments already confirmed by others, which may lead to confusion. We do not recommend this approach unless you are certain that all assignees understand these price calculation specifics.
Step 4. Track the progress
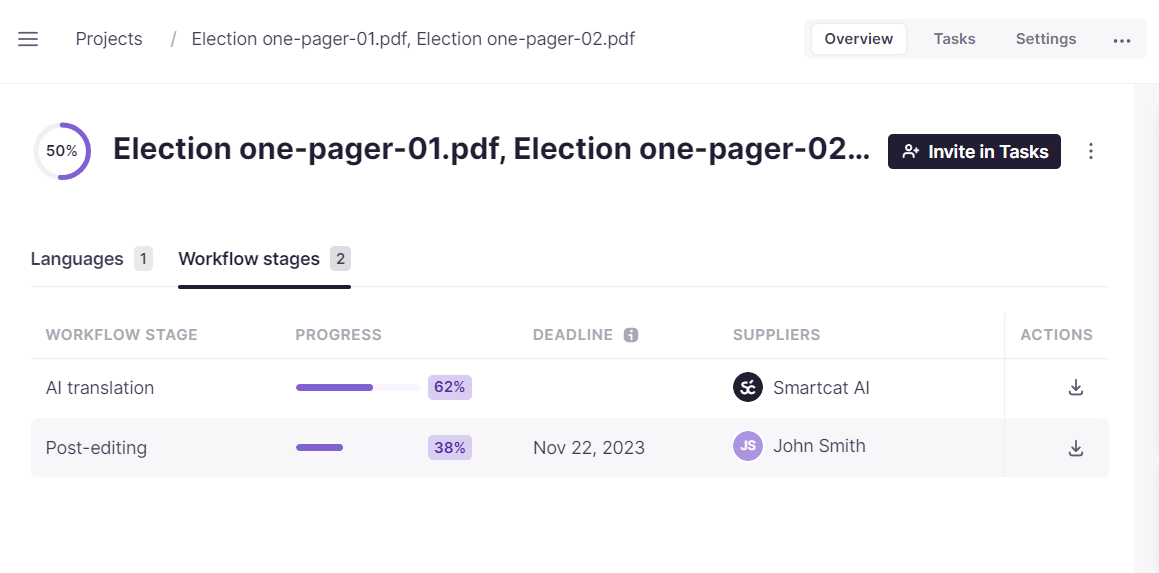
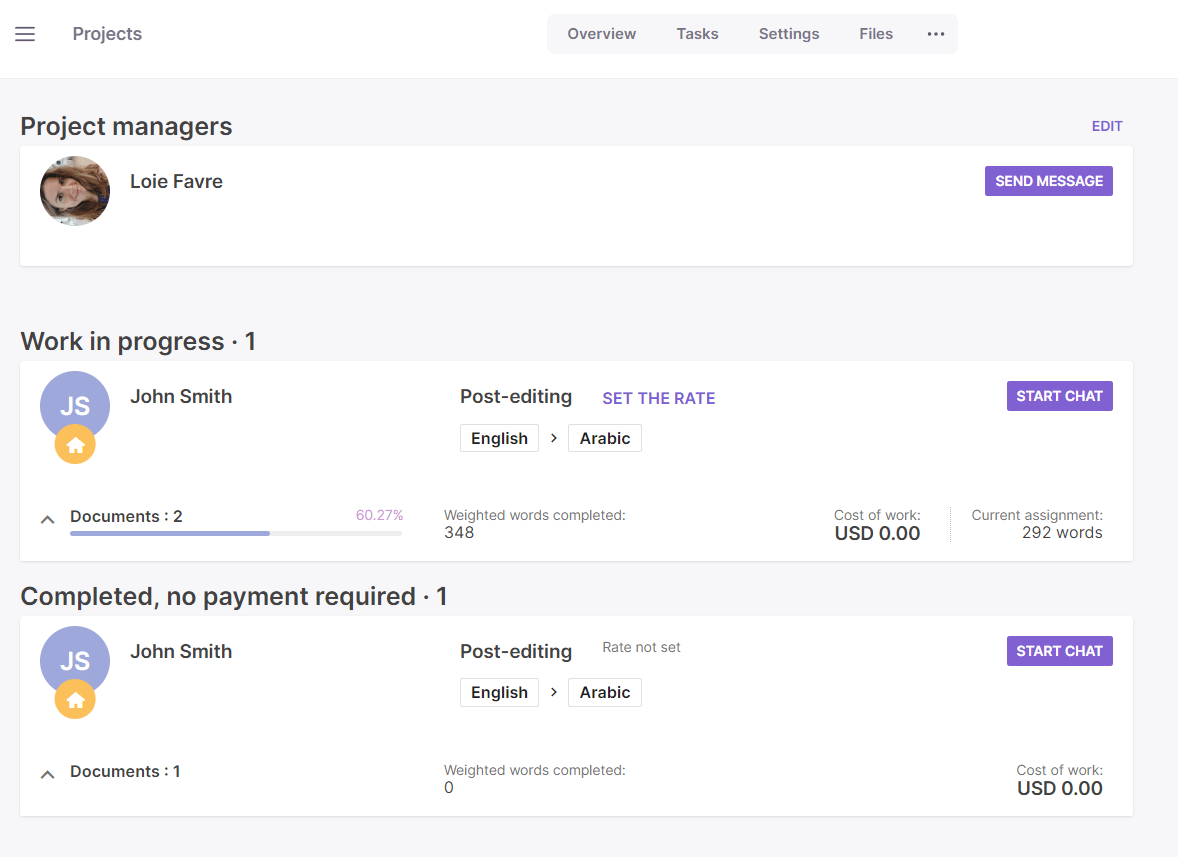
As the work progresses, you can track the progress of each document on the project page. You can also see the progress of each assignee under the Team tab. If you specified the participants' rates in their profiles, you can also see a transparent calculation of the cost of their work.
Step 5. Communicate with participants
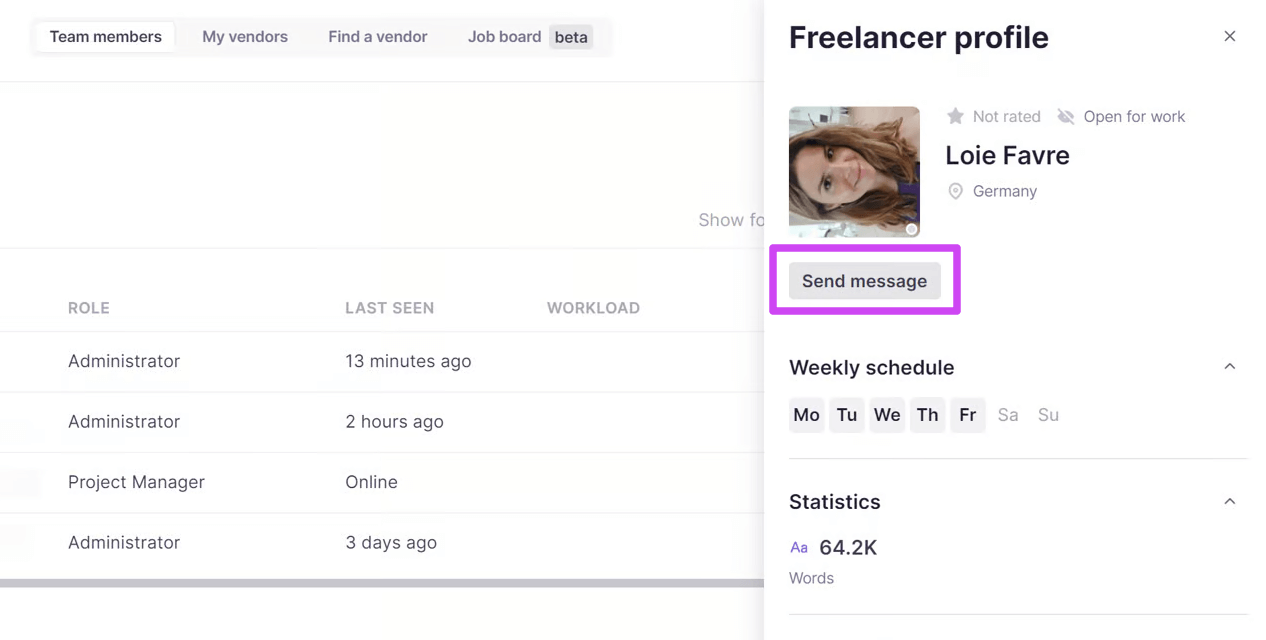
If you or your assignees have any questions, you can communicate with each other through the chat feature. Click Send a message on their profile page. You can also access the chat through the main menu. You receive email notifications about all new chat messages.
Step 6. Accept work and pay
-
When the project is finished, review the result
-
Accept it by moving the document to the Completed status
-
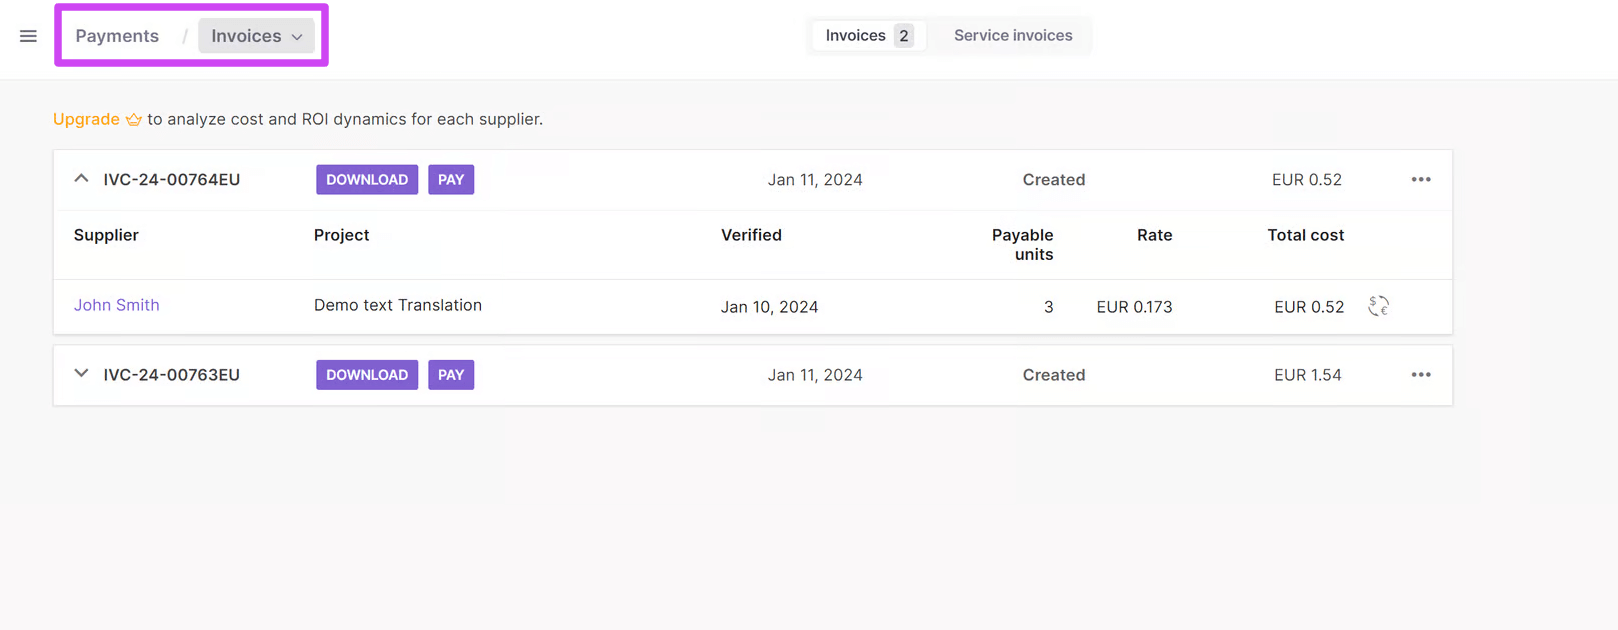
Open the Payments section from the main menu, where the jobs of all freelancers you found on the Marketplace appear
-
When the time to pay comes, mark all the payable jobs and create a single invoice for all of them
-
Pay the invoice by bank card, PayPal, or wire transfer
Your freelancers are paid and the project is complete.
FAQs
How long do I have to wait for a response from the invitees?
It depends on many factors, but the majority of responses come in the first 30–60 minutes.
How often do I have to pay freelancers?
You can set your own terms of payment in your company profile. Set this before you send out project invitations, so linguists know what to expect.
Can I pay my own freelancers through Smartcat?
Yes. If you set their rates after inviting them to your team by email, Smartcat calculates the price of their work automatically.
Do I have to pay Smartcat separately for finding linguists on the platform?
Rates of linguists you find on the Smartcat Marketplace already include the Smartcat service fee.
Want to learn more?
See how Smartcat can transform your localization workflow.
Still need help?
Our support team responds within one business day.