Connect Jira with Smartcat
Overview
Jira is a popular tool for team collaboration. Blog posts, emails, social media campaigns, app store descriptions, and release notes can all be authored in Jira and localized through the Smartcat Jira integration.
Set up the integration
-
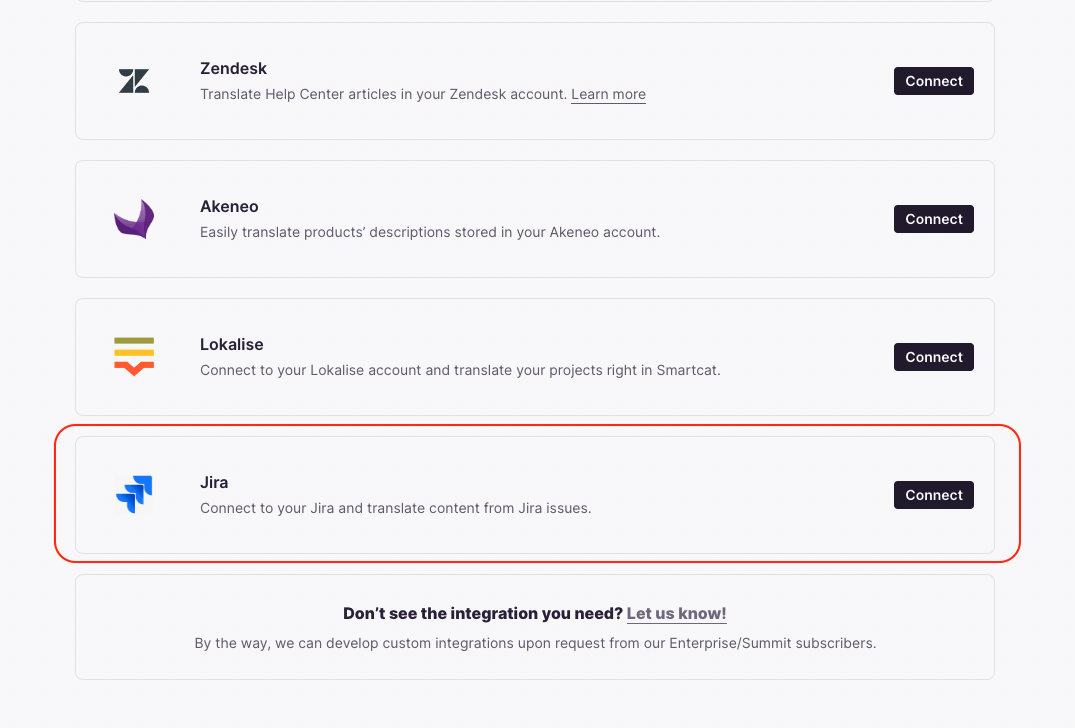
Log into Smartcat, click Create project, and select Set up an integration
-
Select the Jira tile and click Connect
-
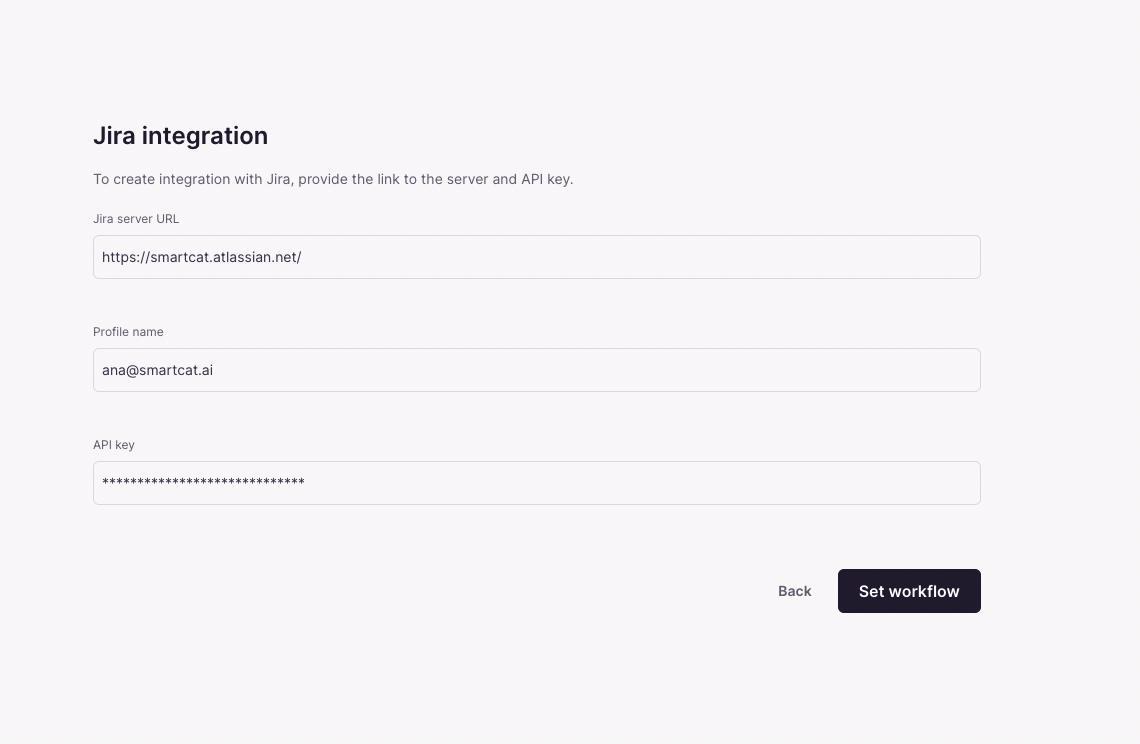
Go to your Jira account, copy your Jira instance URL, and save it (you need it in step 6)
-
In Jira, go to Settings → User Management, copy your user email address, and save it
-
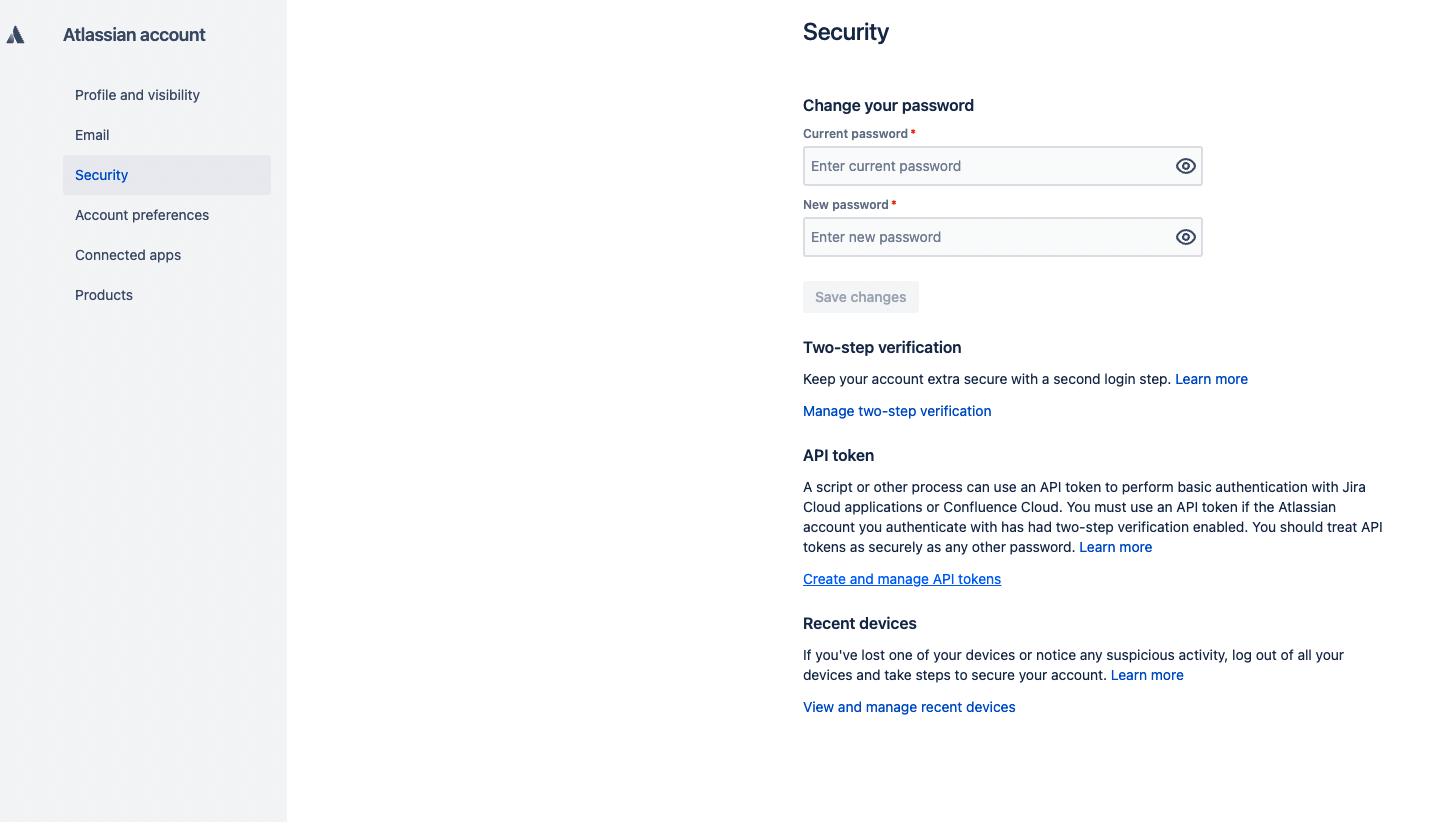
Go to Settings → Atlassian account settings → Security and click Create and manage API tokens under the API token section. Create a new API token and save it
- Go back to Smartcat and paste the collected parameters into the corresponding fields, then click Set workflow
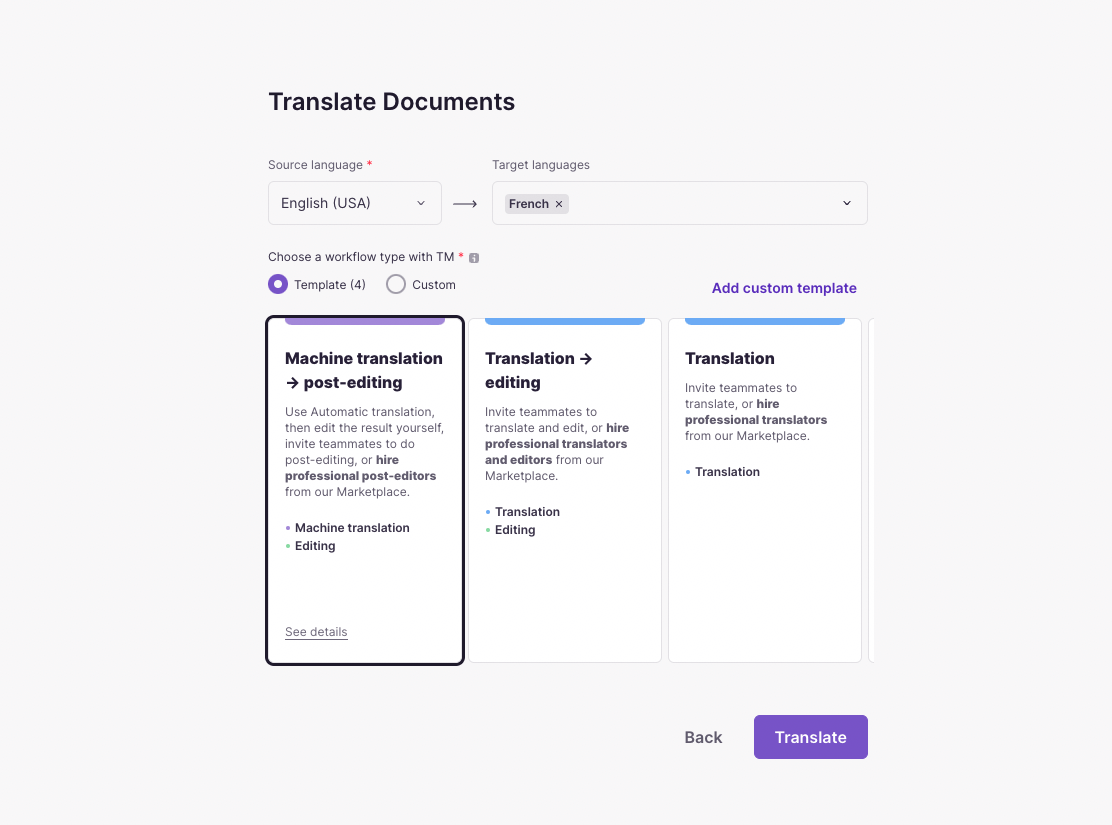
- Choose the source and target languages, and a workflow — the steps to translate your content
📌 The source language you choose should match the source language of the files within the tickets for translation. Otherwise, Smartcat cannot translate them.
- Choose the project(s) and the main rule to set Jira issues as translation tasks
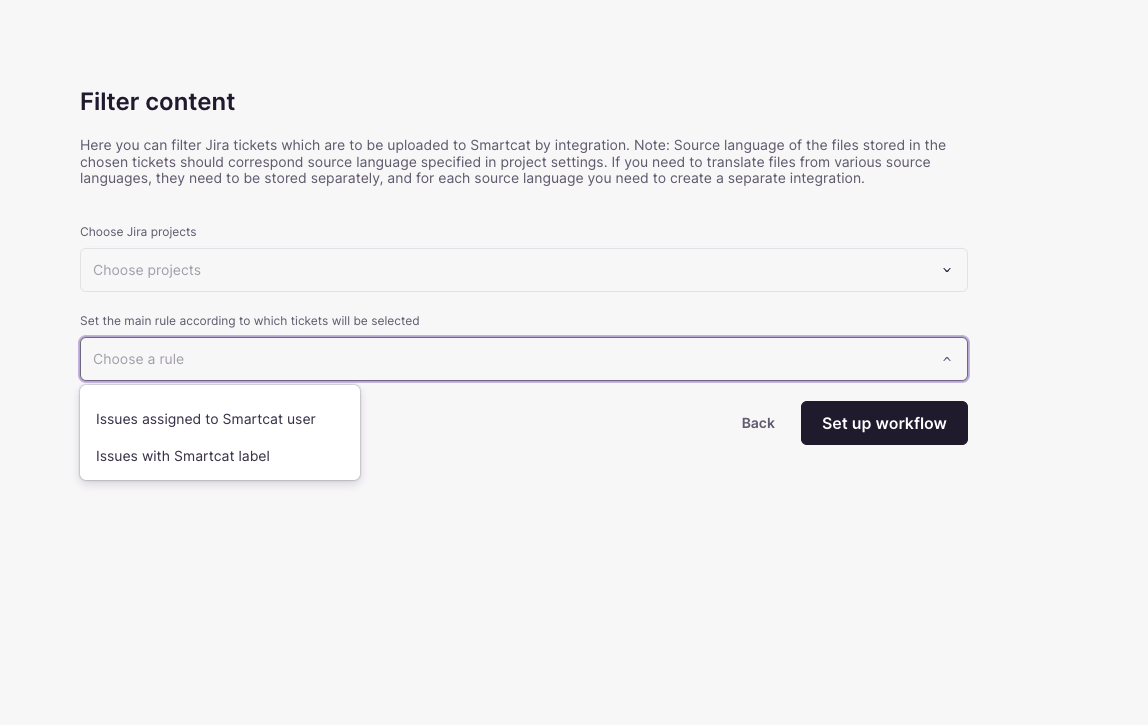
Your Jira integration is now configured and ready to send issues to Smartcat for translation.
You can set two types of rules:
-
Issues assigned to a Smartcat user
-
Issues with a Smartcat label
FAQs
What do I need from my Atlassian account to connect Jira to Smartcat?
Your Jira instance URL, your Jira user email address, and an Atlassian API token generated from your Atlassian account security settings.
Does the source language I choose in Smartcat need to match anything in Jira?
Yes — the source language you select must match the source language of the files inside the Jira tickets, or Smartcat won't be able to translate them.
What rules can I use to decide which Jira issues become translation tasks?
Two types: issues assigned to a specific Smartcat user, or issues tagged with a Smartcat label.
What kind of Jira content is typically translated through this integration?
Content authored in Jira such as blog posts, emails, social media campaigns, app store descriptions, and release notes.
Want to learn more?
See how Smartcat can transform your localization workflow.
Still need help?
Our support team responds within one business day.